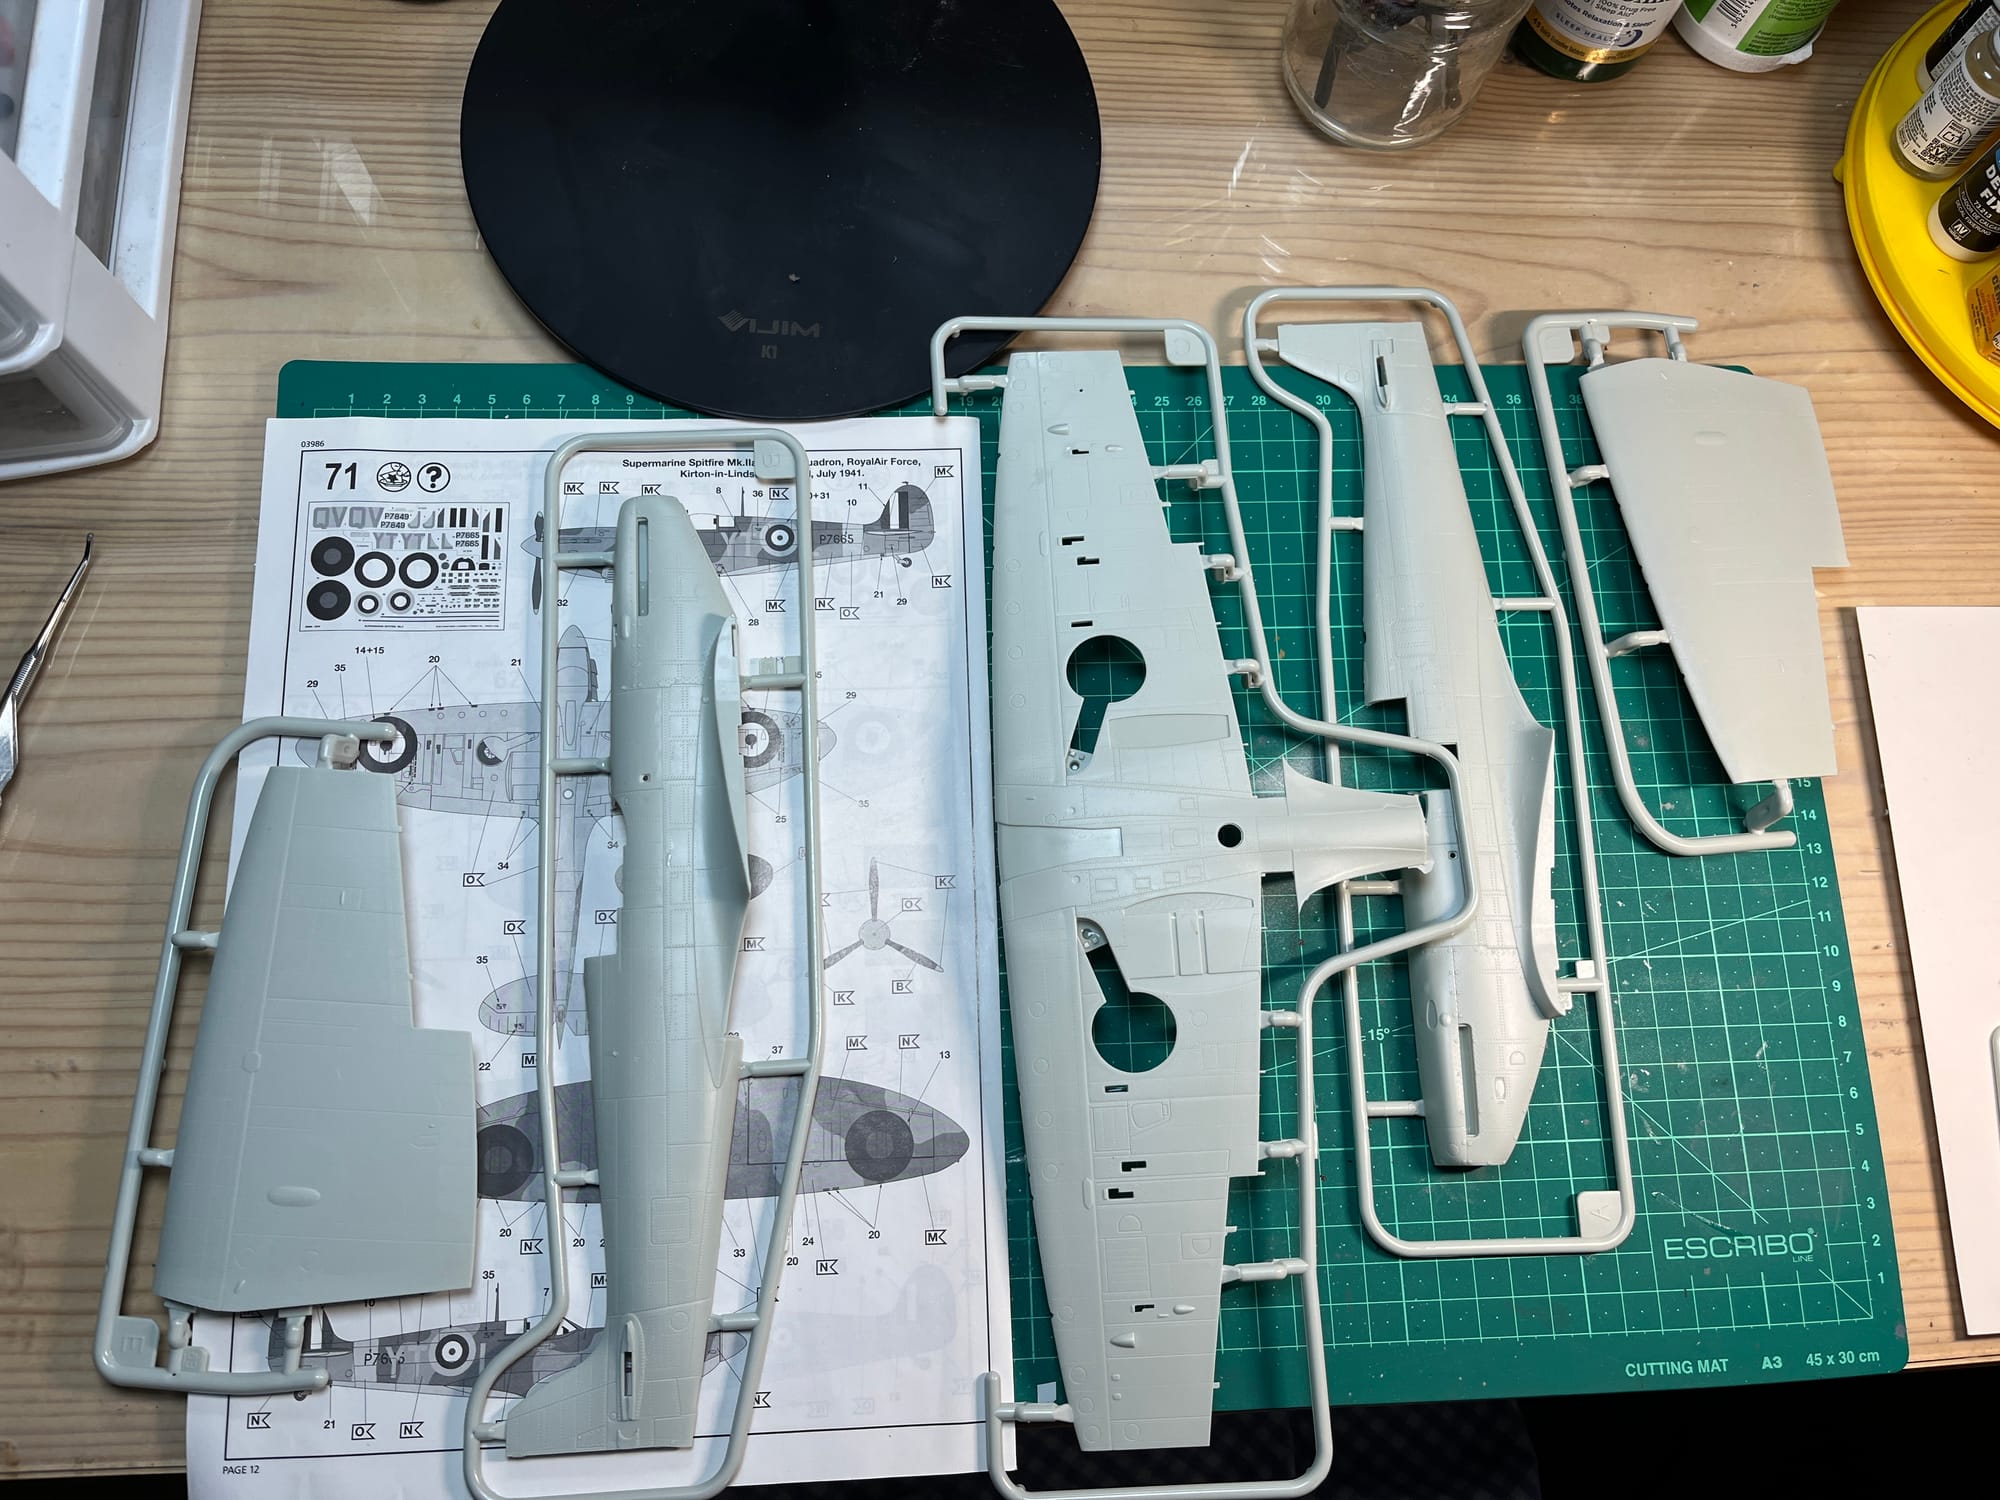
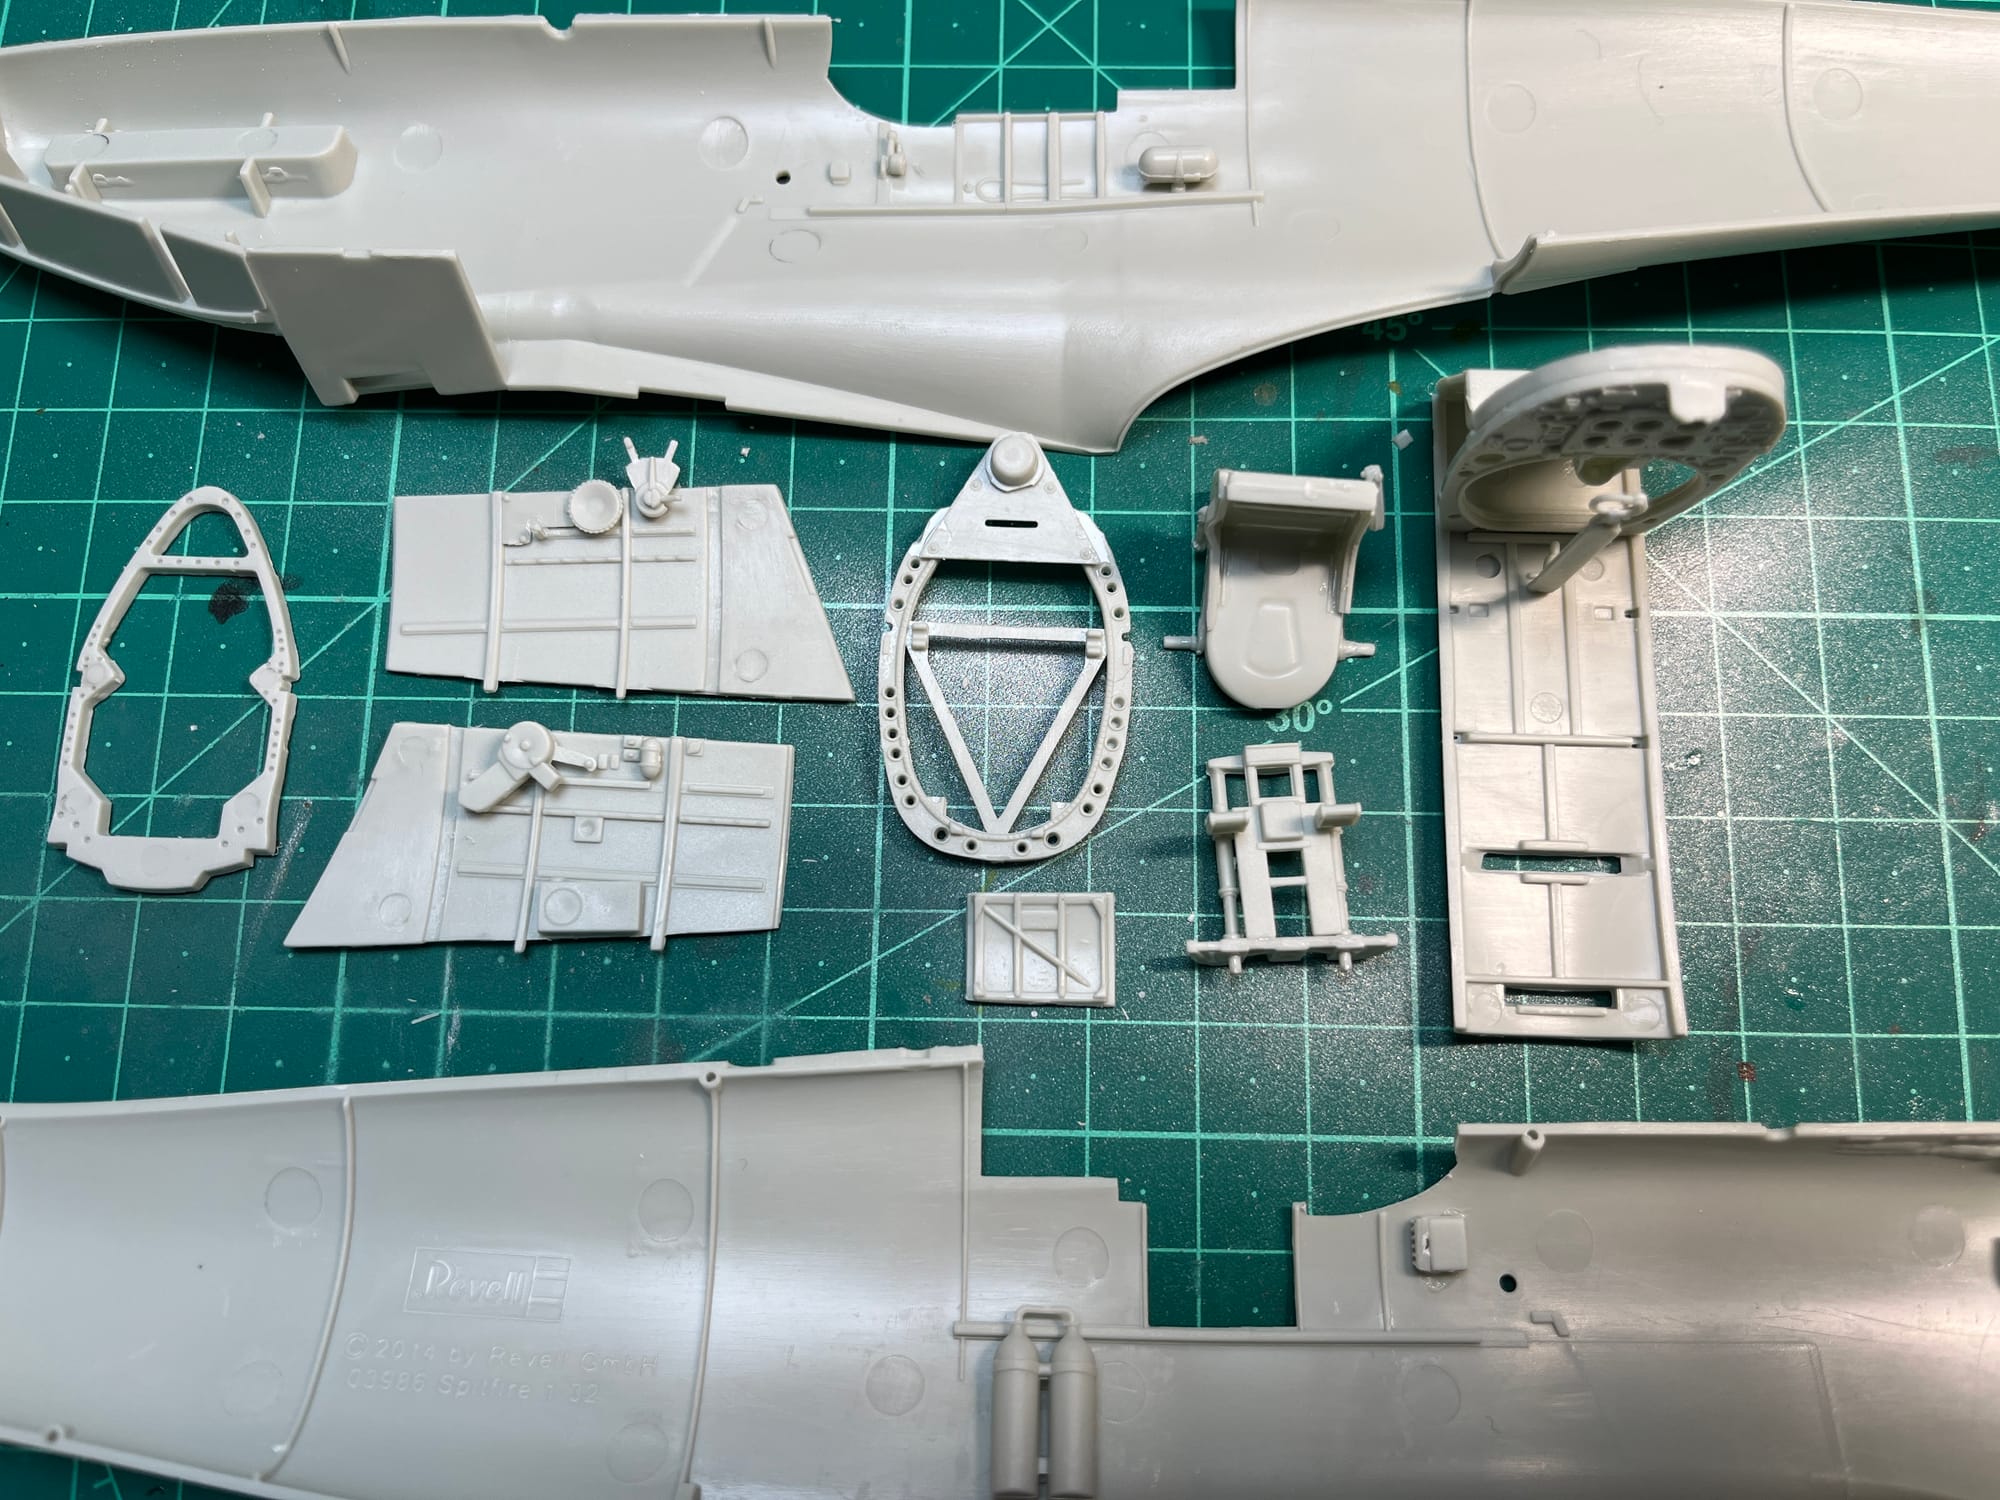
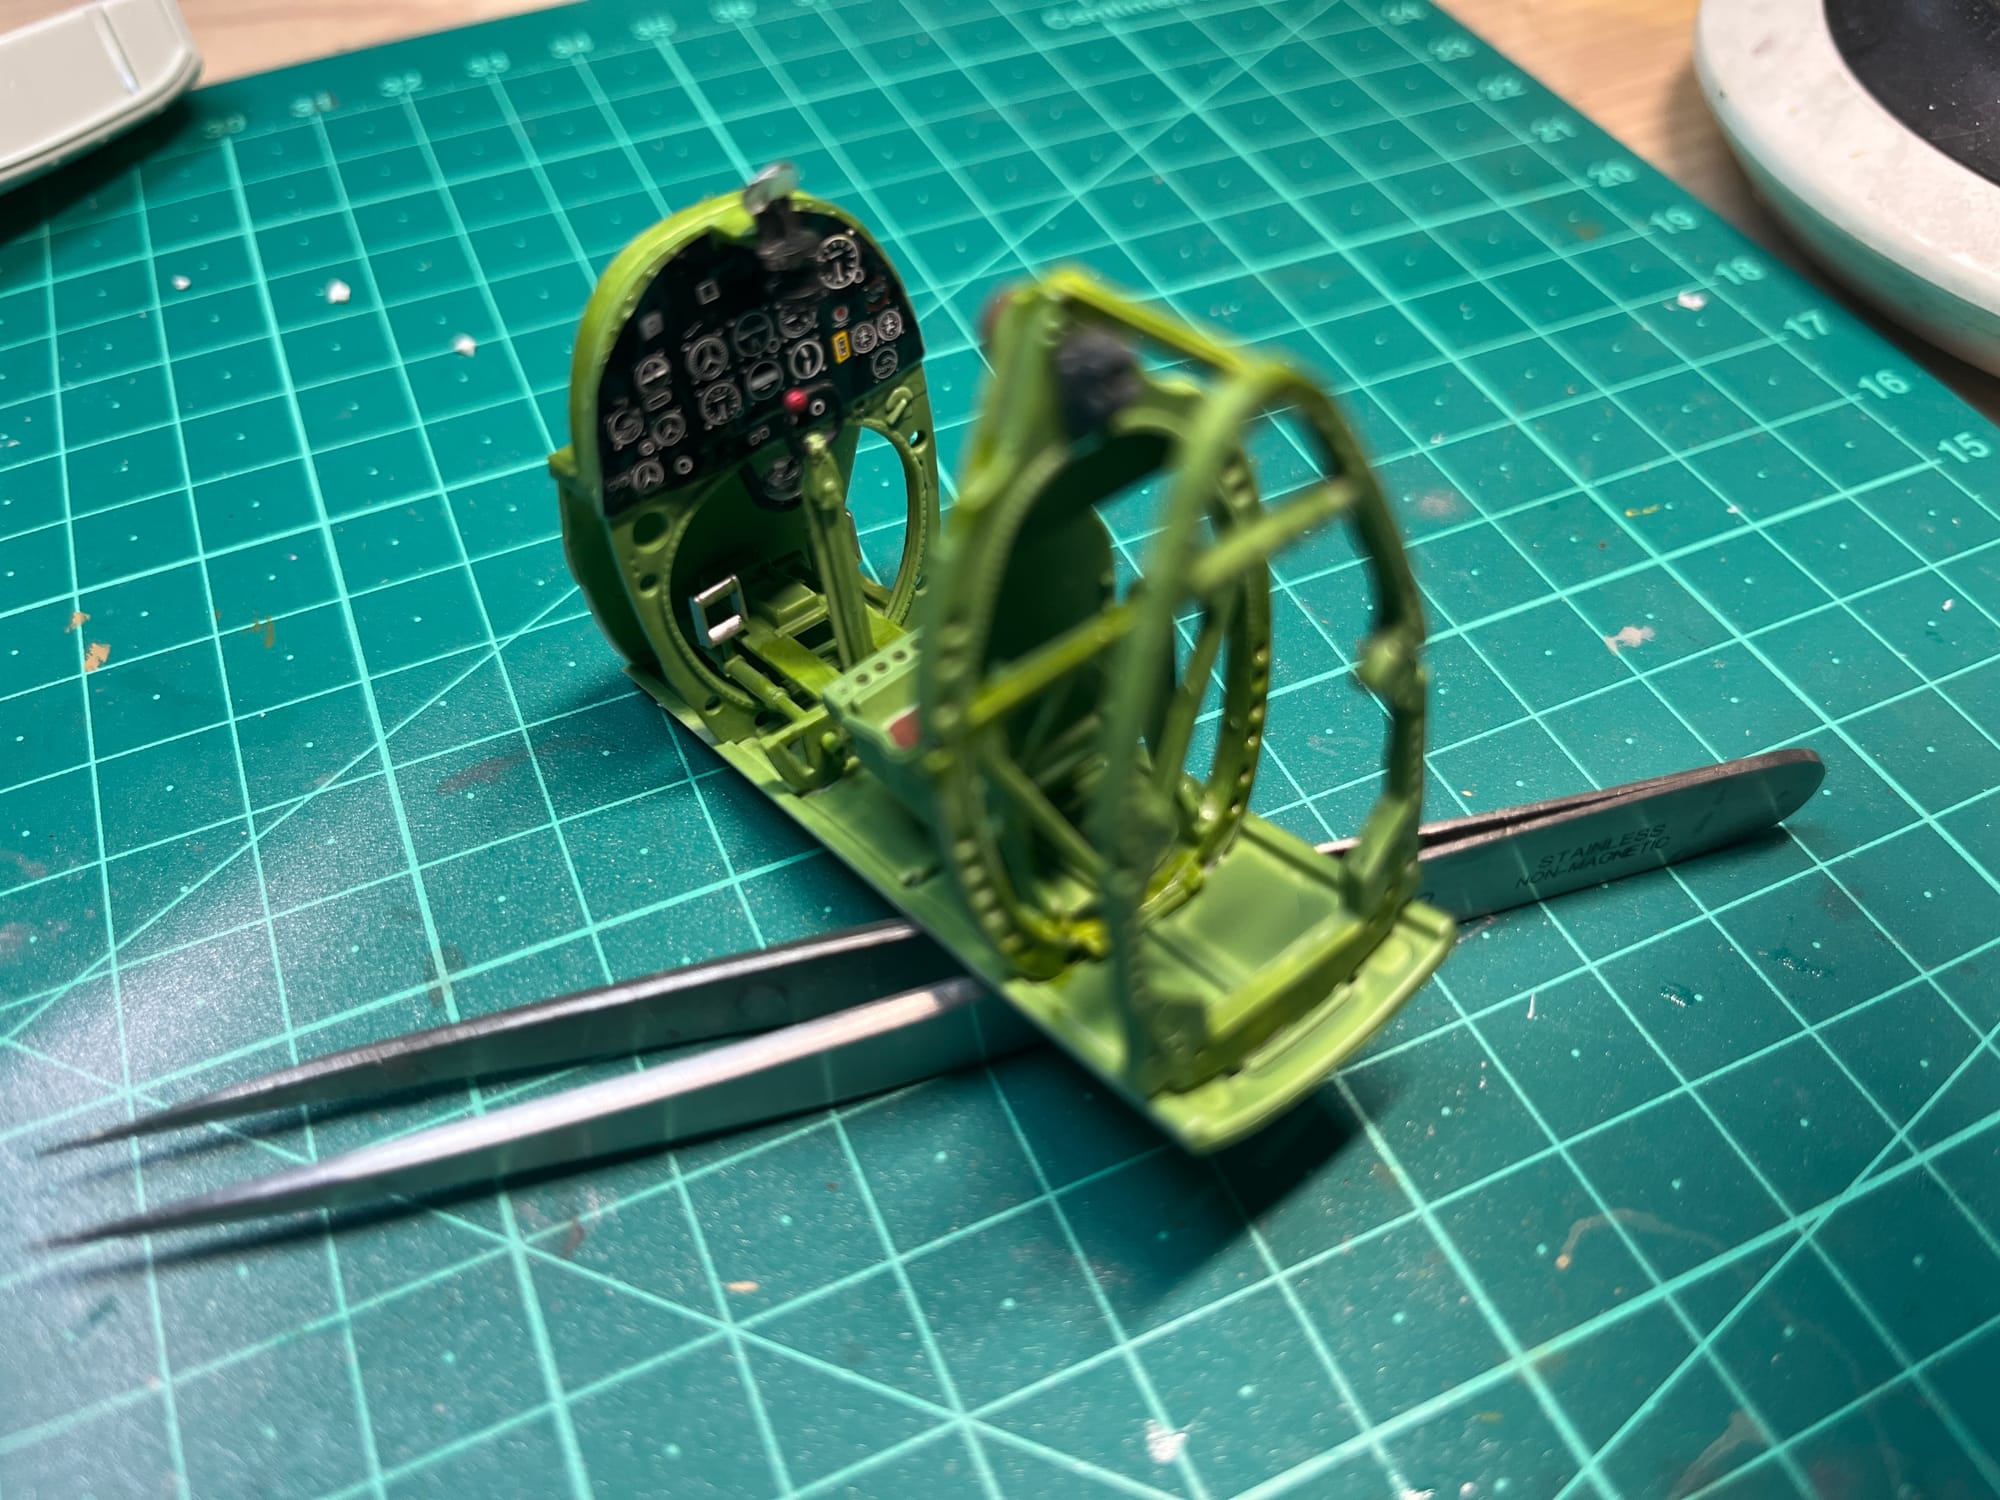
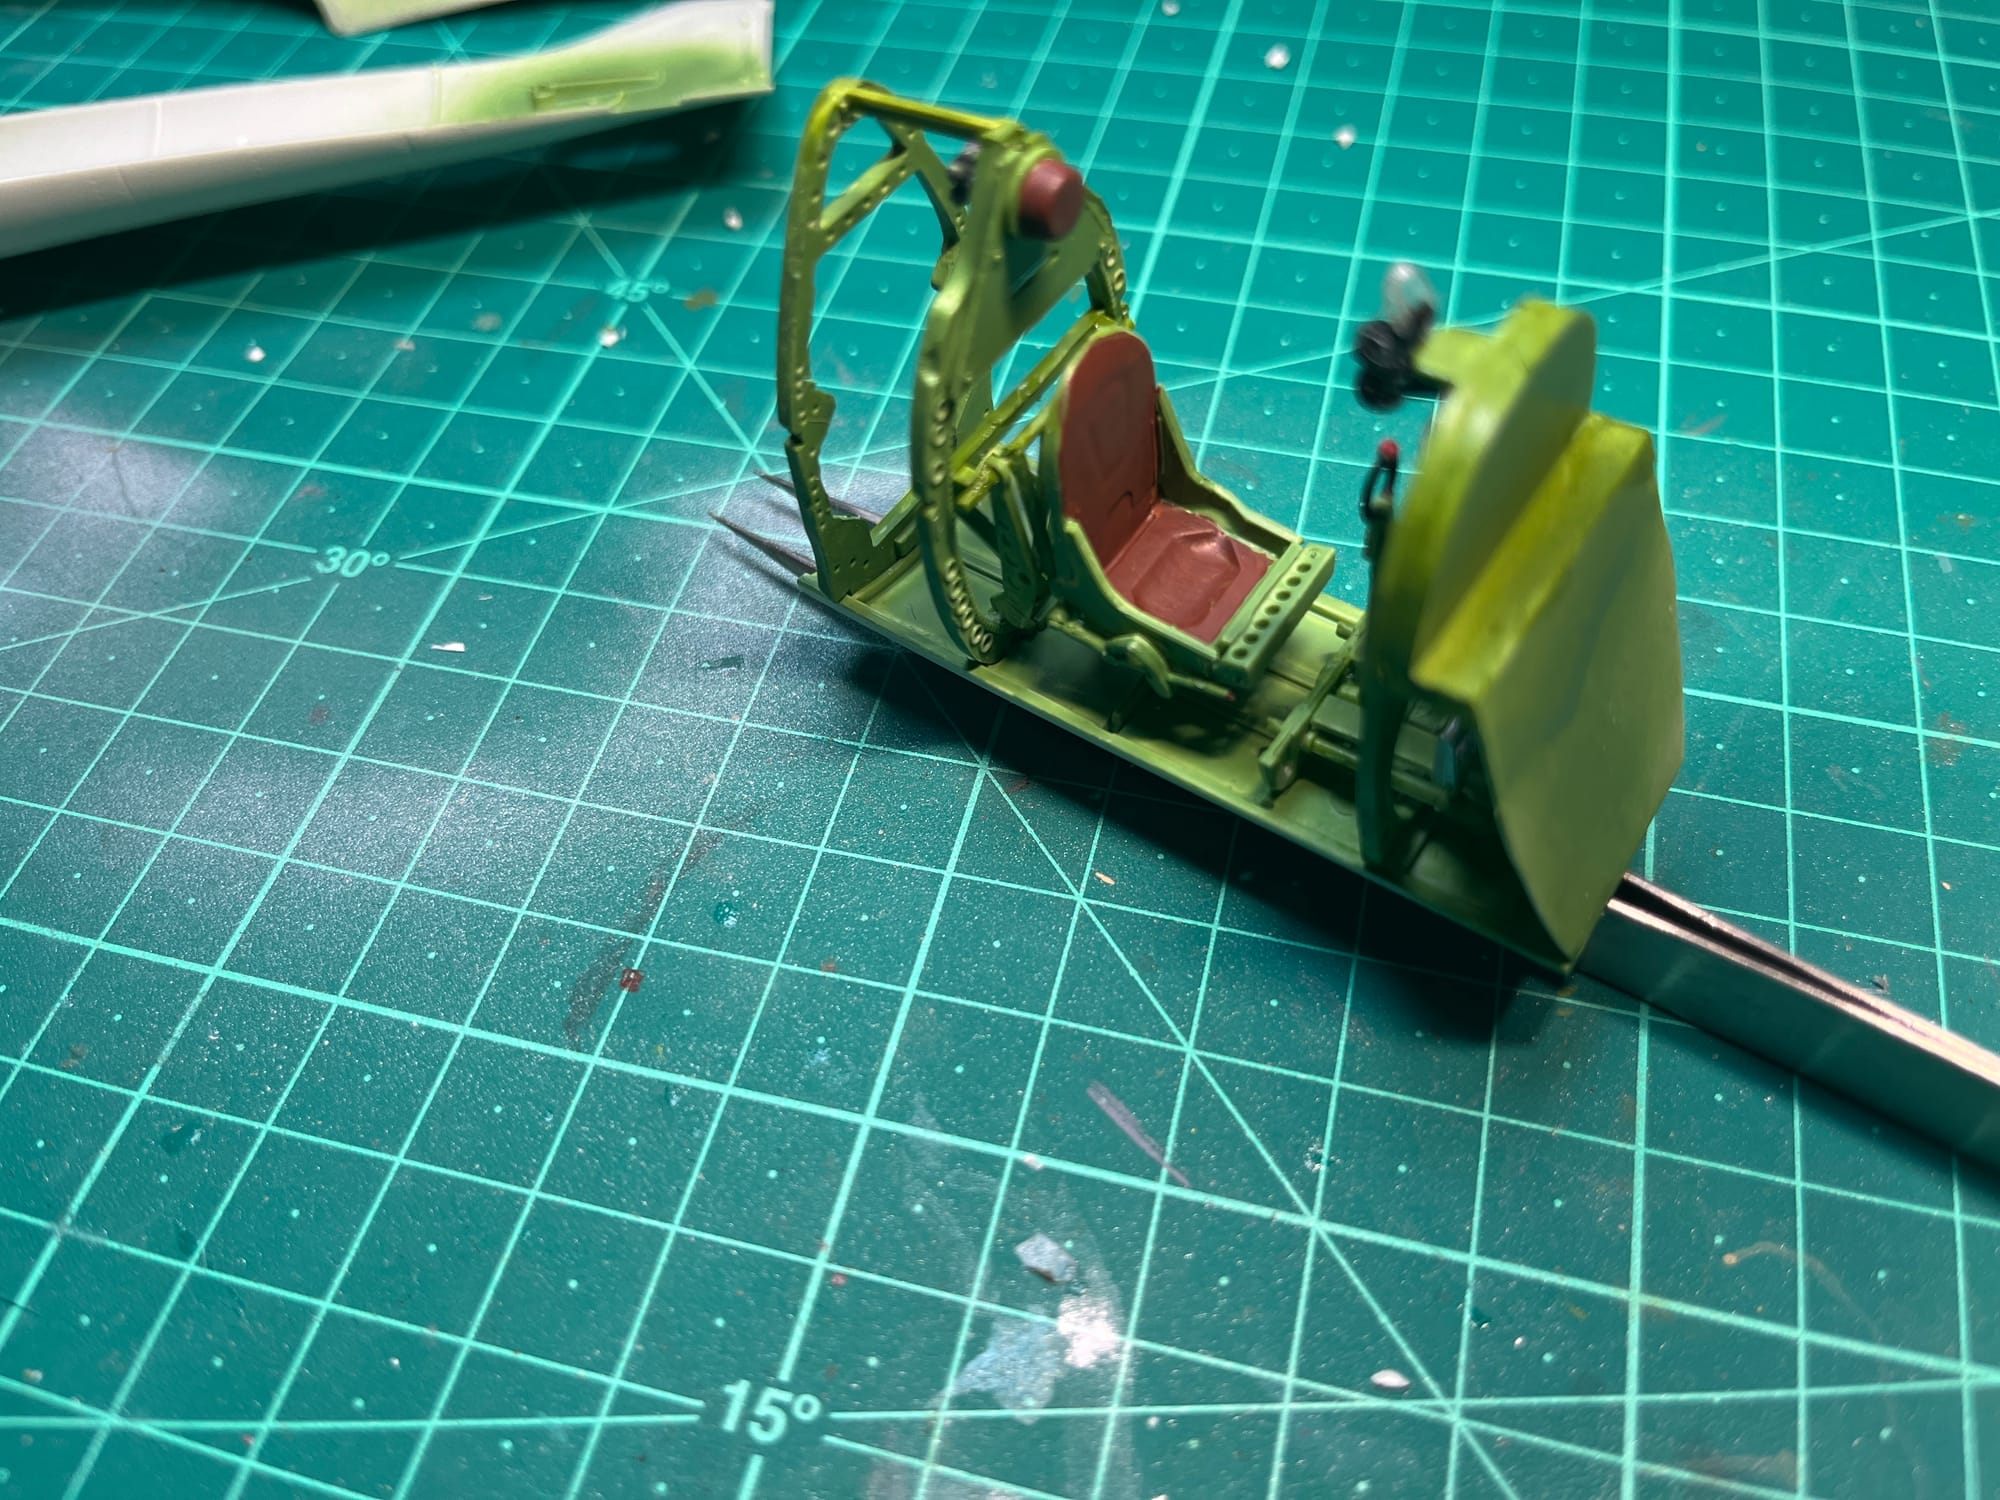
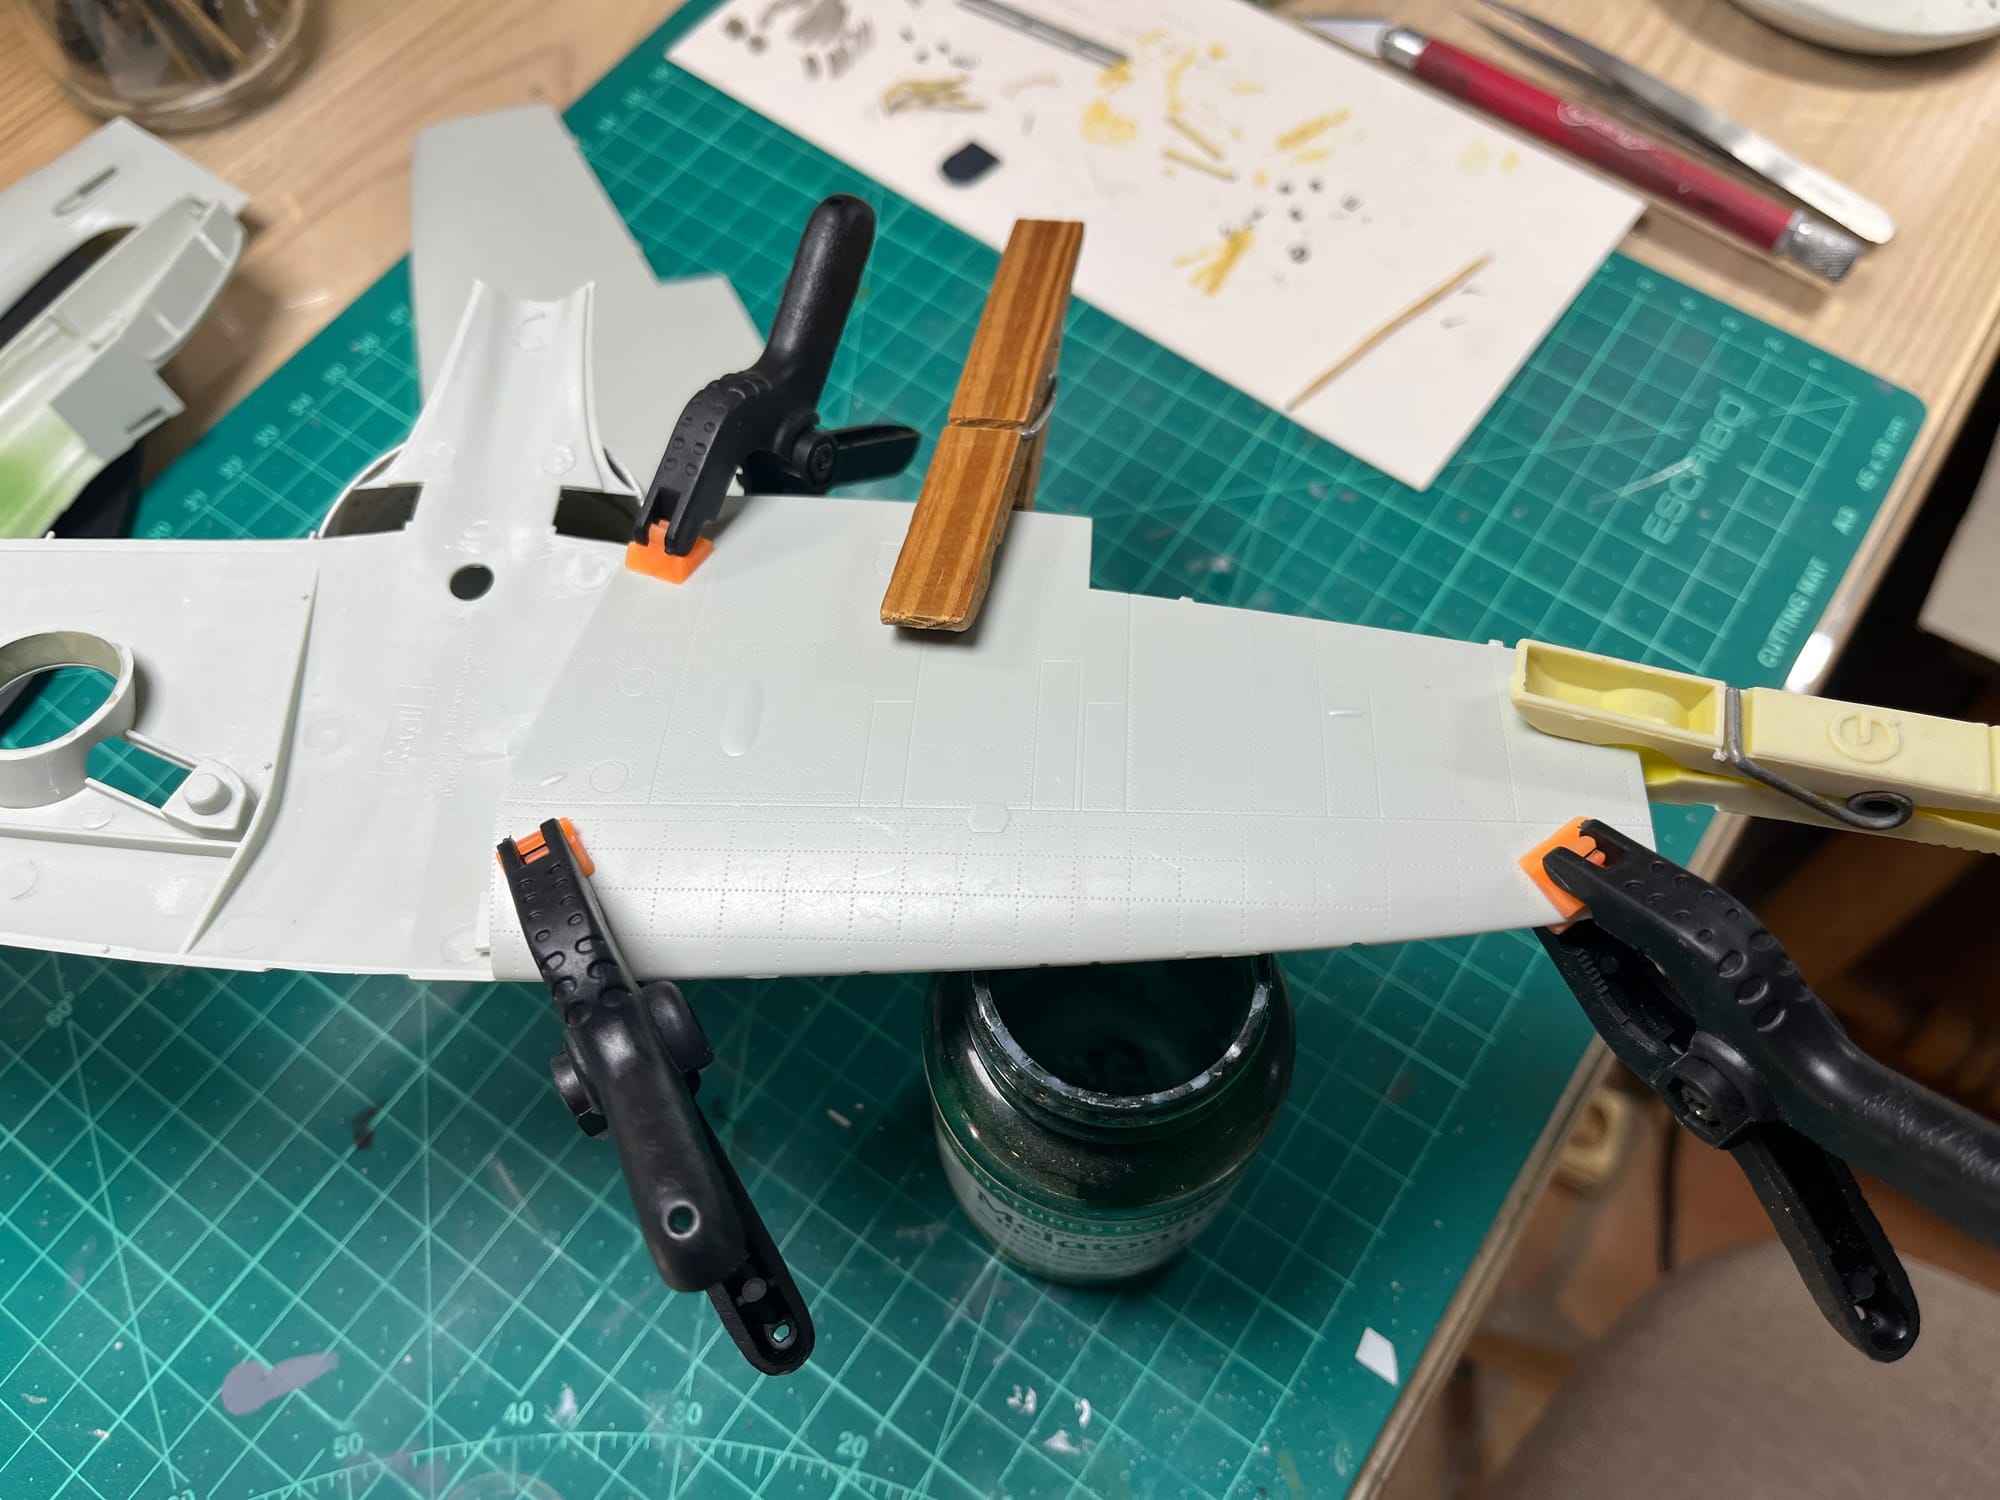
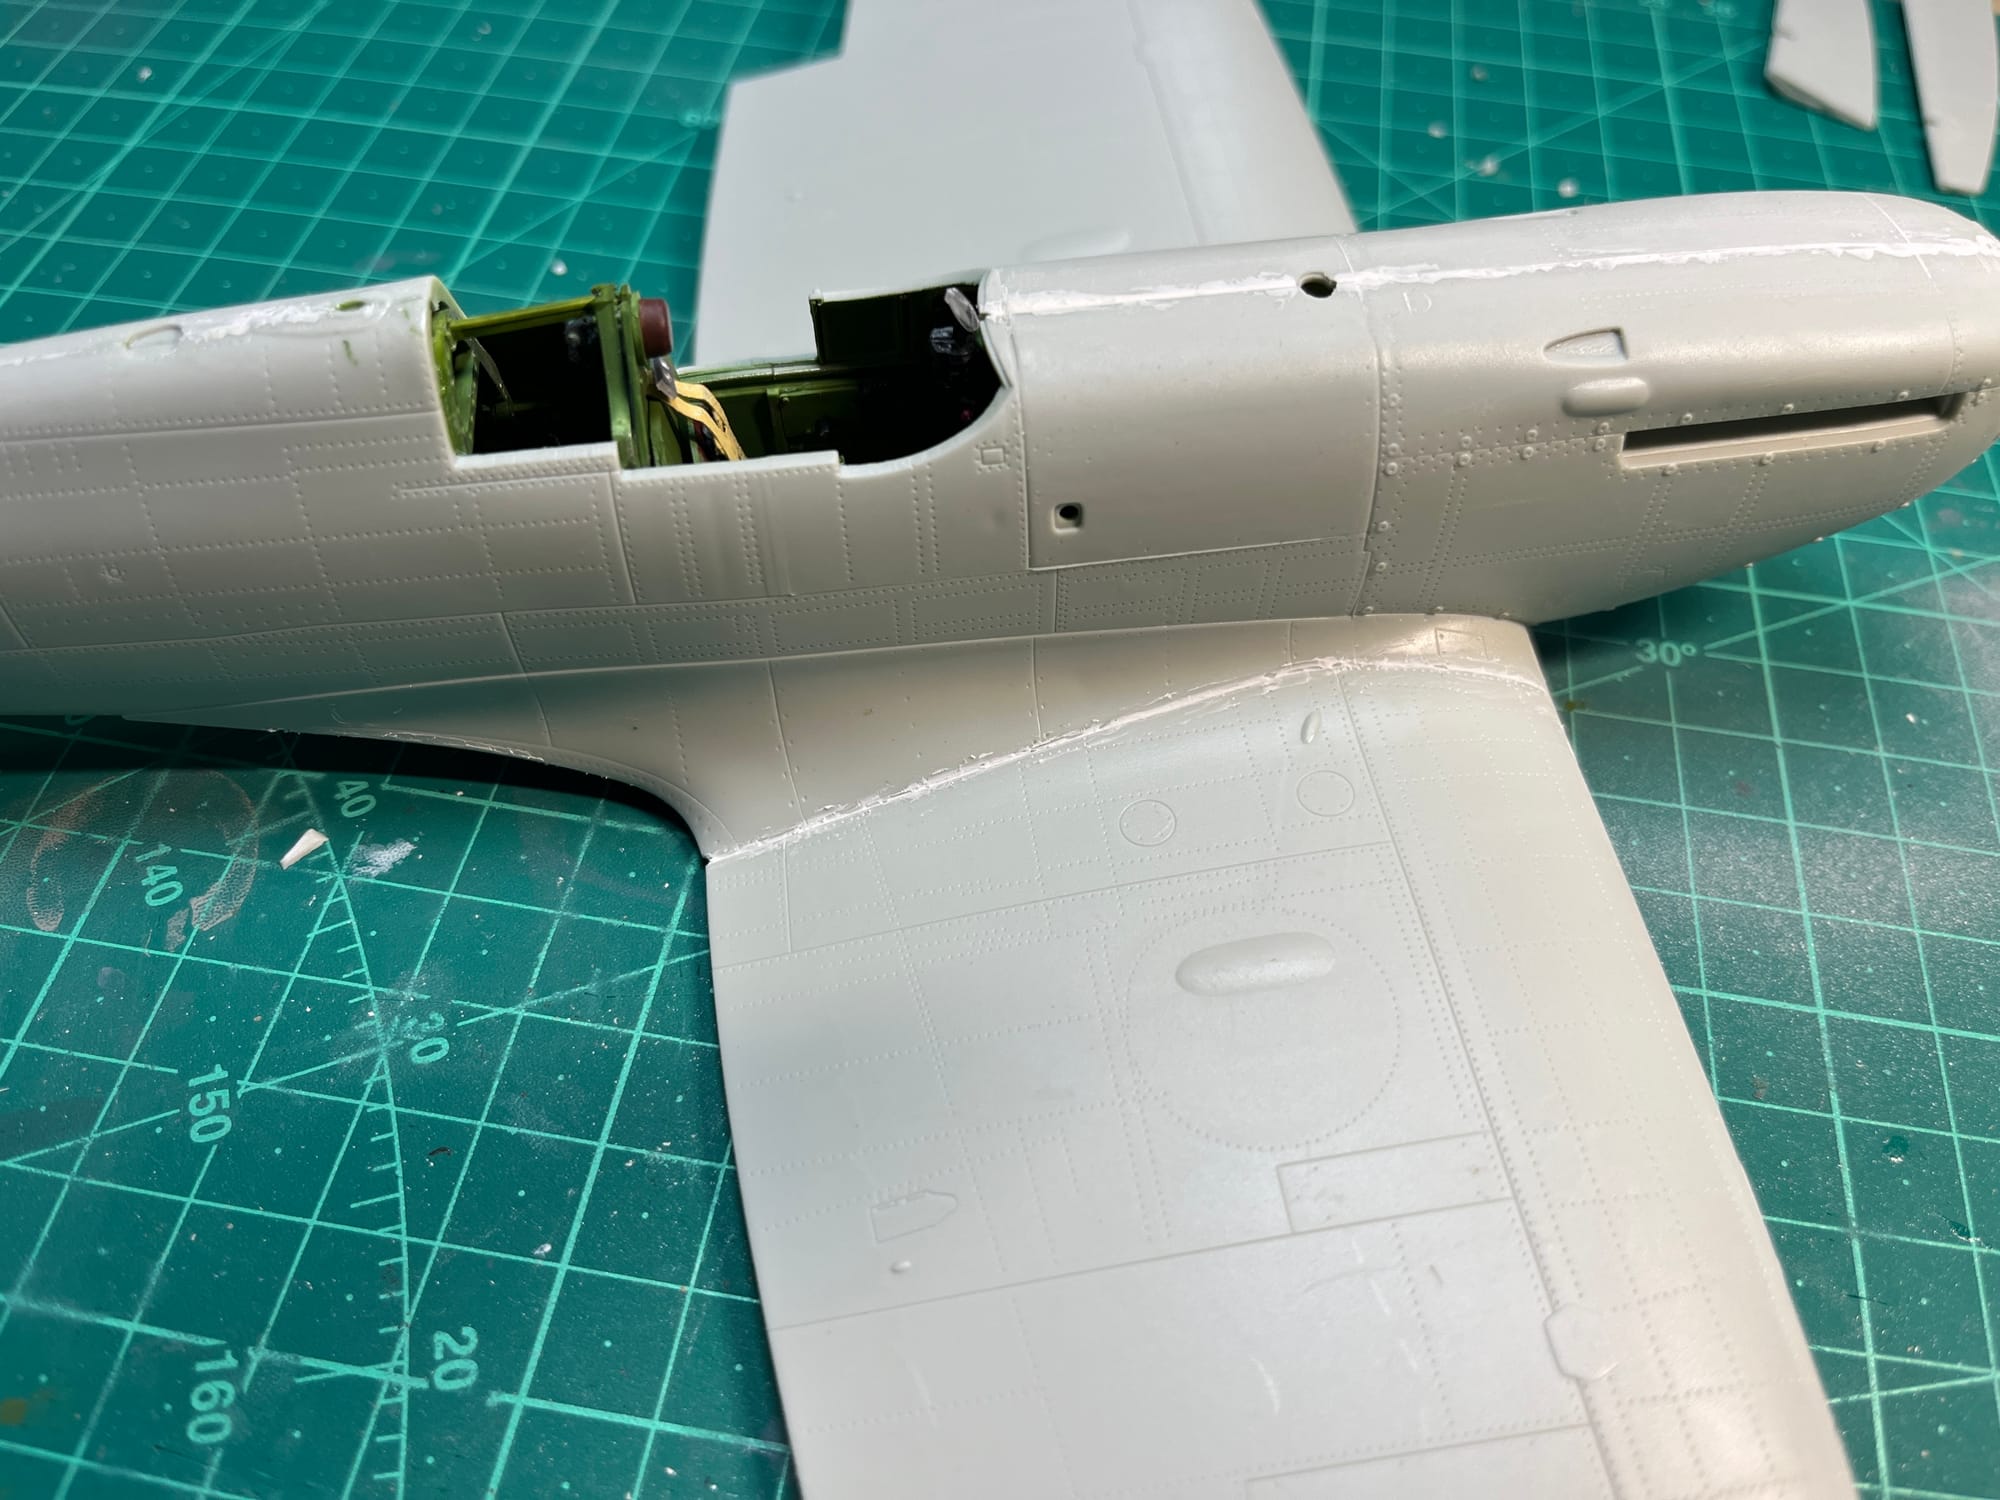
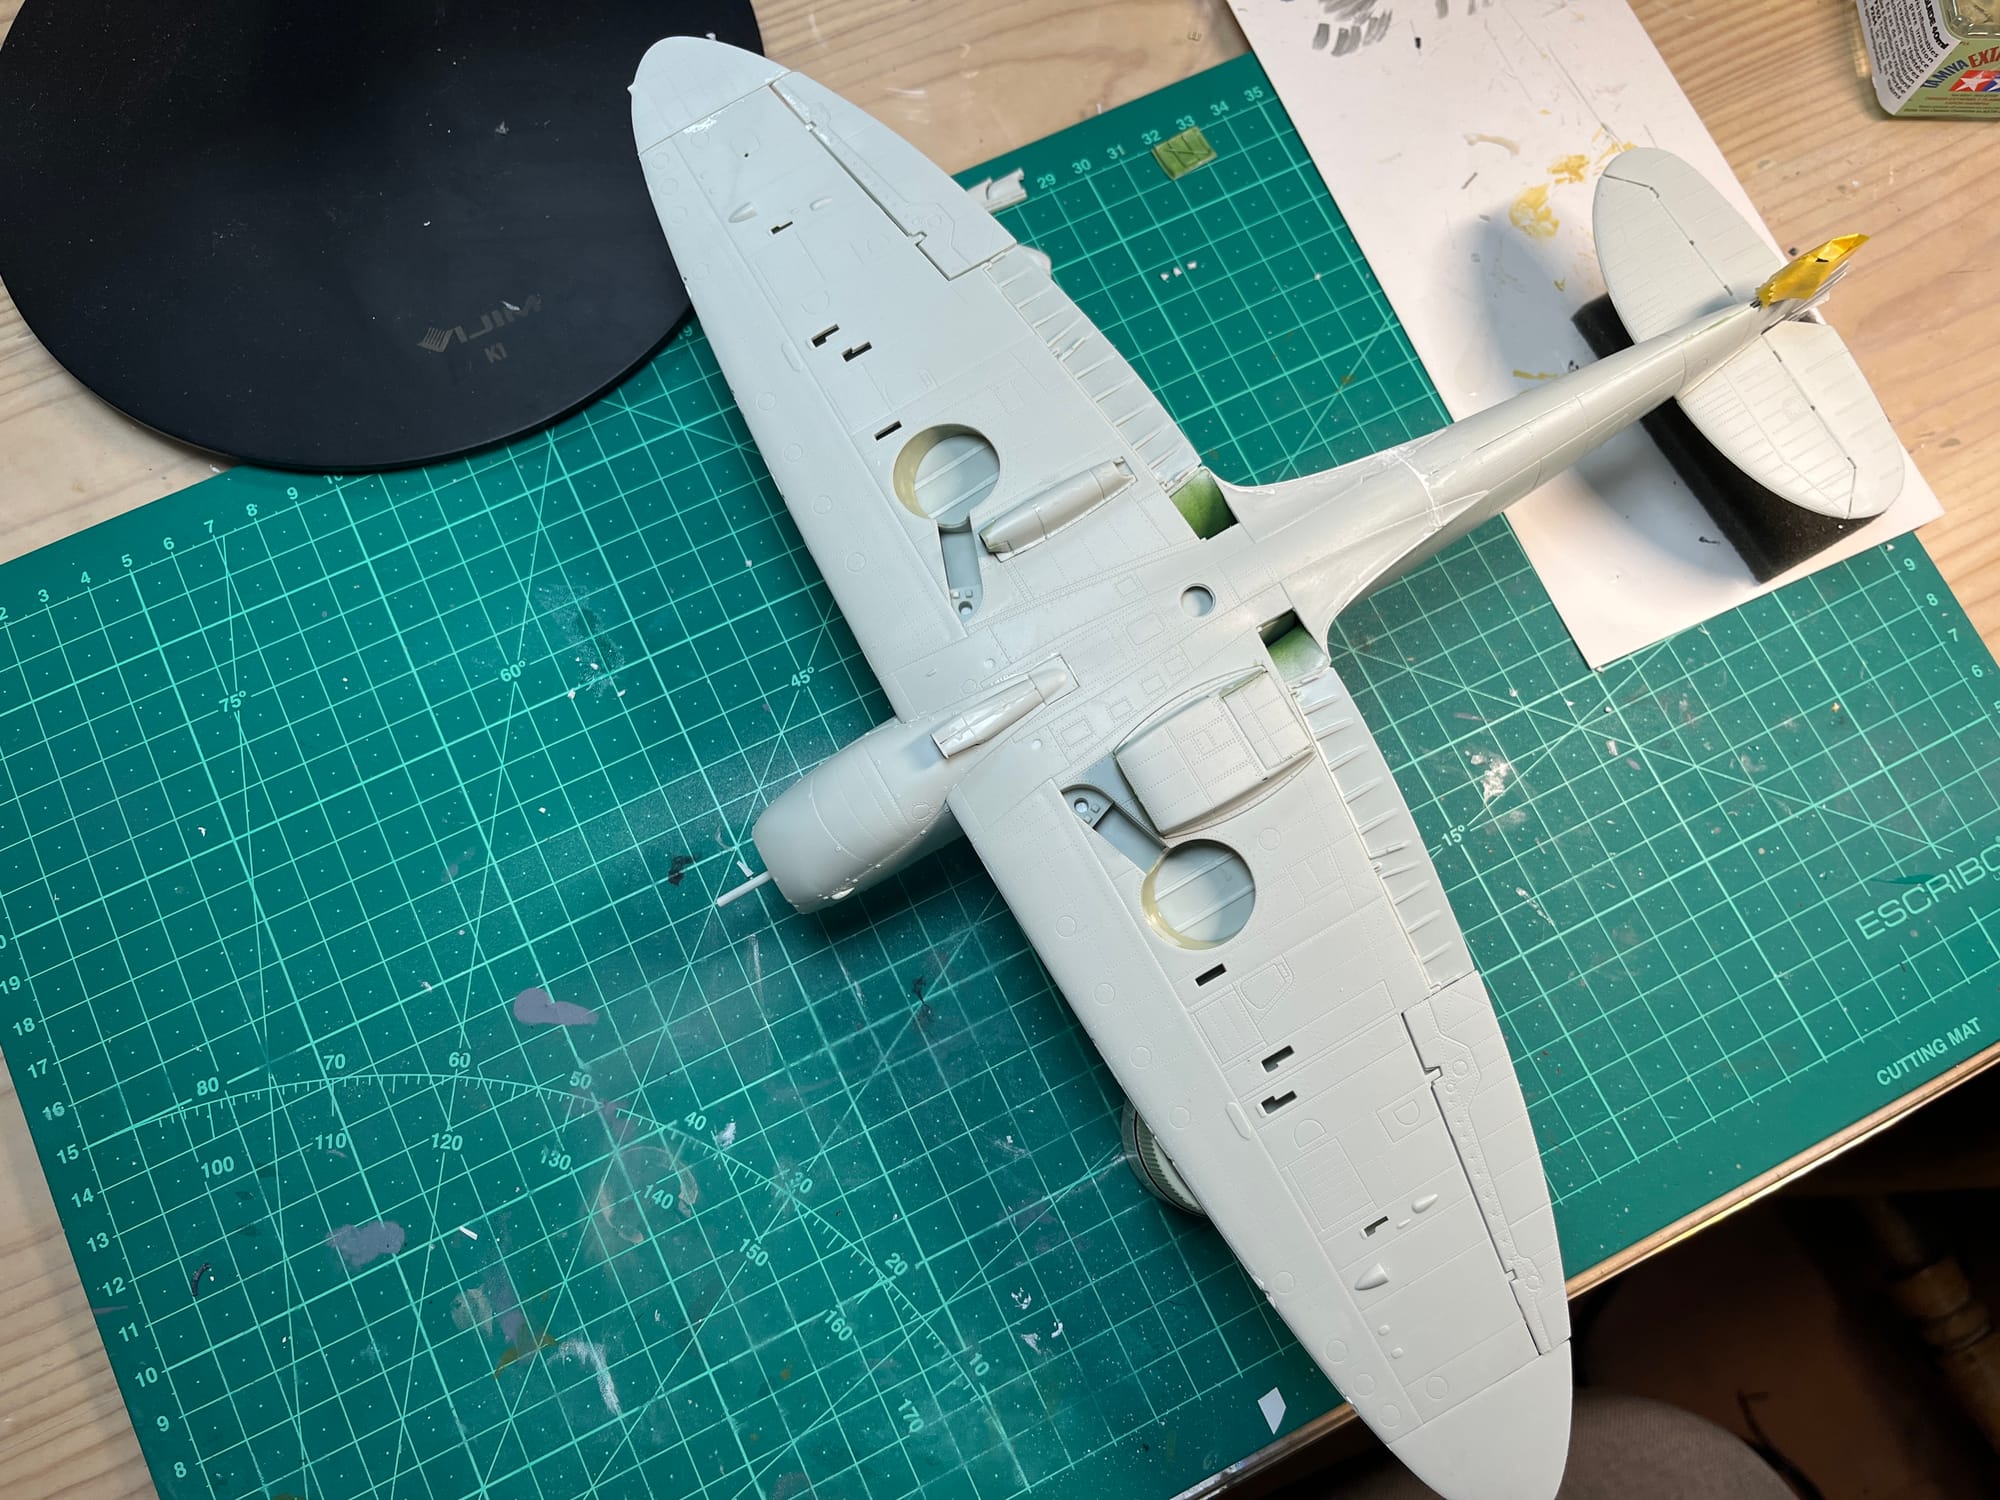
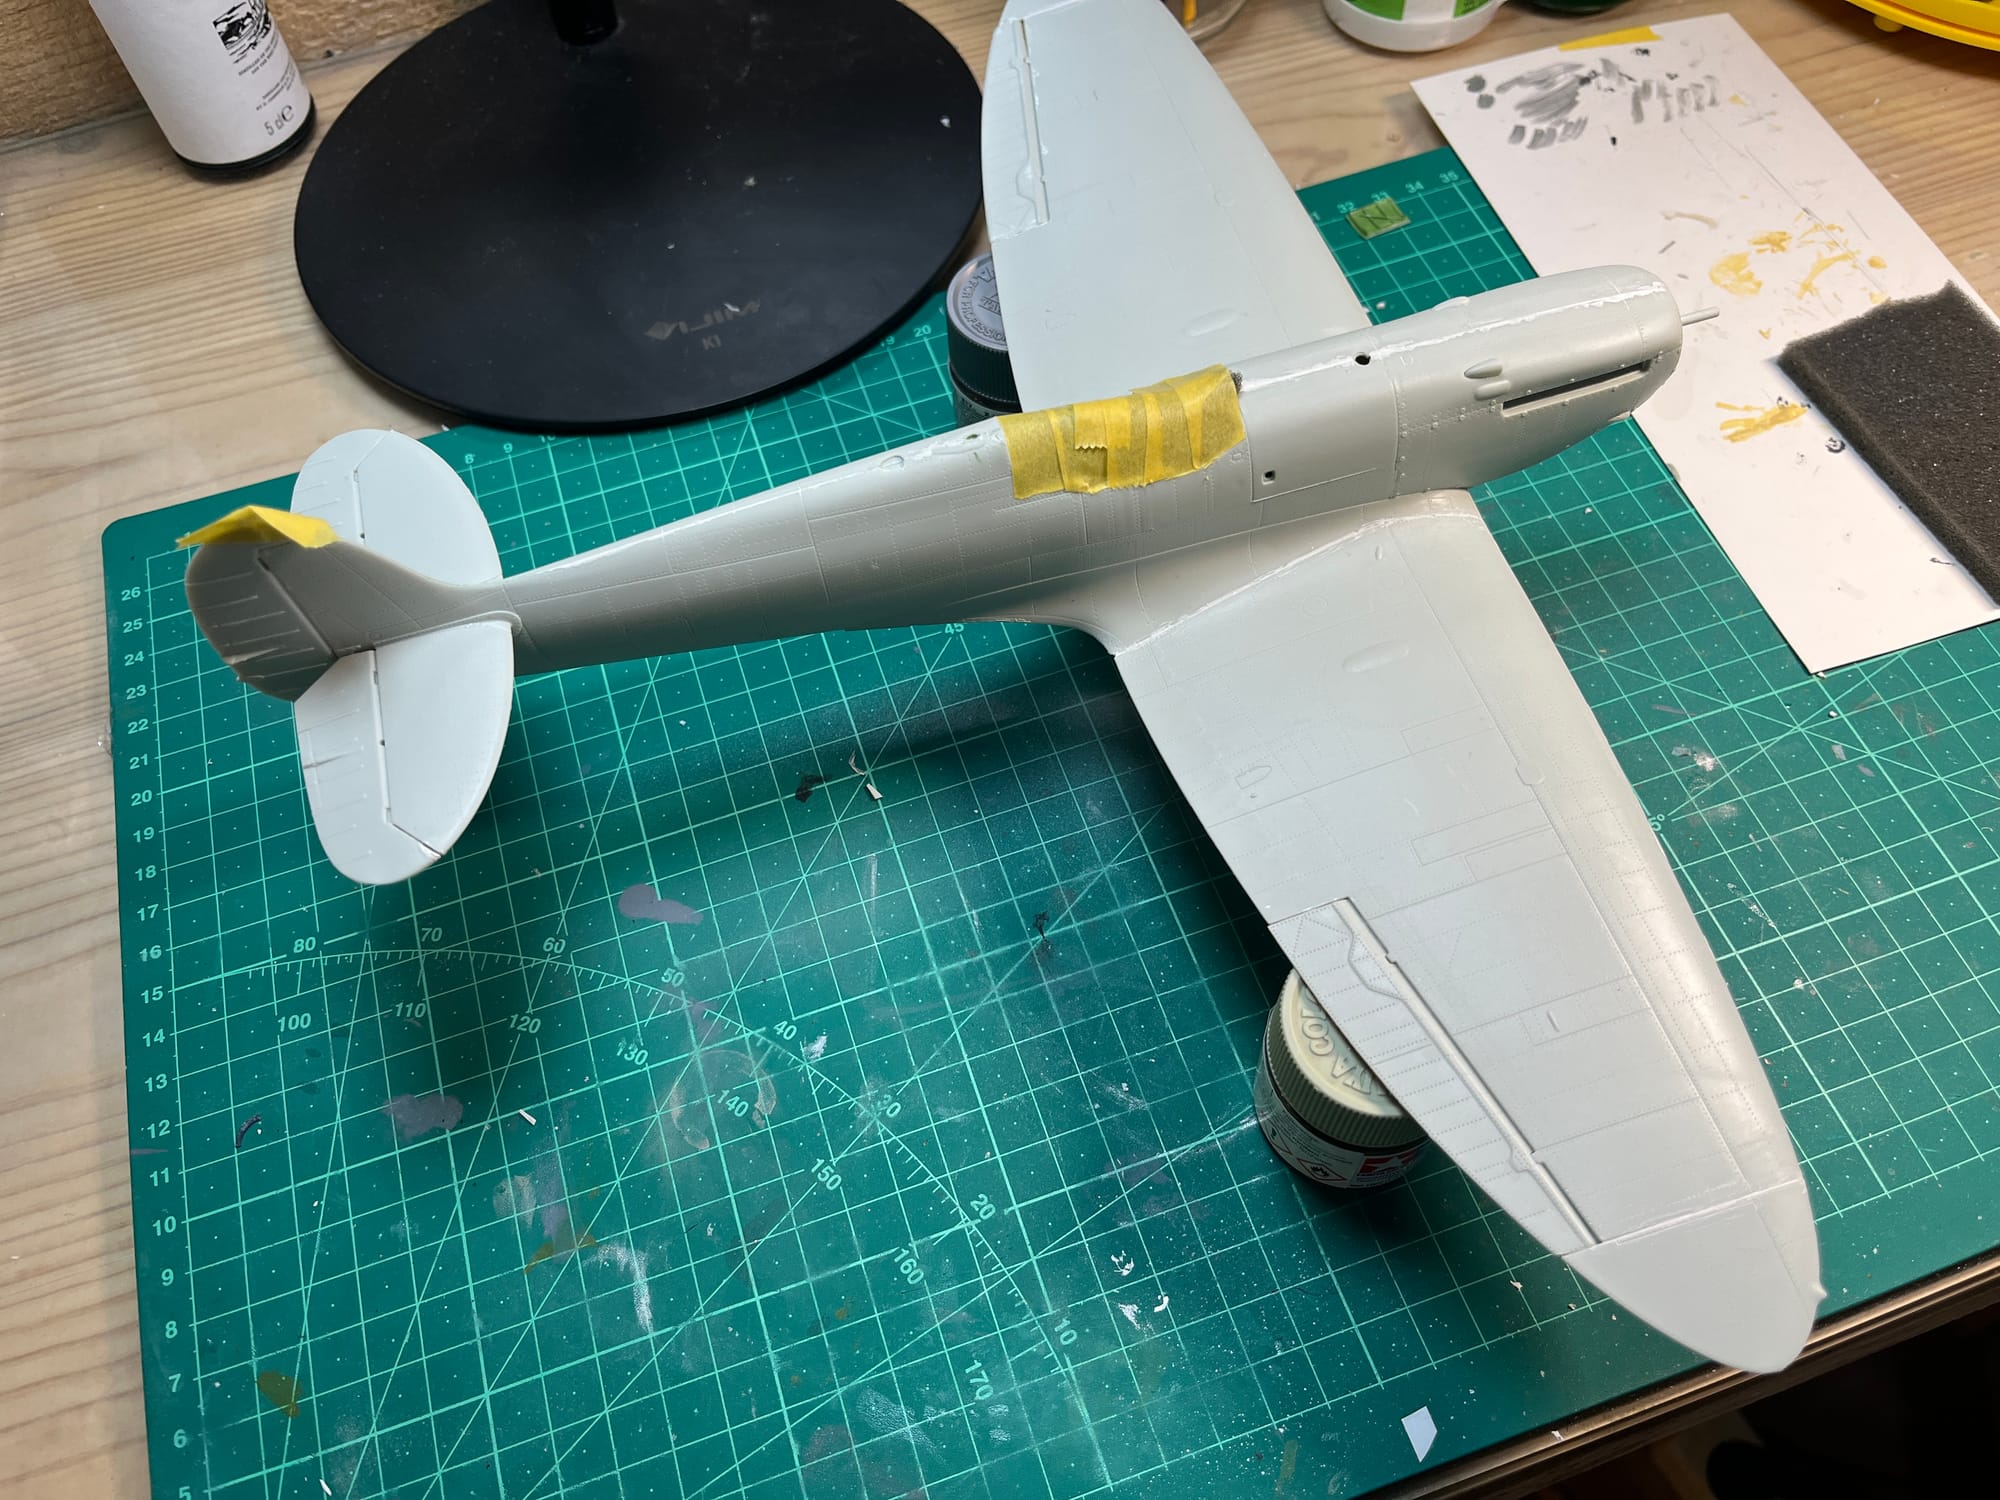
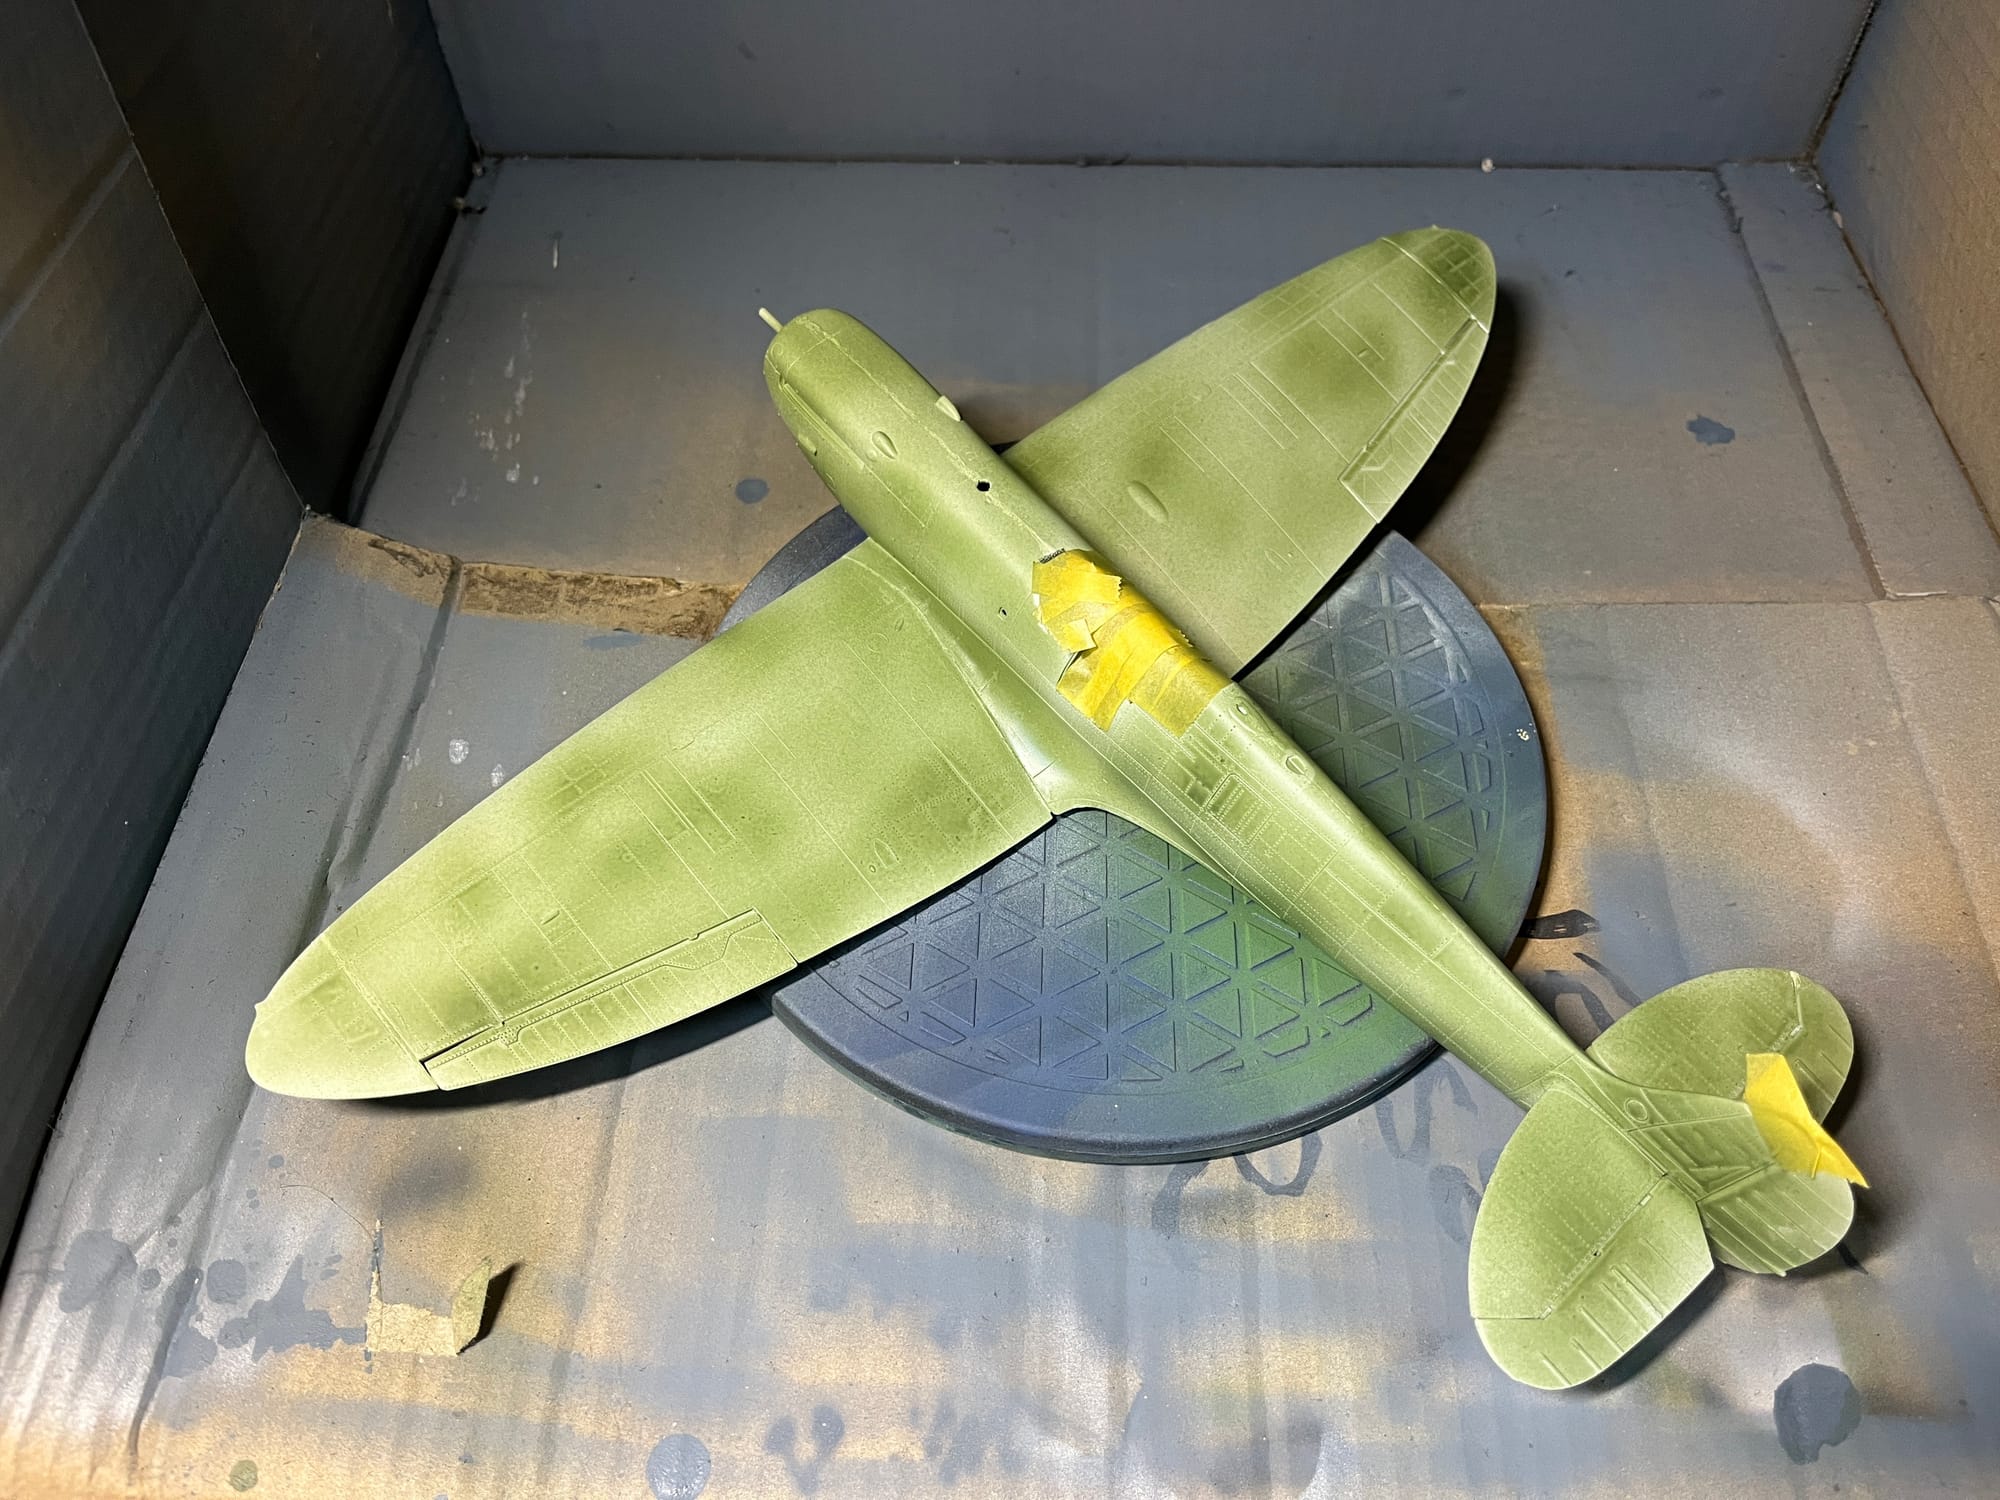
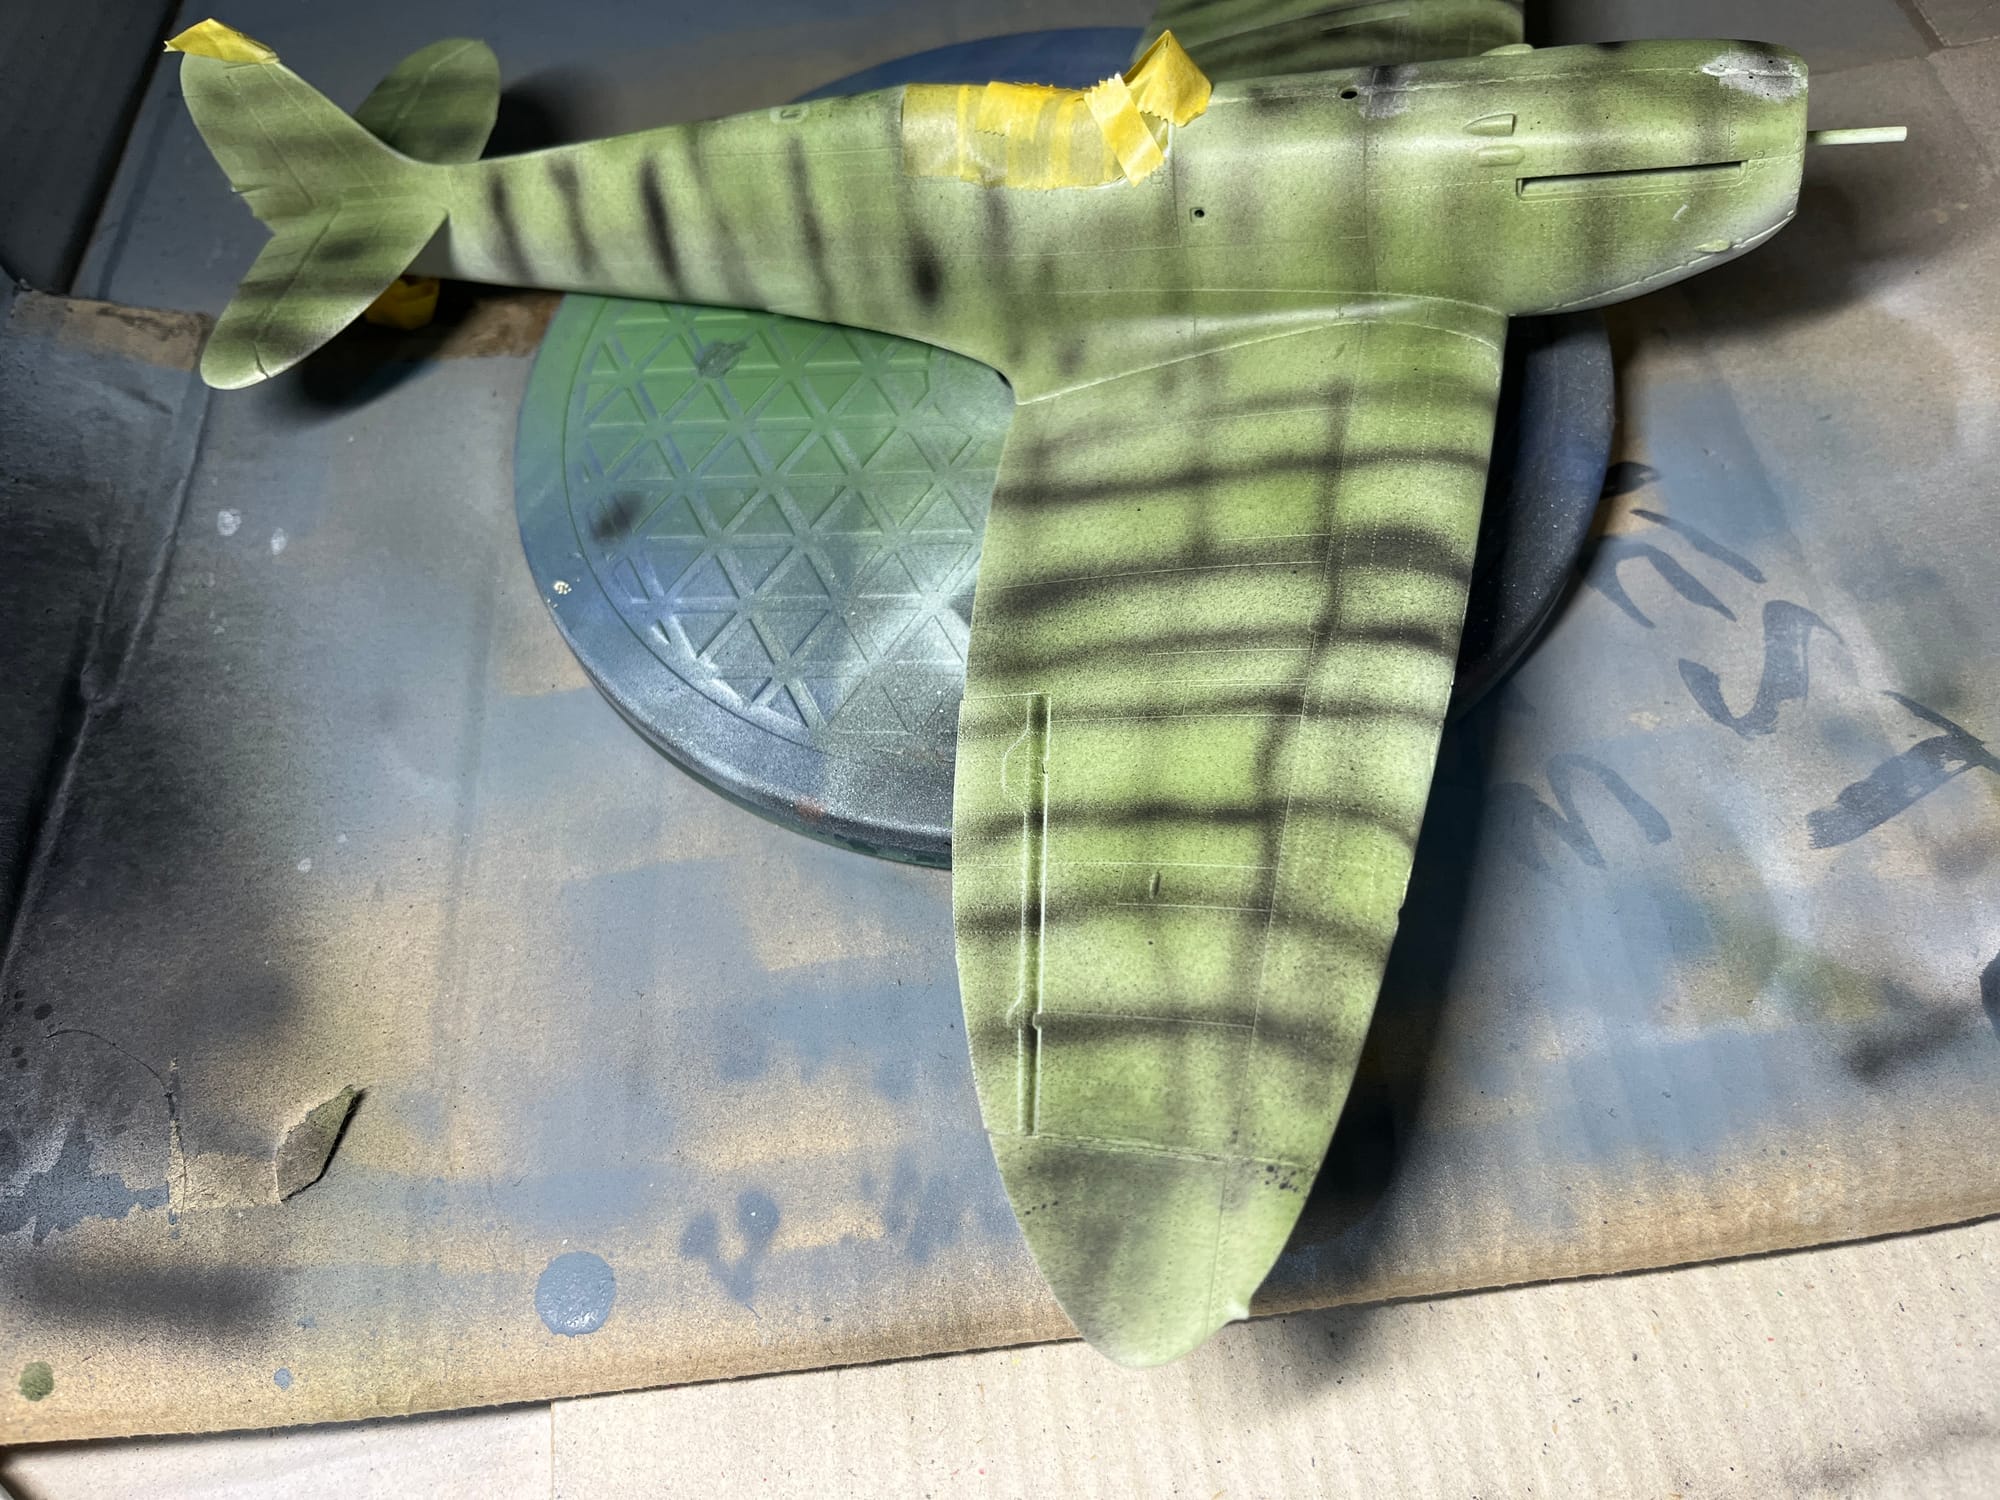
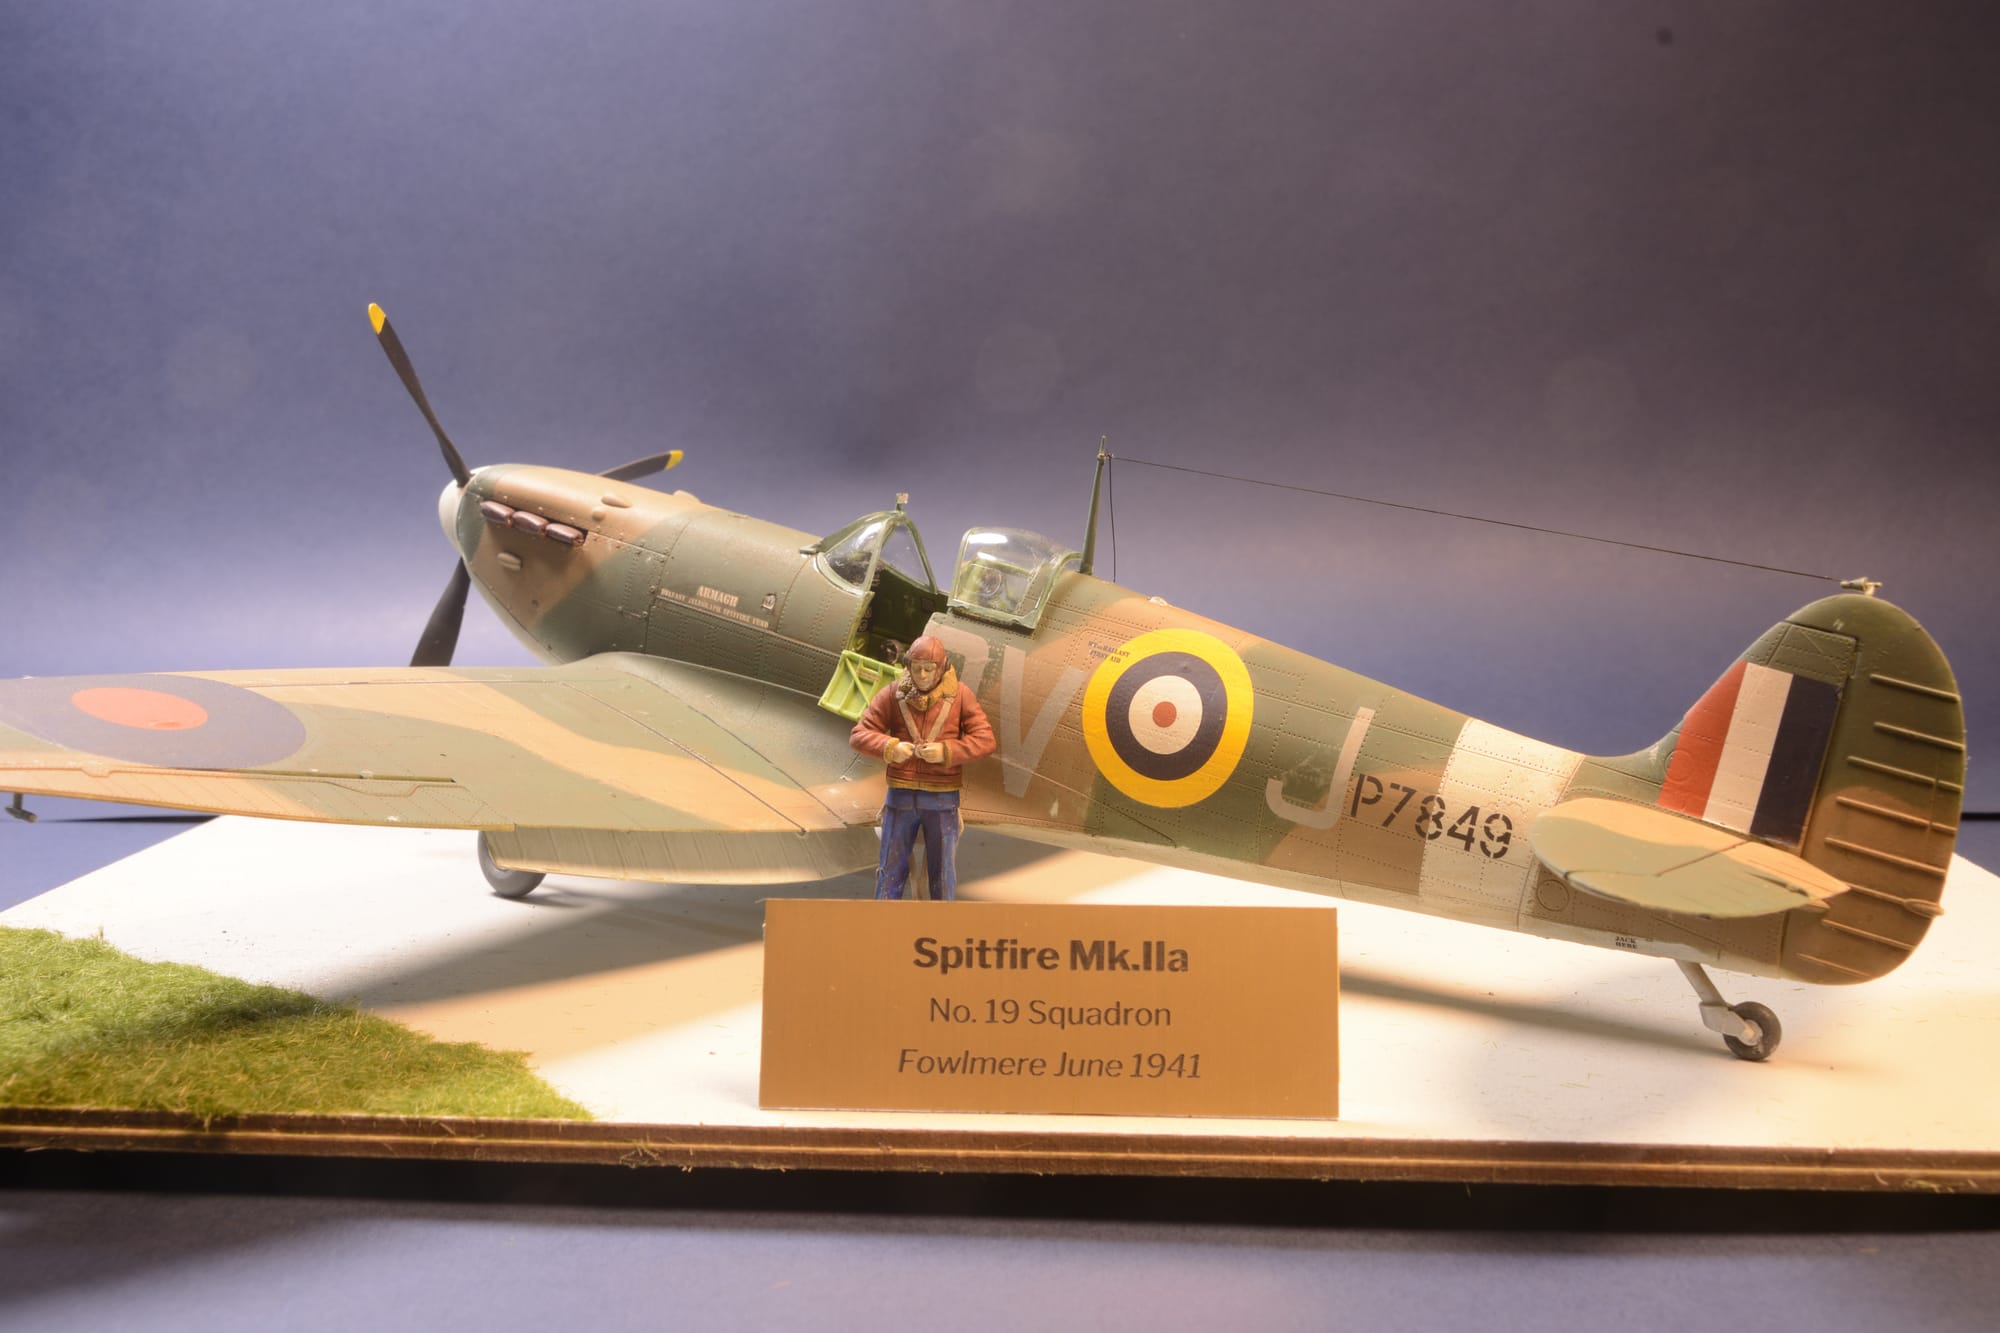
Spitfire Build Progress
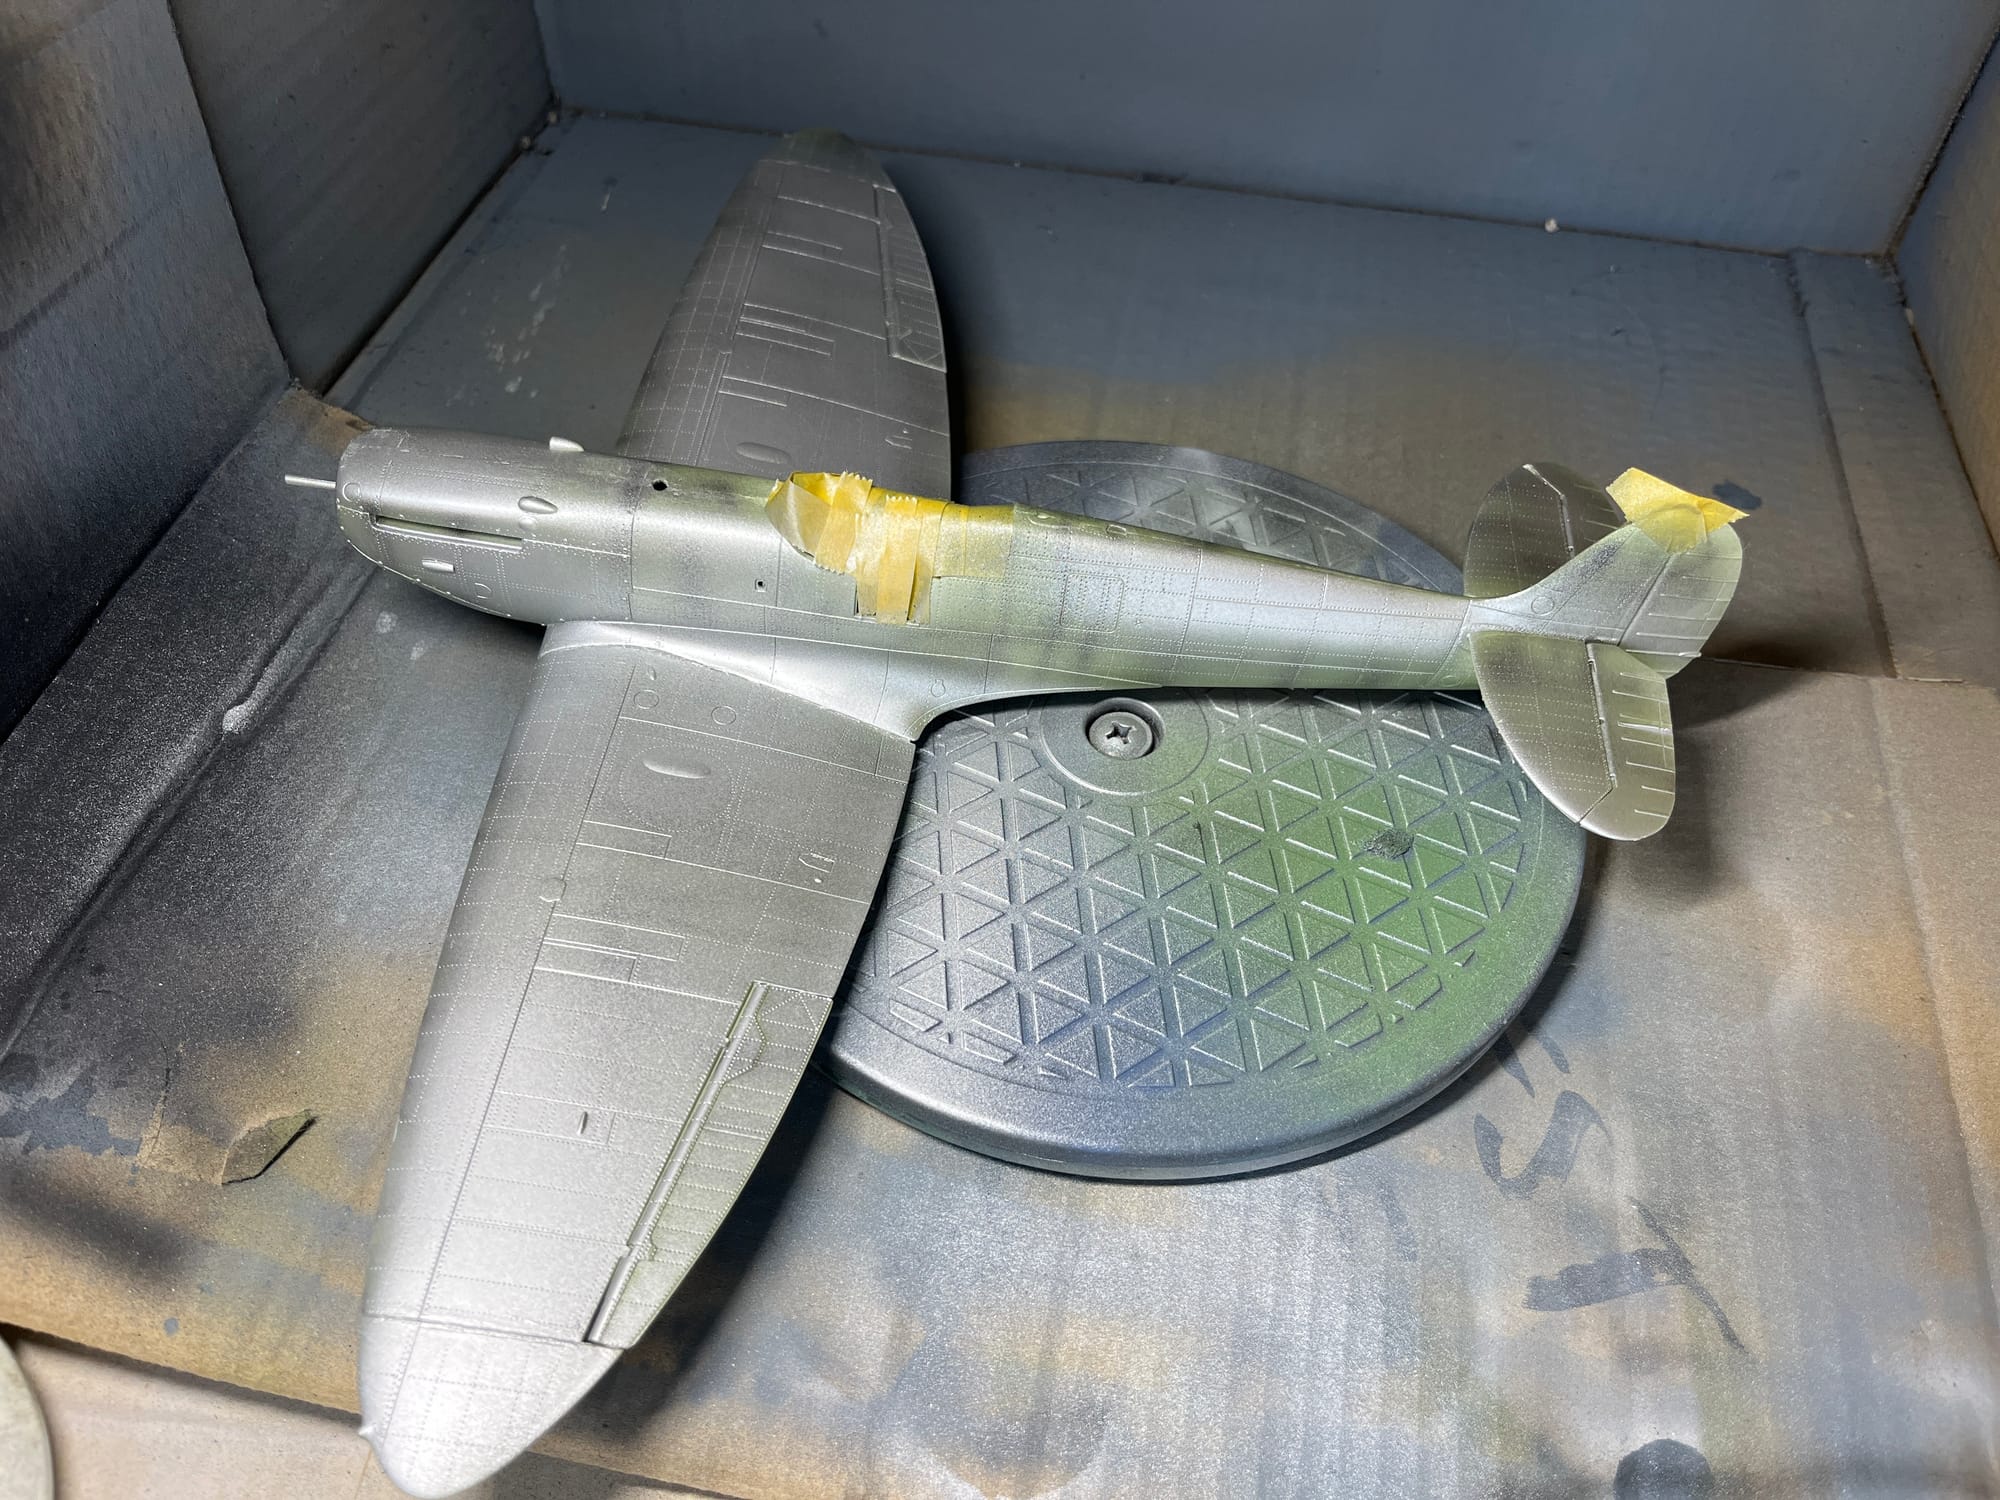
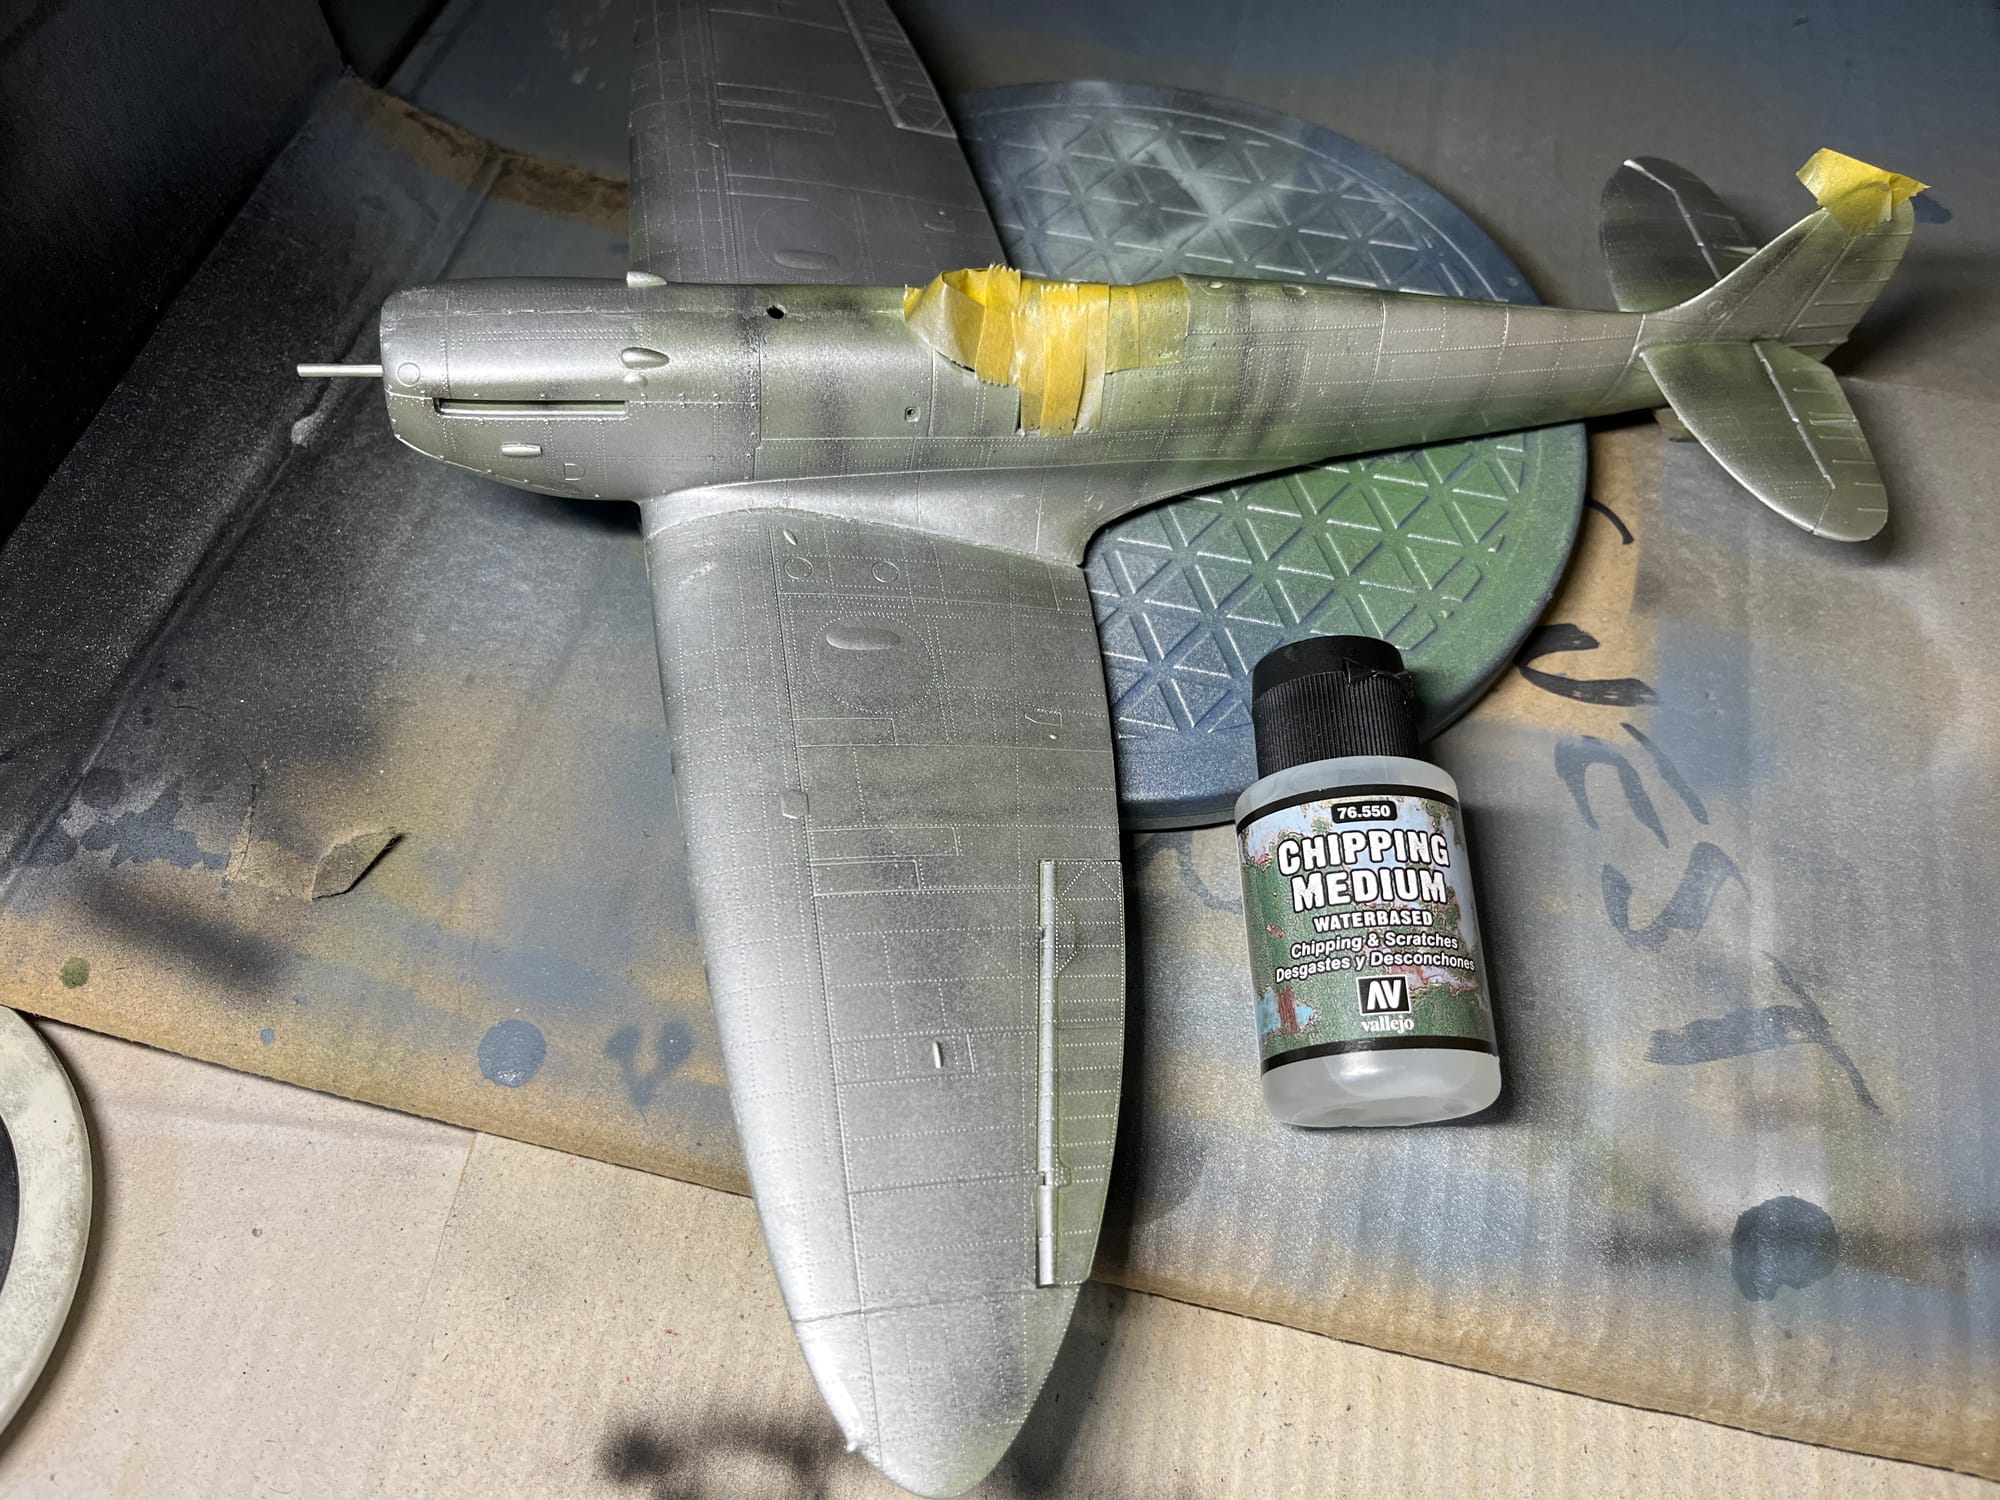
Top of model with aluminum. This step only needed if you plan on weathering the model (chips and scratches). When you carefully rub off or scratch through the final coat, aluminum will show. I don't do the underside, as I don't weather the underside of aircraft models as they are mostly not visible on display.