In Progress: DDG-54
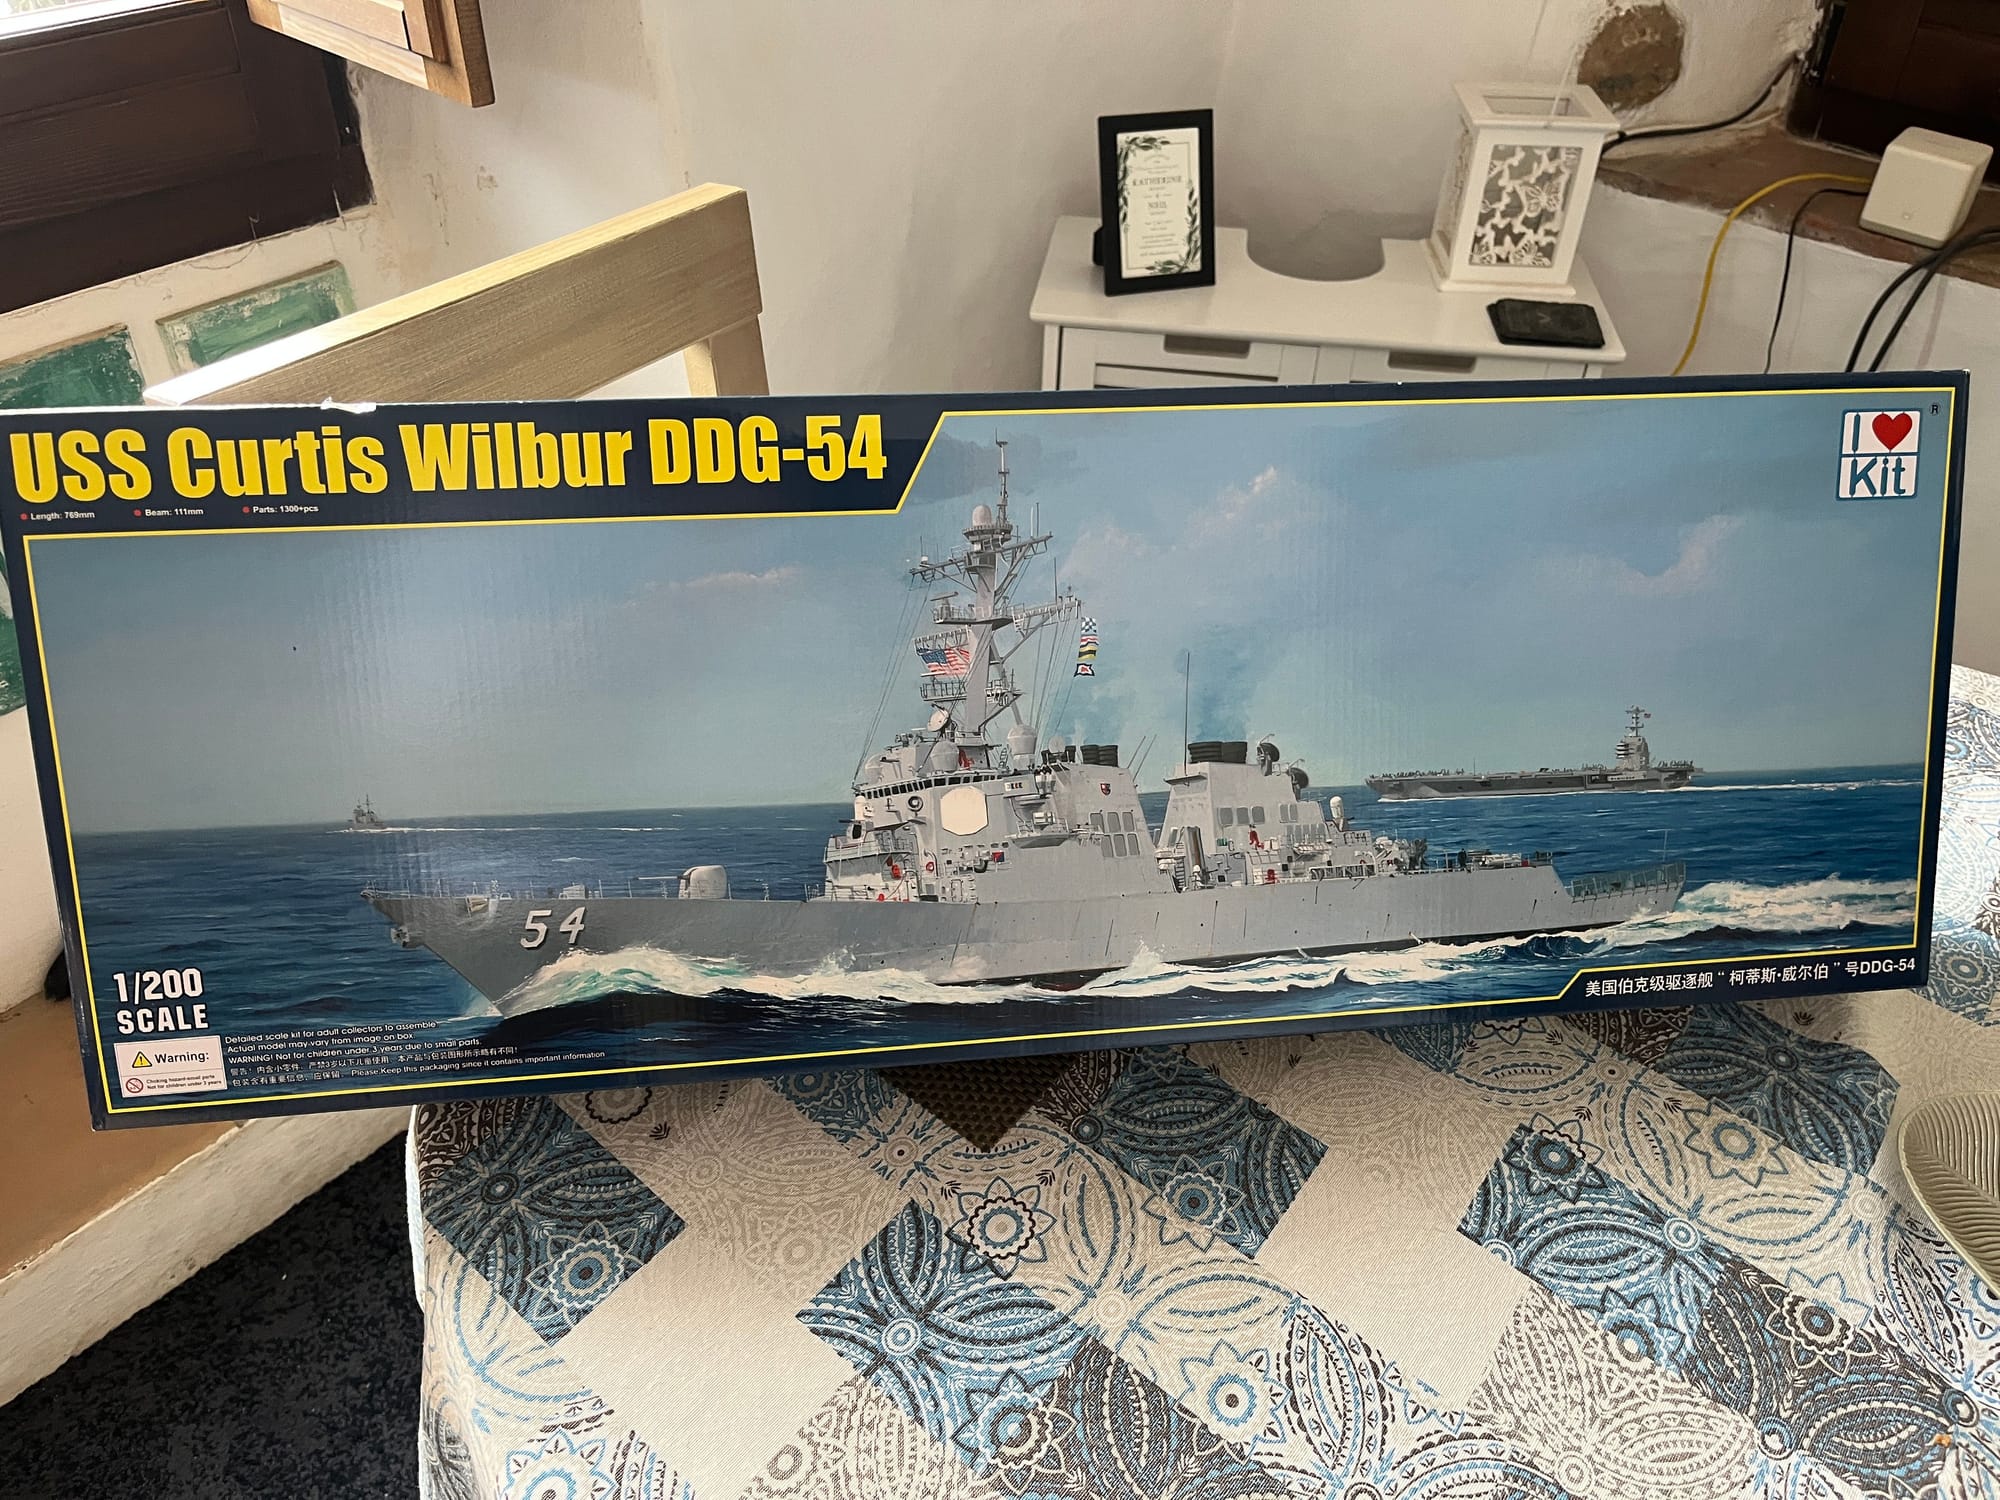
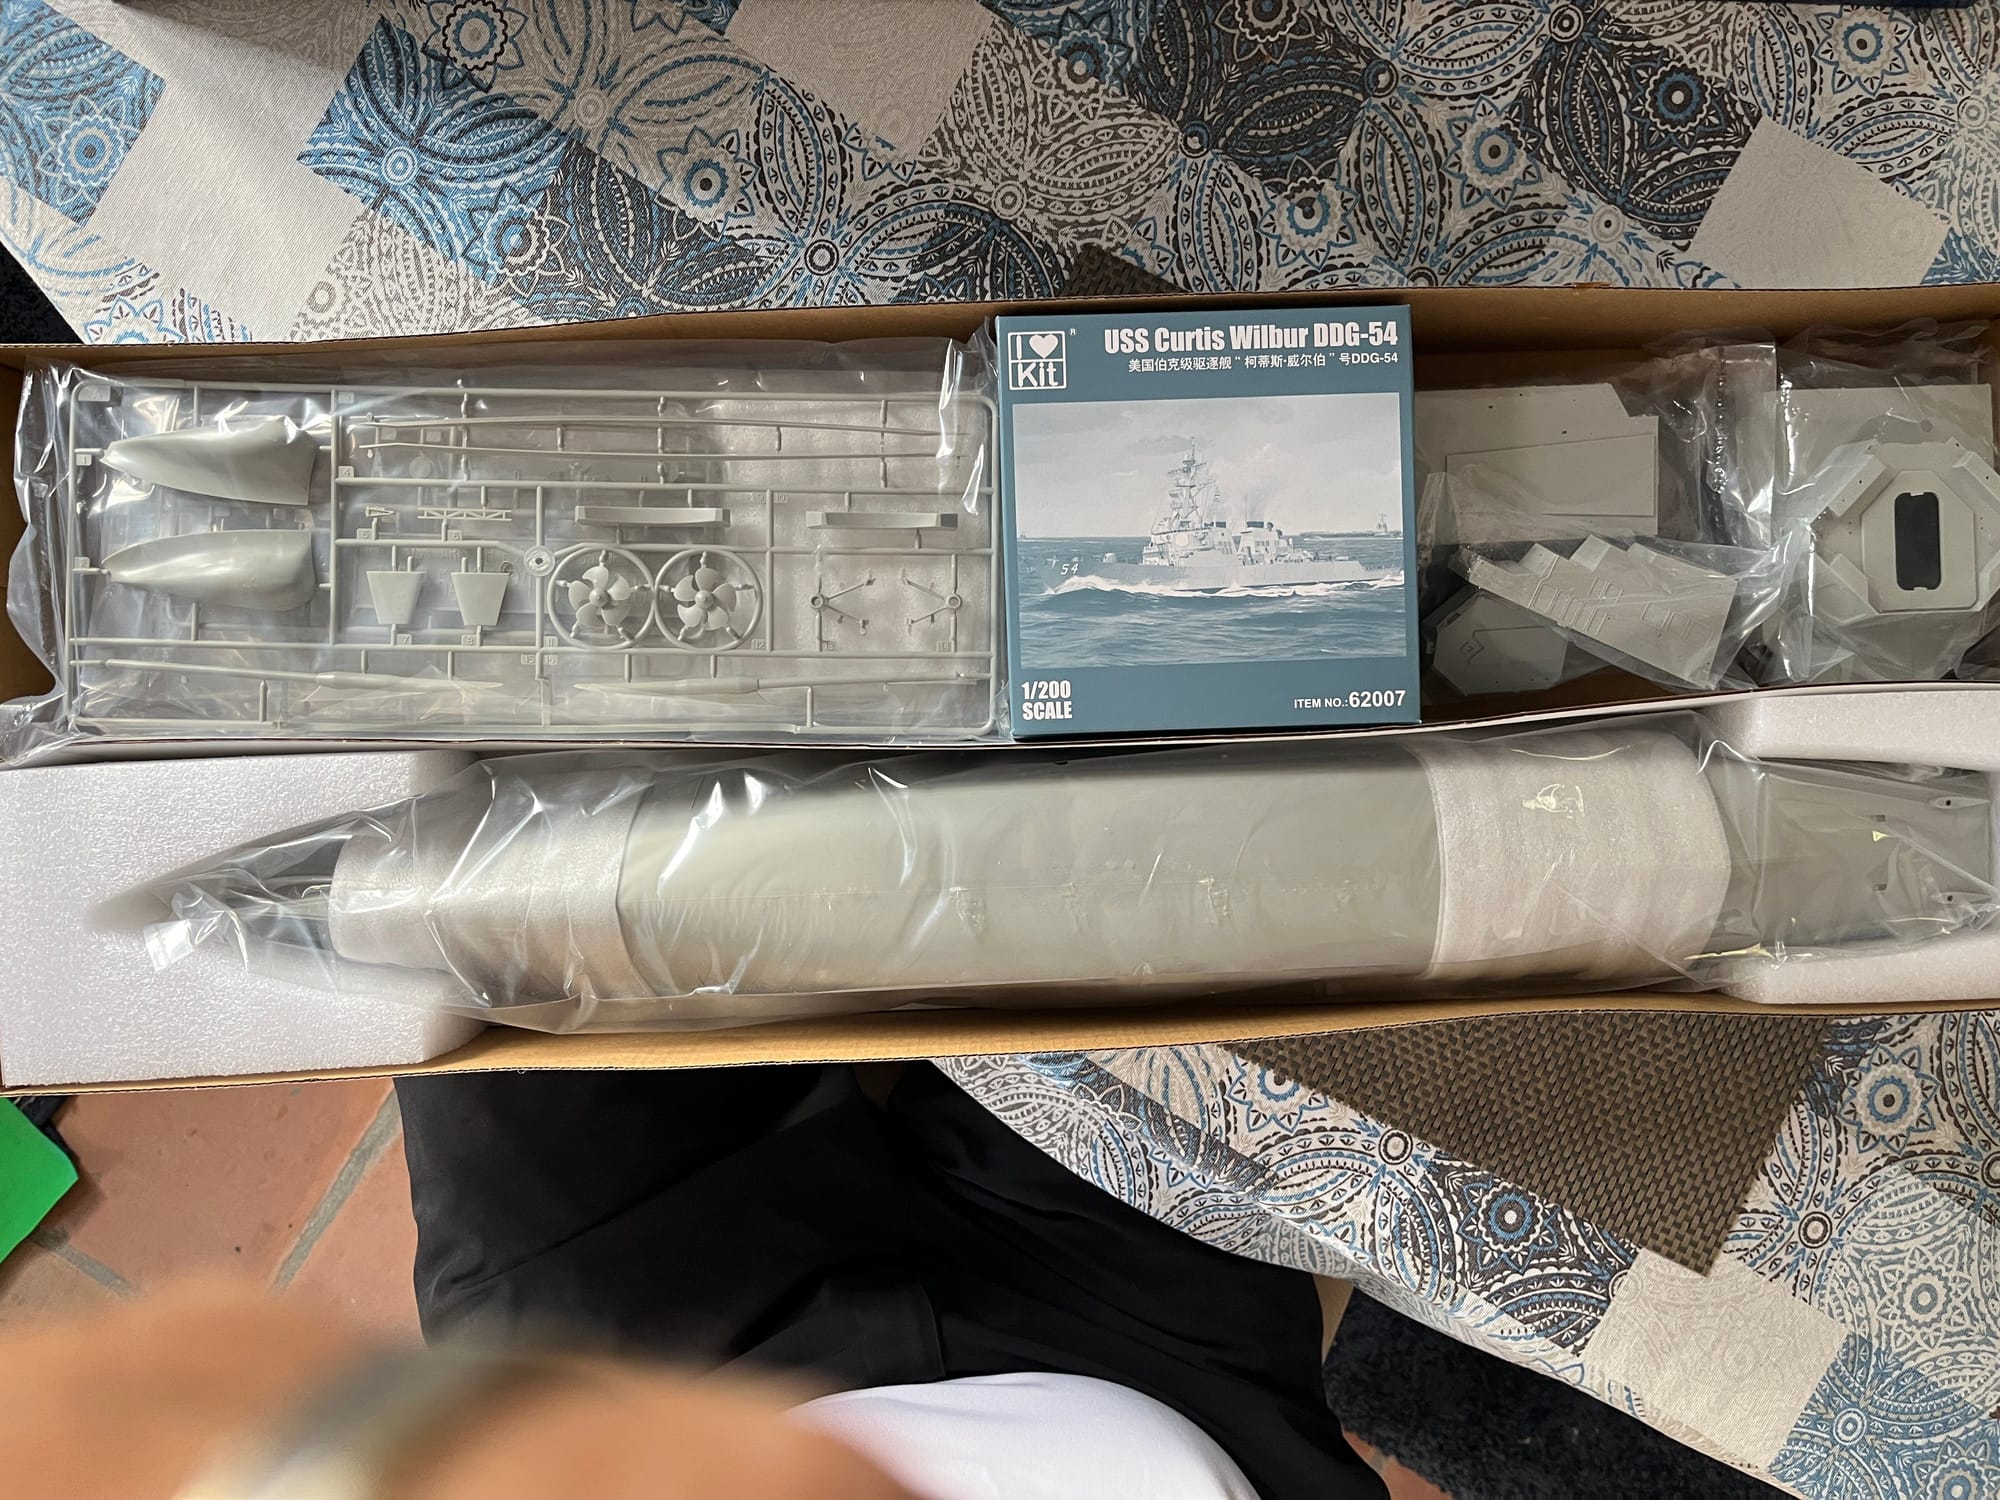
Opening Day!
This is the I Love It KIt (Formerly Trumpeter) with a great one piece hull and all the PE you need. As always with Trumpeter, the instructions are good enough but not the best, so experience counts when doing this kind of build. I found a great source to help with the details and work sequence: https://www.youtube.com/@PatricksScaleStudio-76
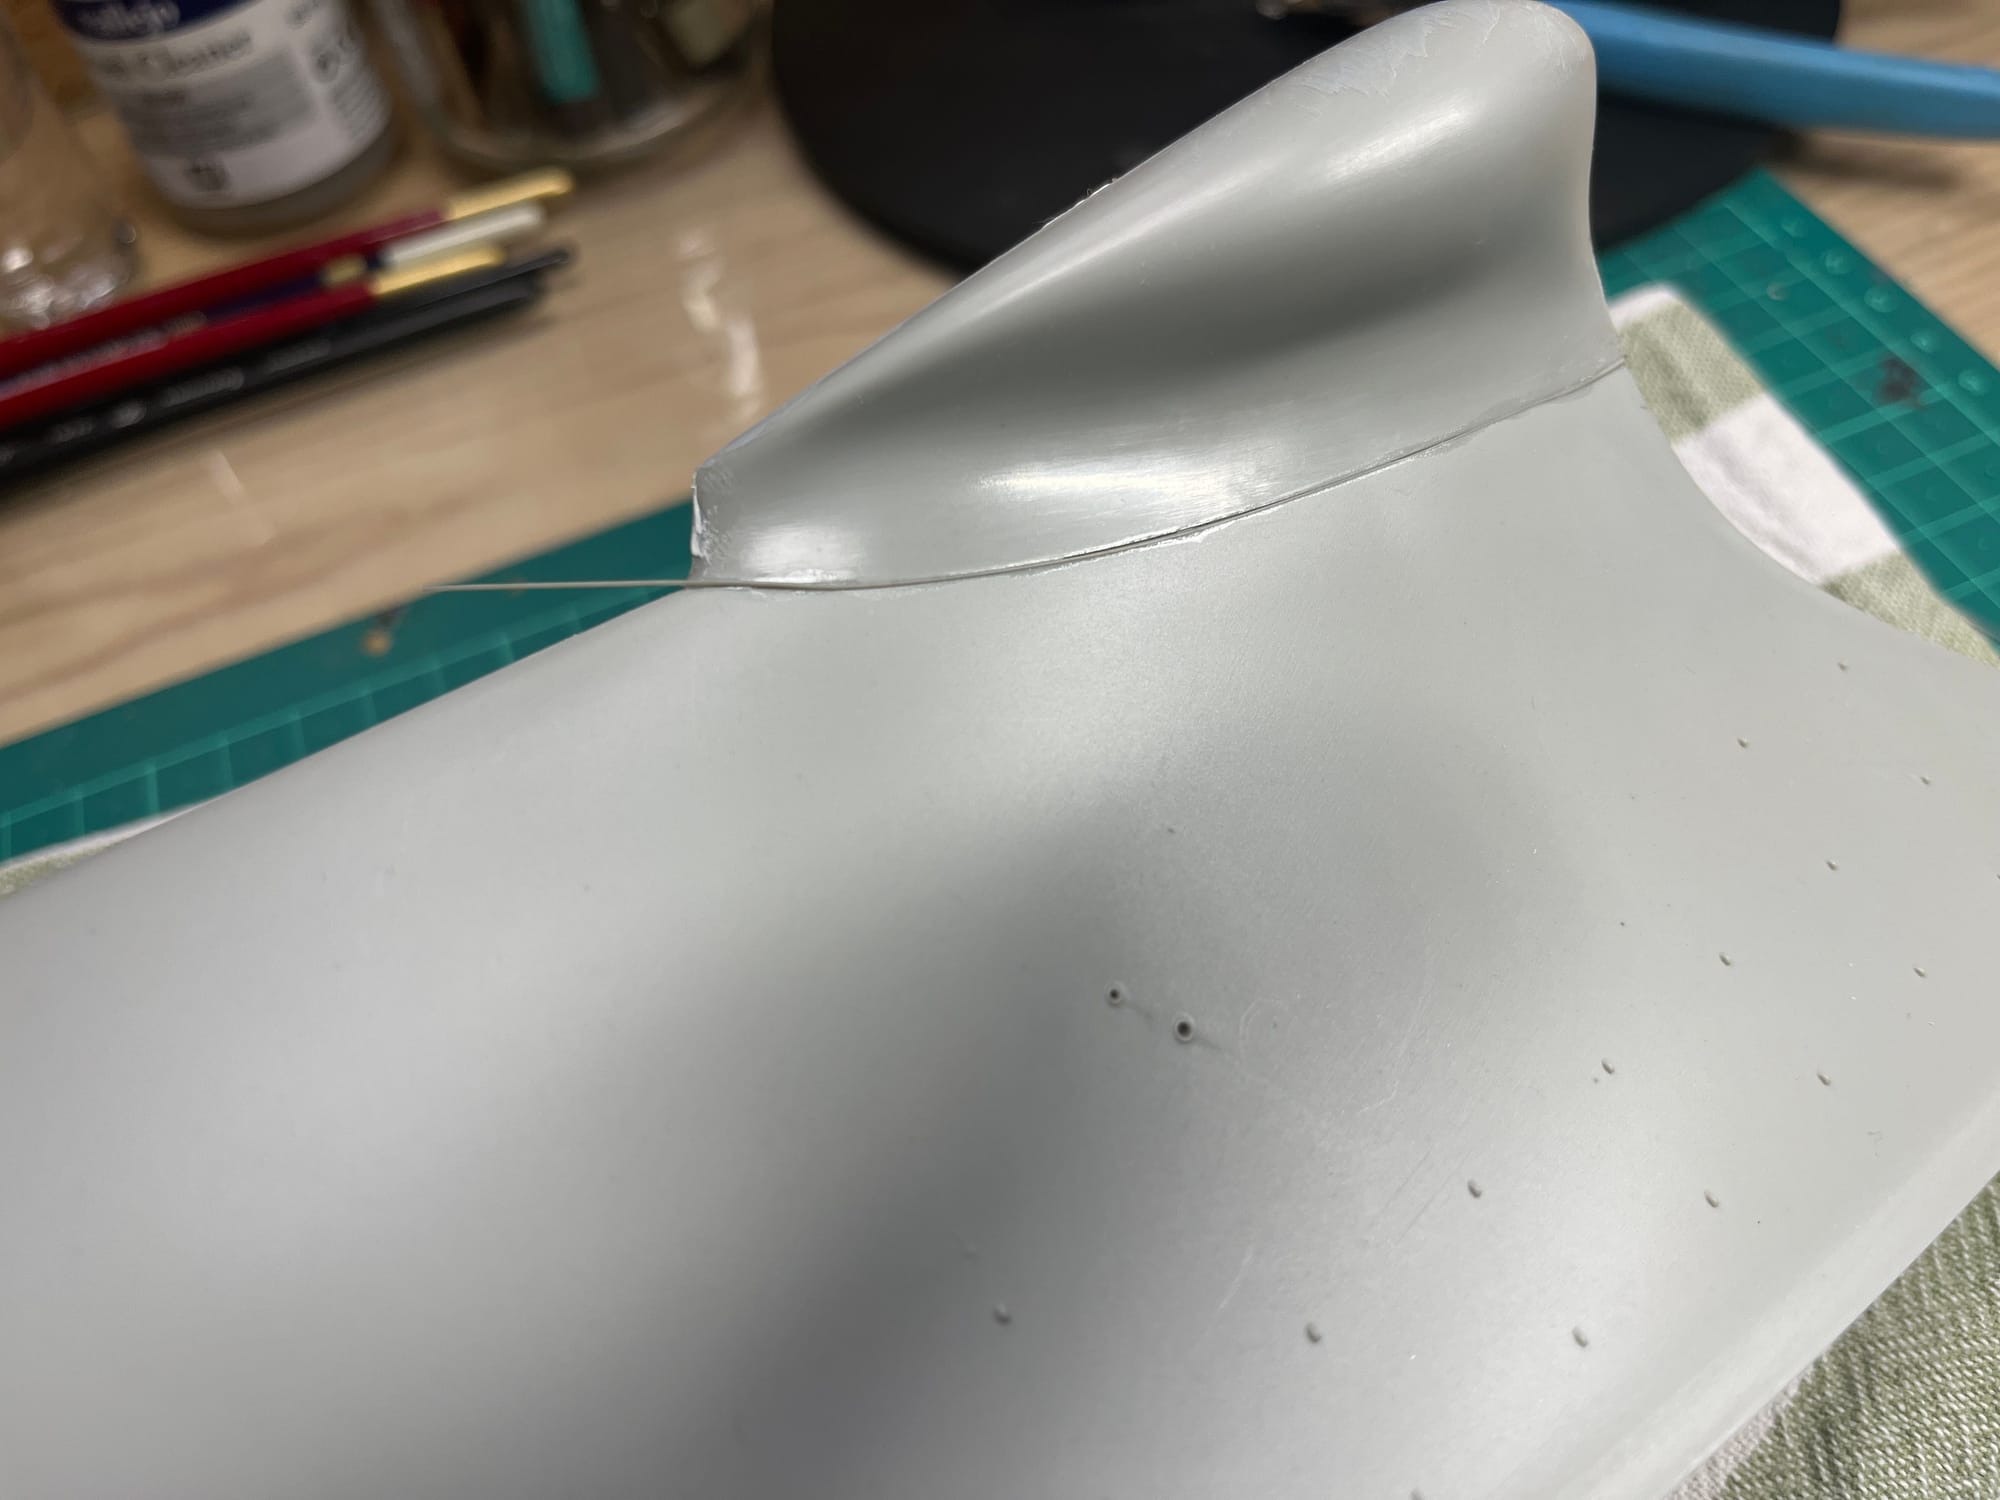
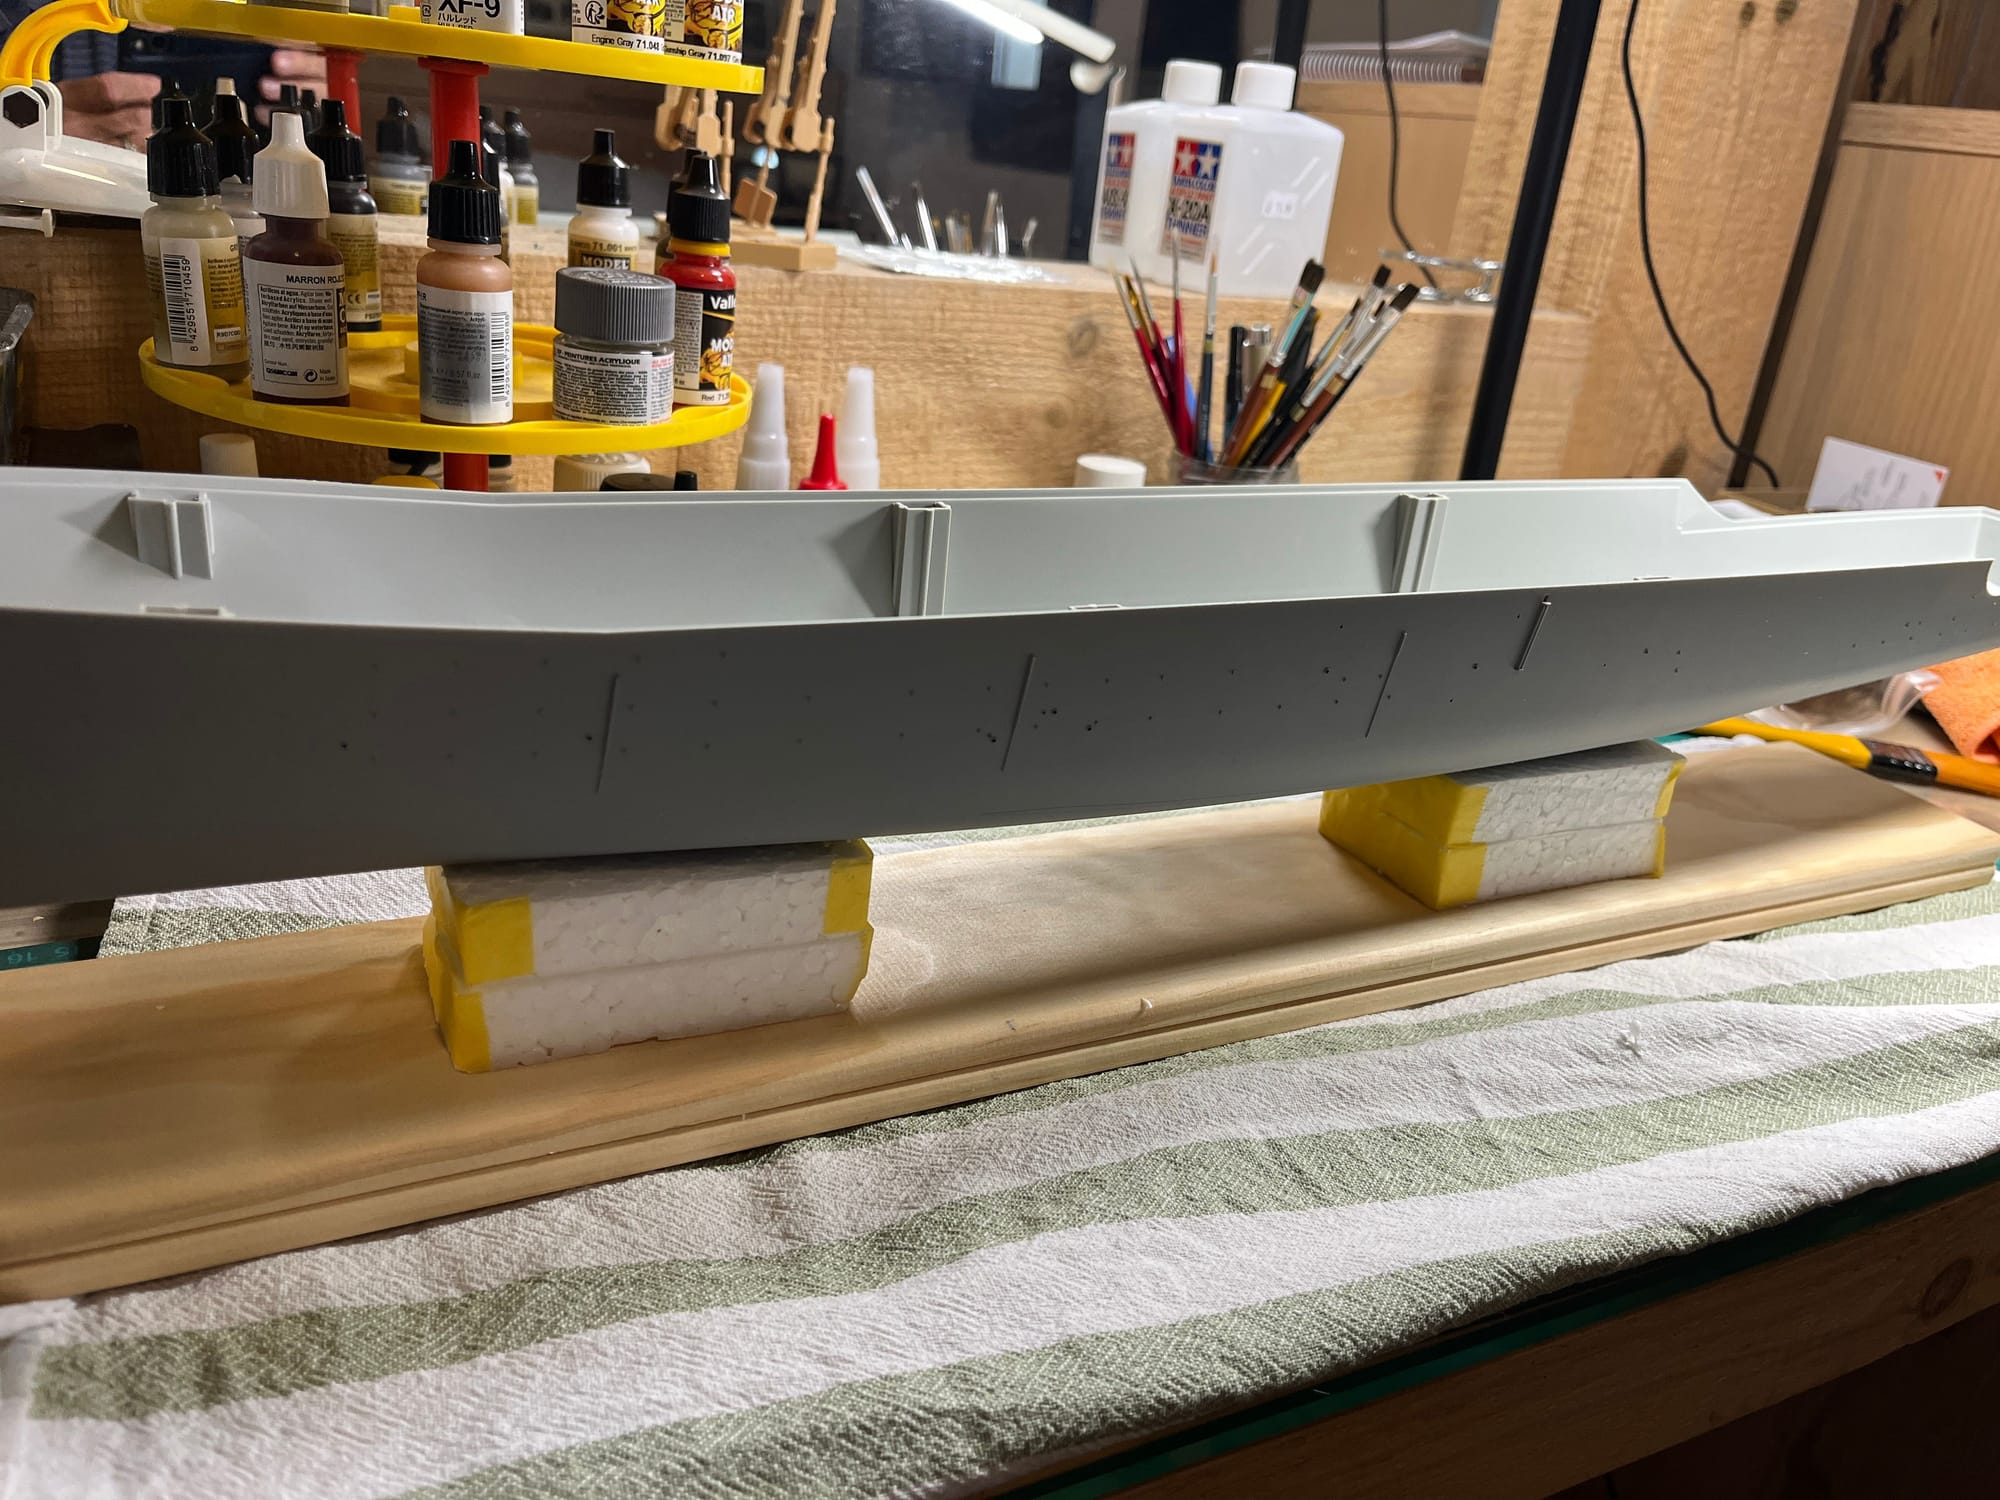
Mounted Hull
When the hull is painted and ready for the rest of the build you can mount in on a work board with the same bolts that you will use for the display pedestals (on another finished board at the end of the build). This makes it so much easier to do all the deck and superstructure work later as you can easily move the model around and keeps your fingers off the hull!
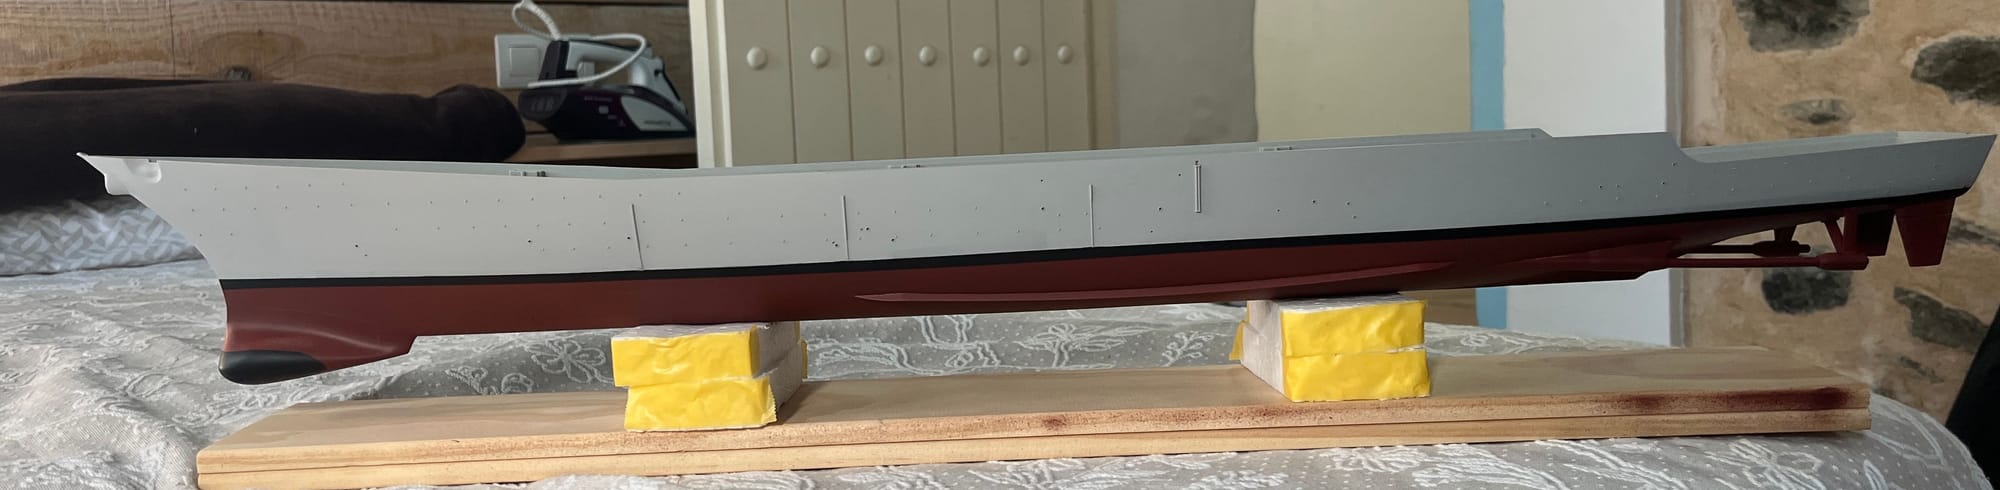
Waterline Marking Device
You need to mark the waterline to paint the black bootstrap on the hull. Amazon has a device to do this using a mechanical pencil. I made my own rig with a heavy jar and tape, finally finding the exact correct height from the table. You just place the tip of the pencil at the hull and move the jar along the table. This keeps the exact height along the whole hull.
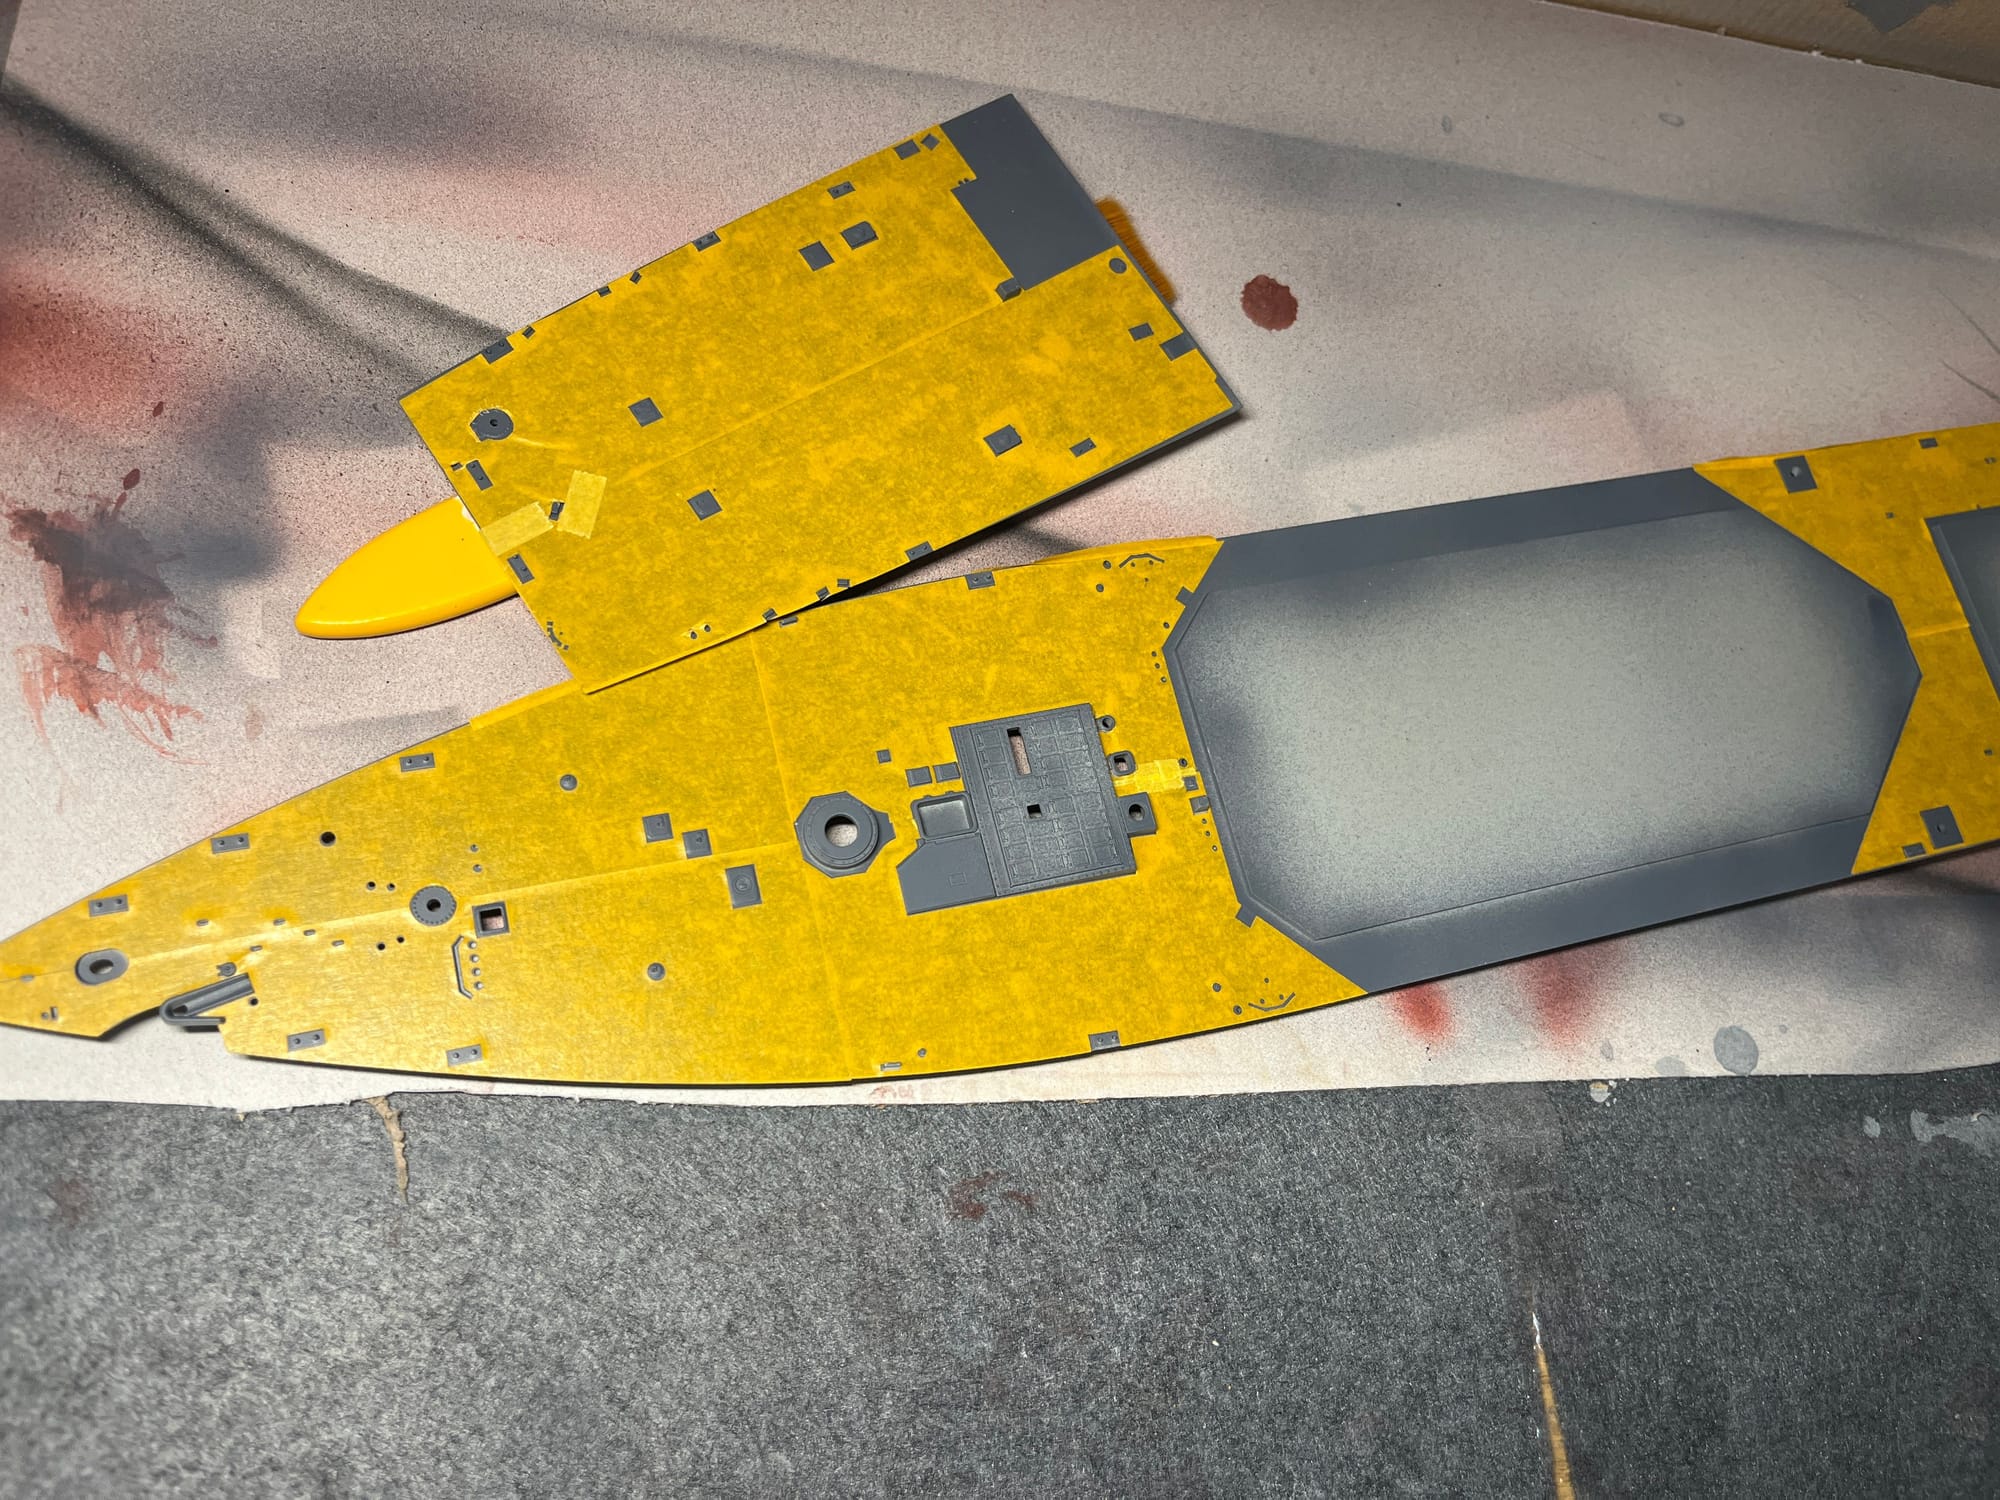
Deck Decals
Unlike aircraft models, most of the decals for a modern navy ship have to be applied early before all the deck details are placed. I did the hull and the deck next. The deck decals were good quality, but very delicate. You have to cut the big ones in pieces to have any chance of success. The aft deck markings shown here was cut into 5 pieces and then matched carefully.
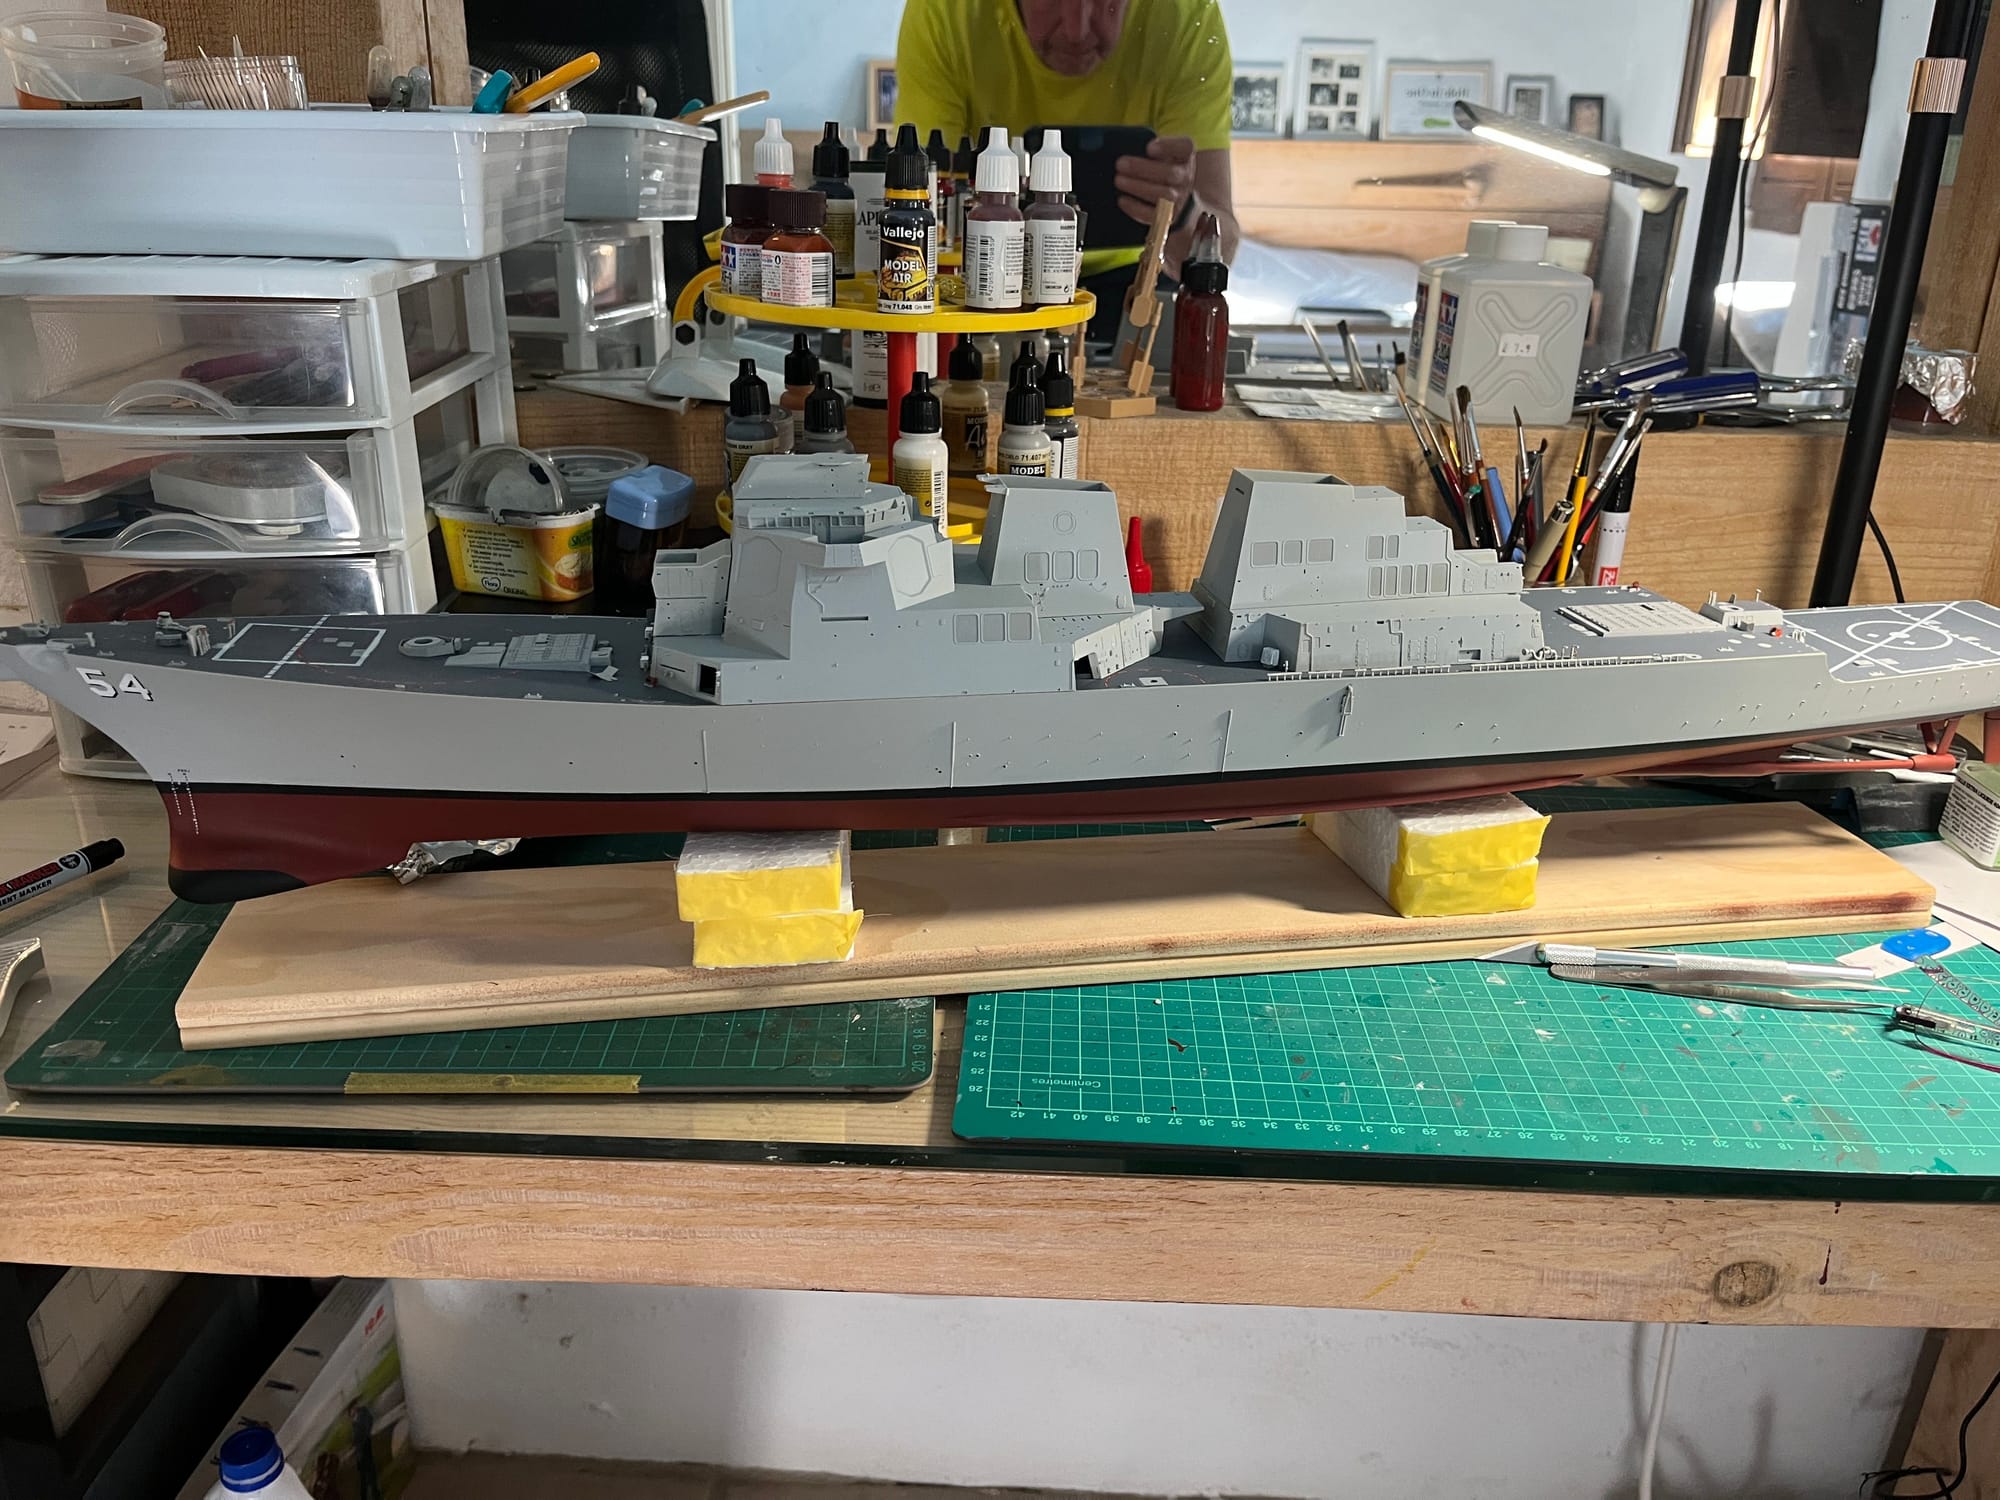
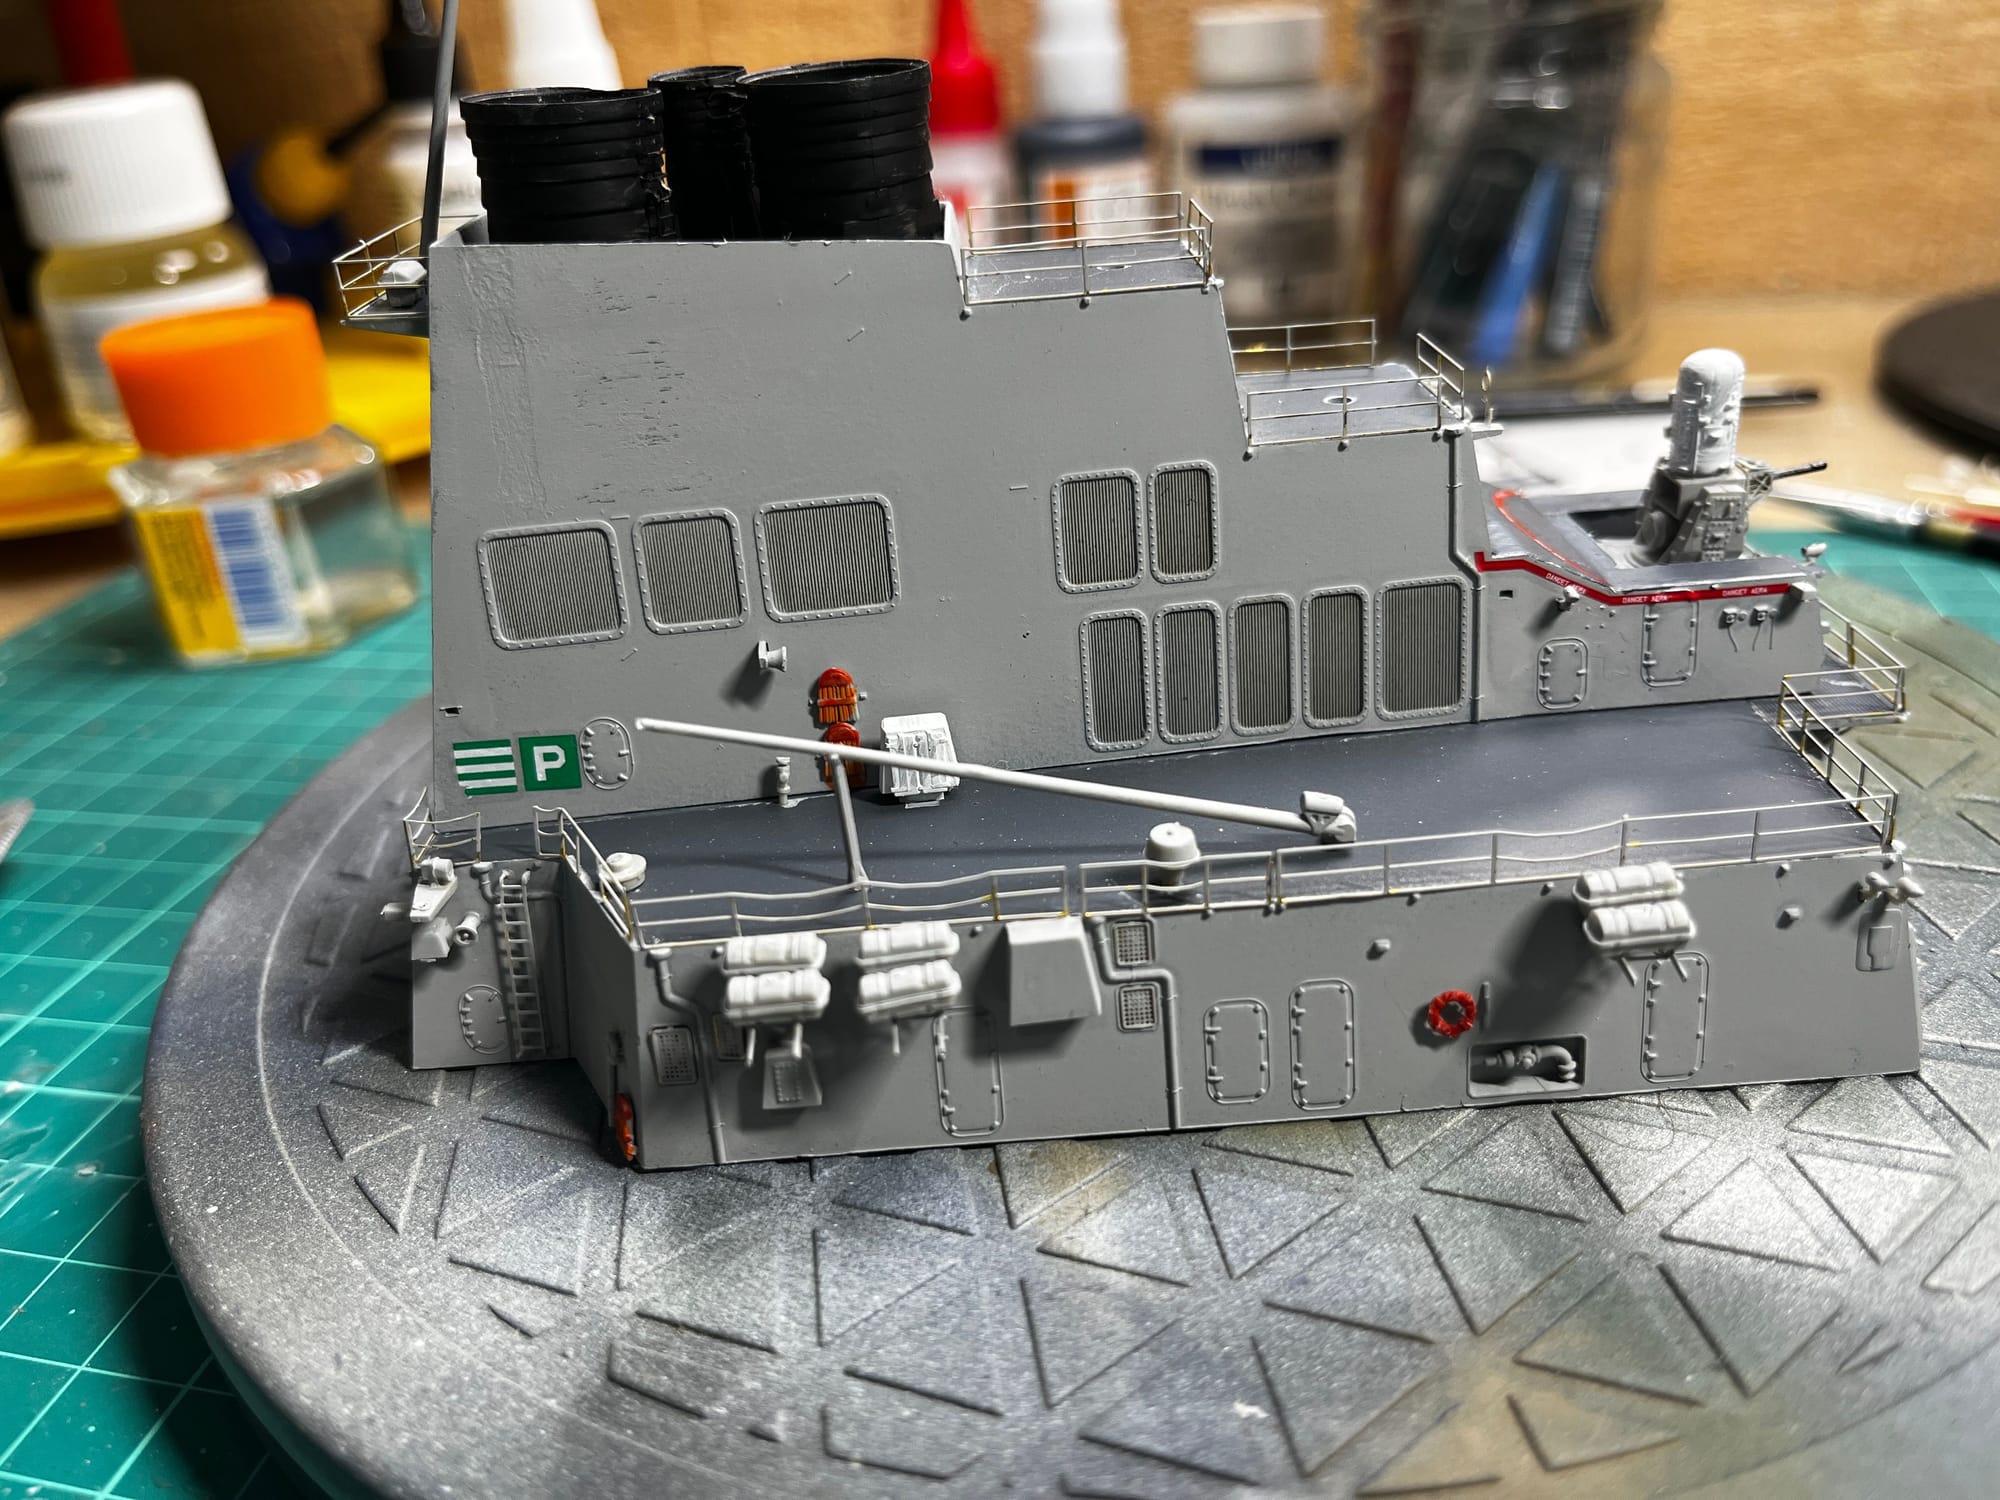
Many Sub-Assemblies
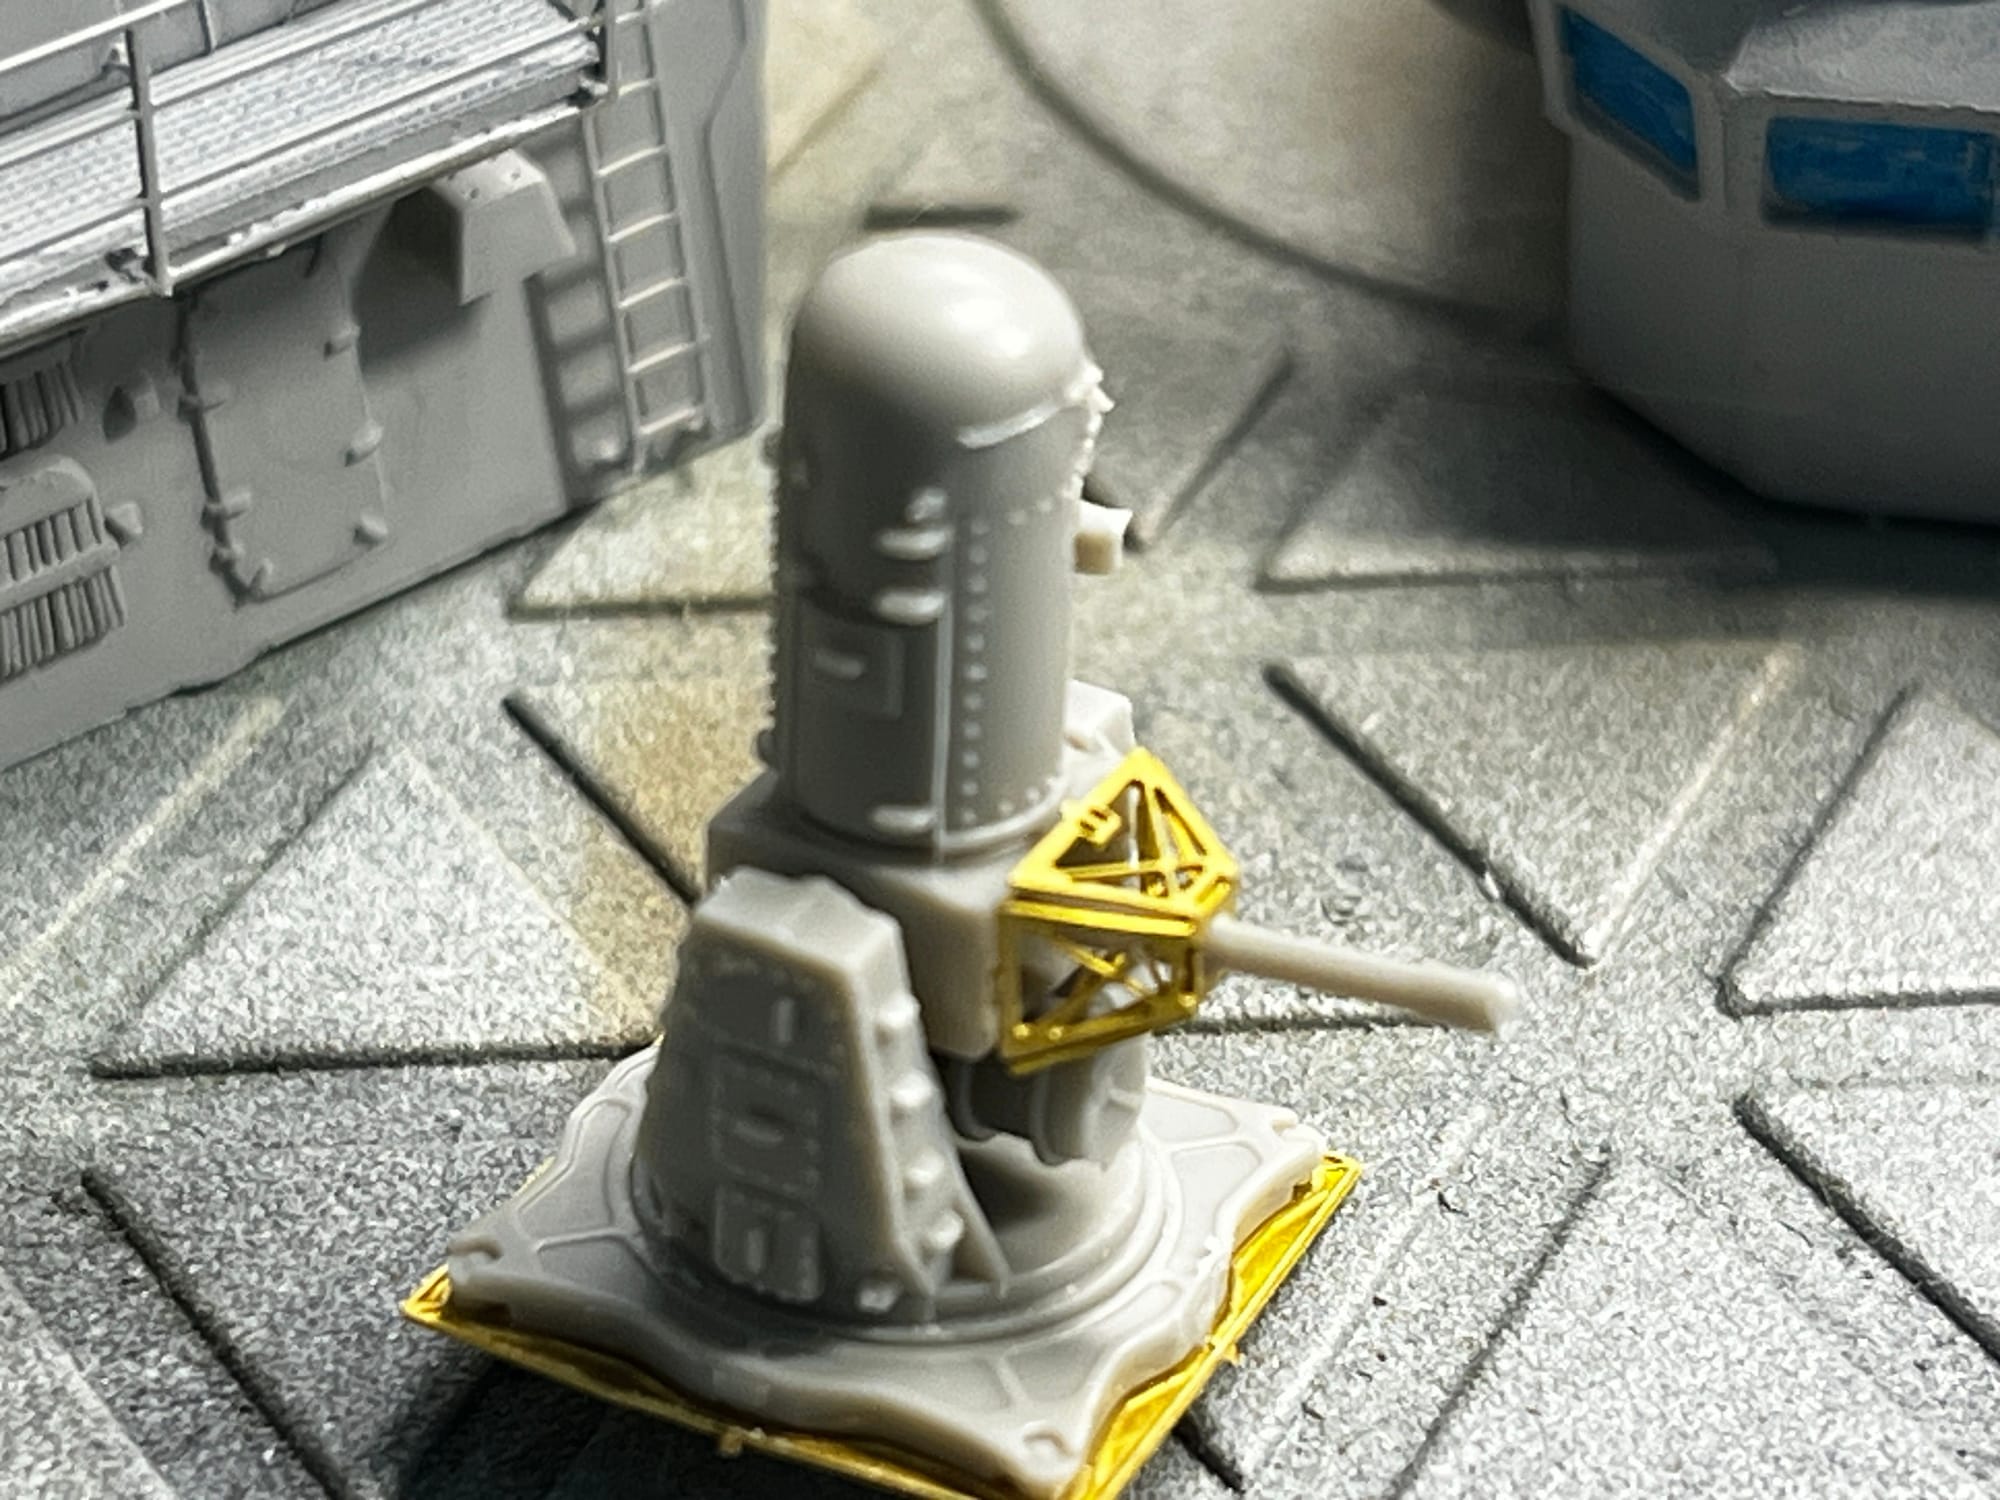
The forward and aft superstructures are models just by themselves with many small parts to include and paint. With this big scale, you get the opportunity (and challenge) to add lots of details. Here, for example, you can build the Mk 15 Phalanx Close-In Weapon System (CIWS) with great detail.
https://en.wikipedia.org/wiki/Phalanx_CIWS#:~:text=The%20Phalanx%20CIWS%20(SEE%2Dwiz,Antonio%2Dclass%20amphibious%20transport%20dock.Forward Superstucture
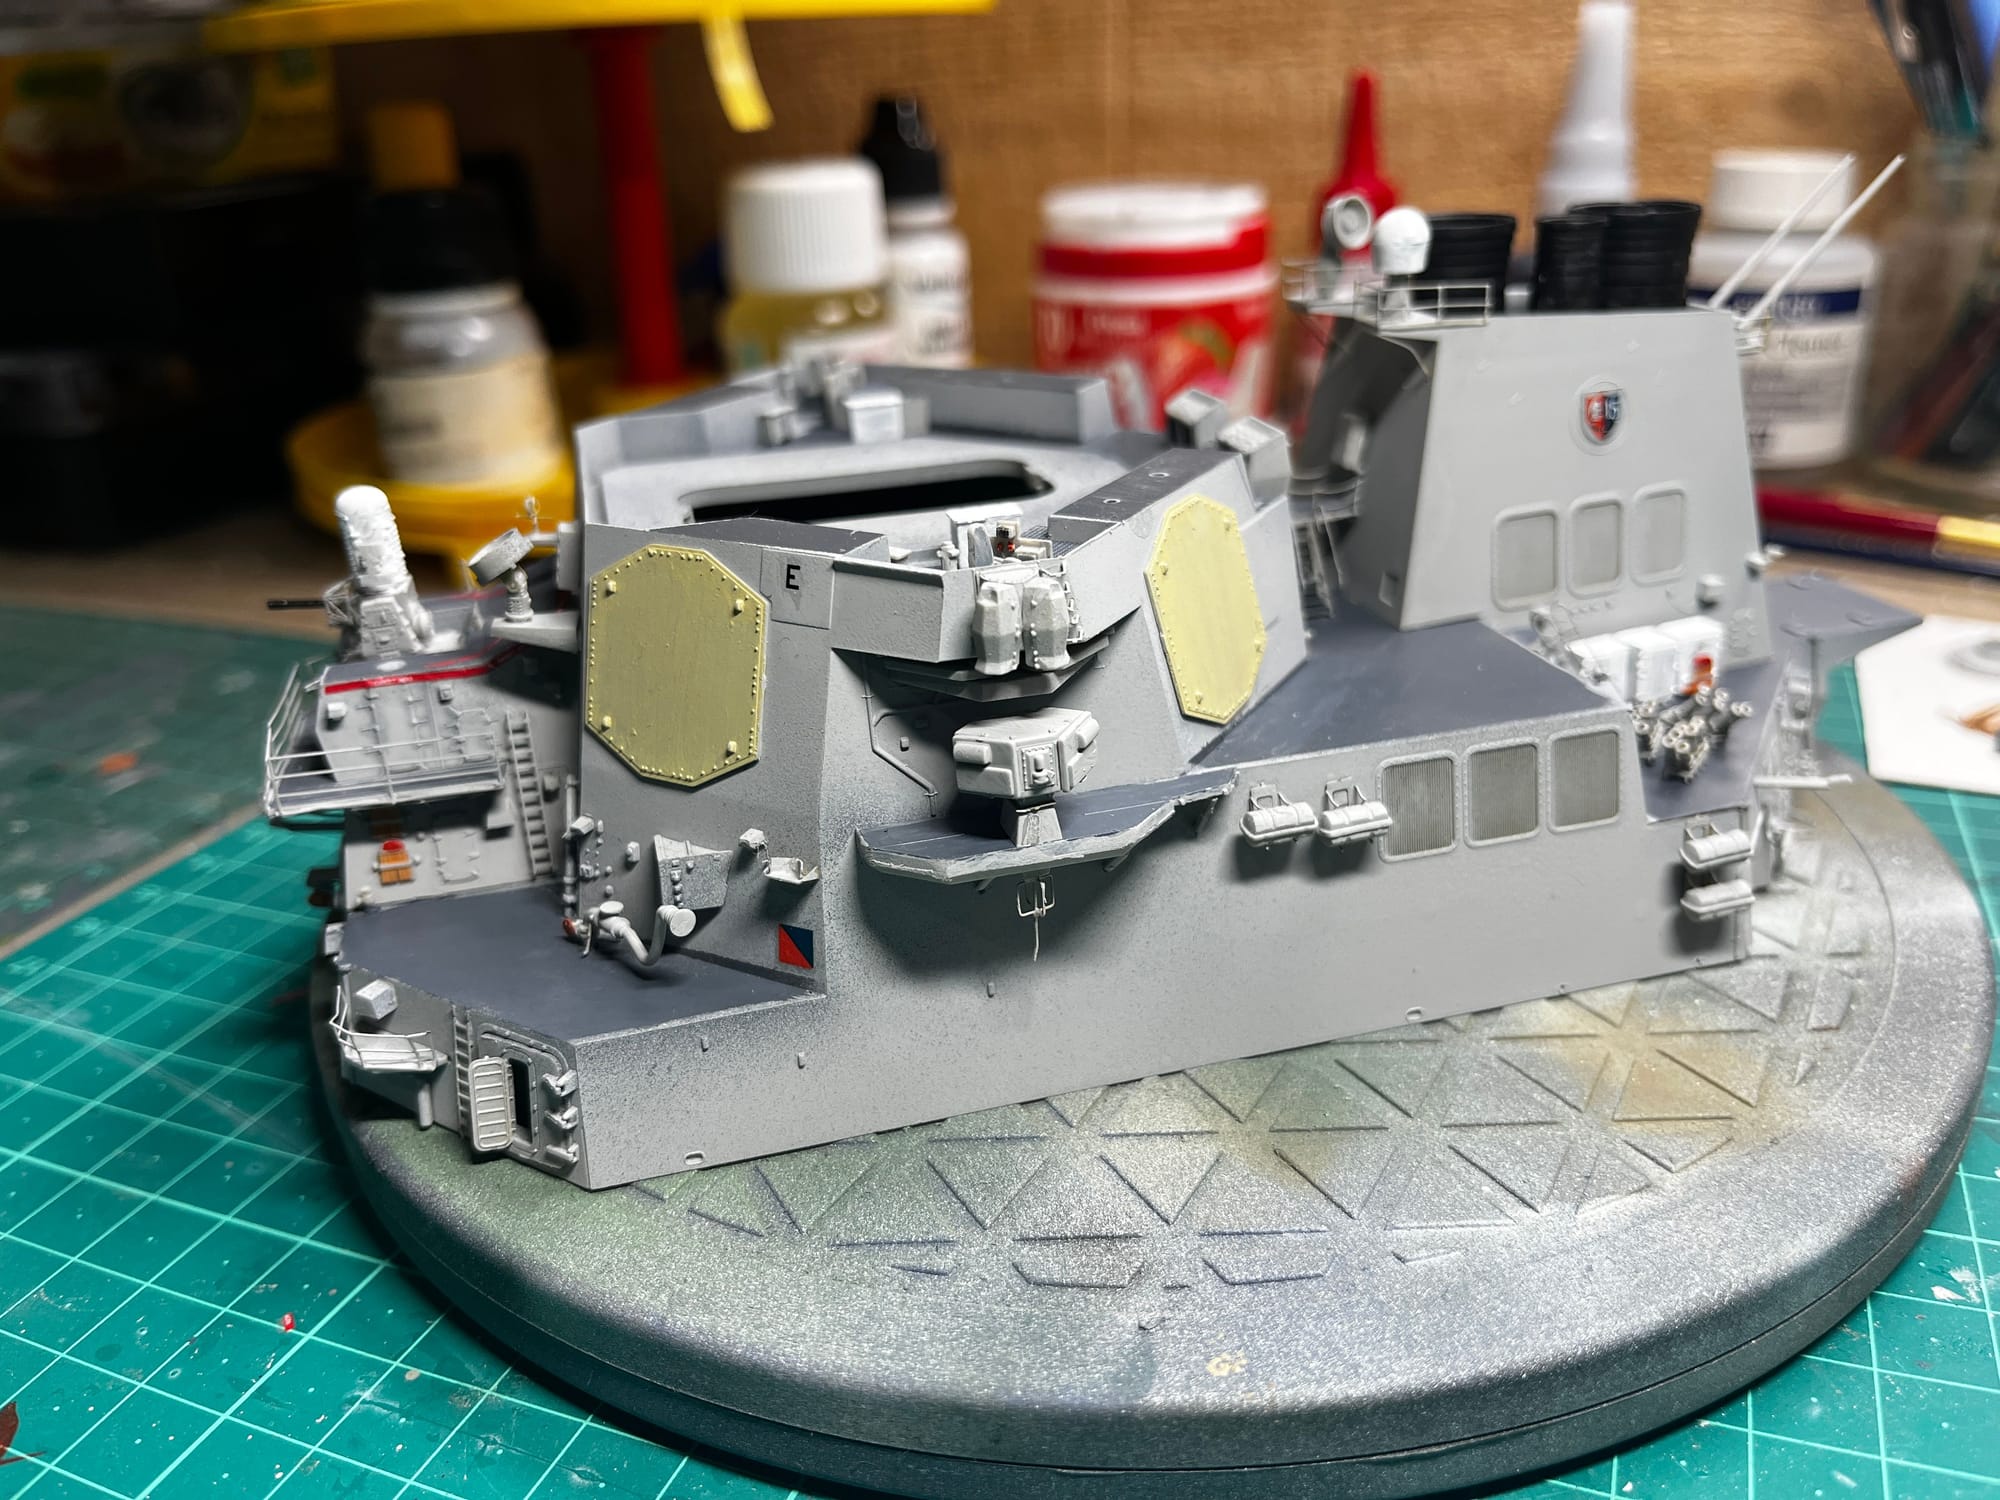
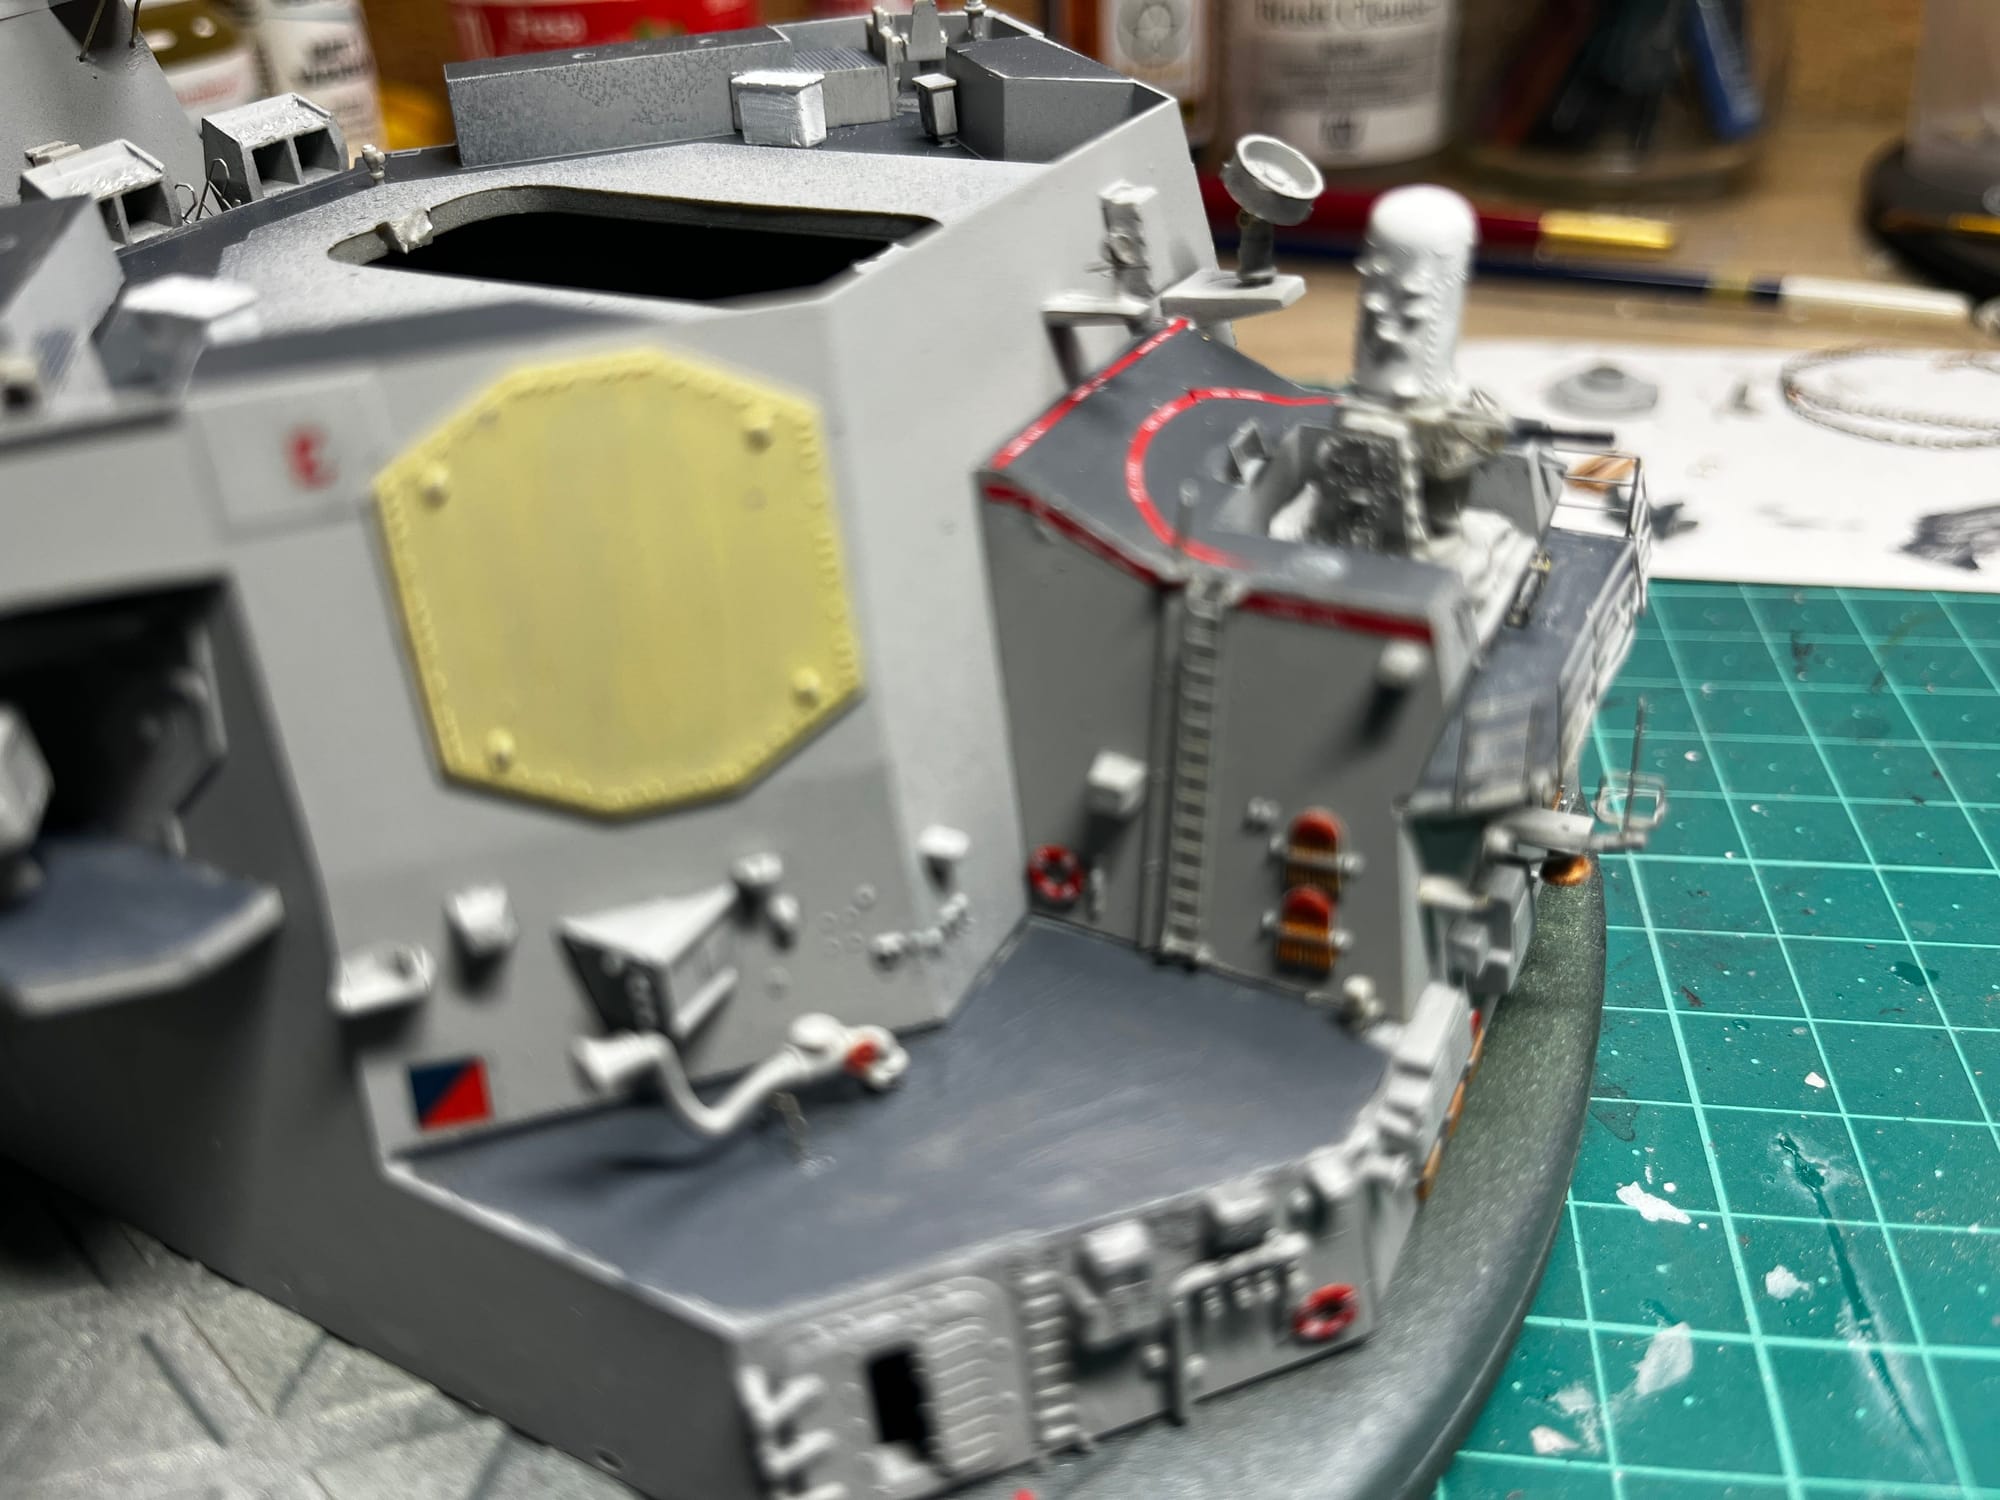
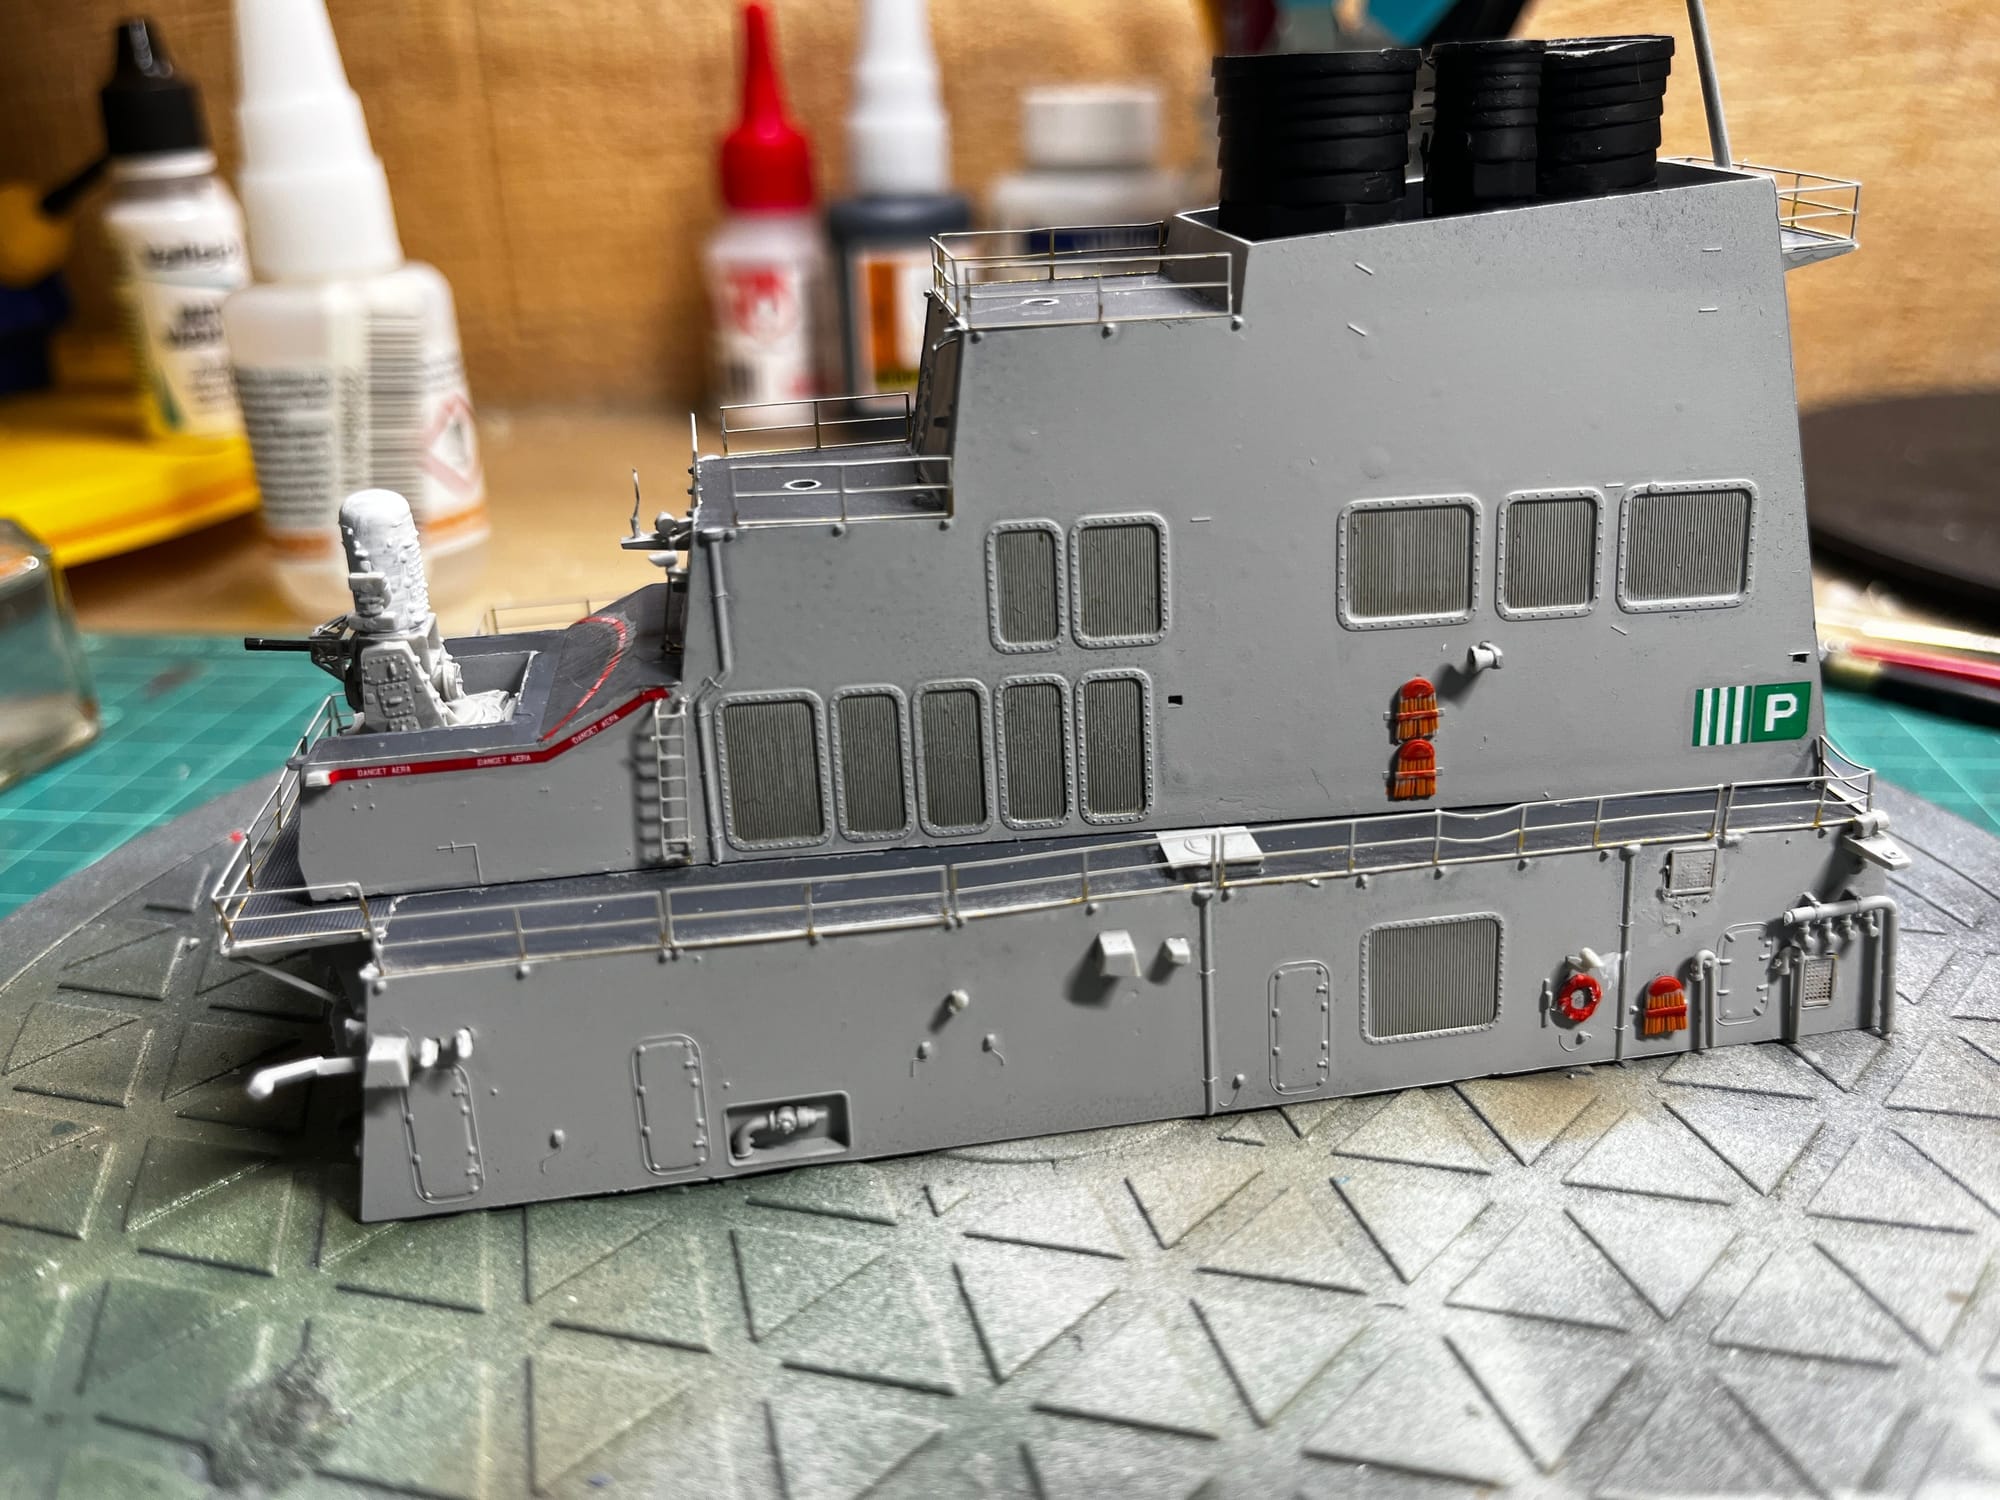
Completed Sub Assembly ready to attach to the hull. The bridge and other items will be added later. This is a great example of experience and extra planning when building this type of kit. The instructions have you adding the complex mast assembly and railing etc and then attaching to the hull. That is not a good idea with all the small little pieces to work around if you did that. The better plan is to attach the two superstructure sub assemblies mostly completed. Then add railings and the other deck parts in an easier order.